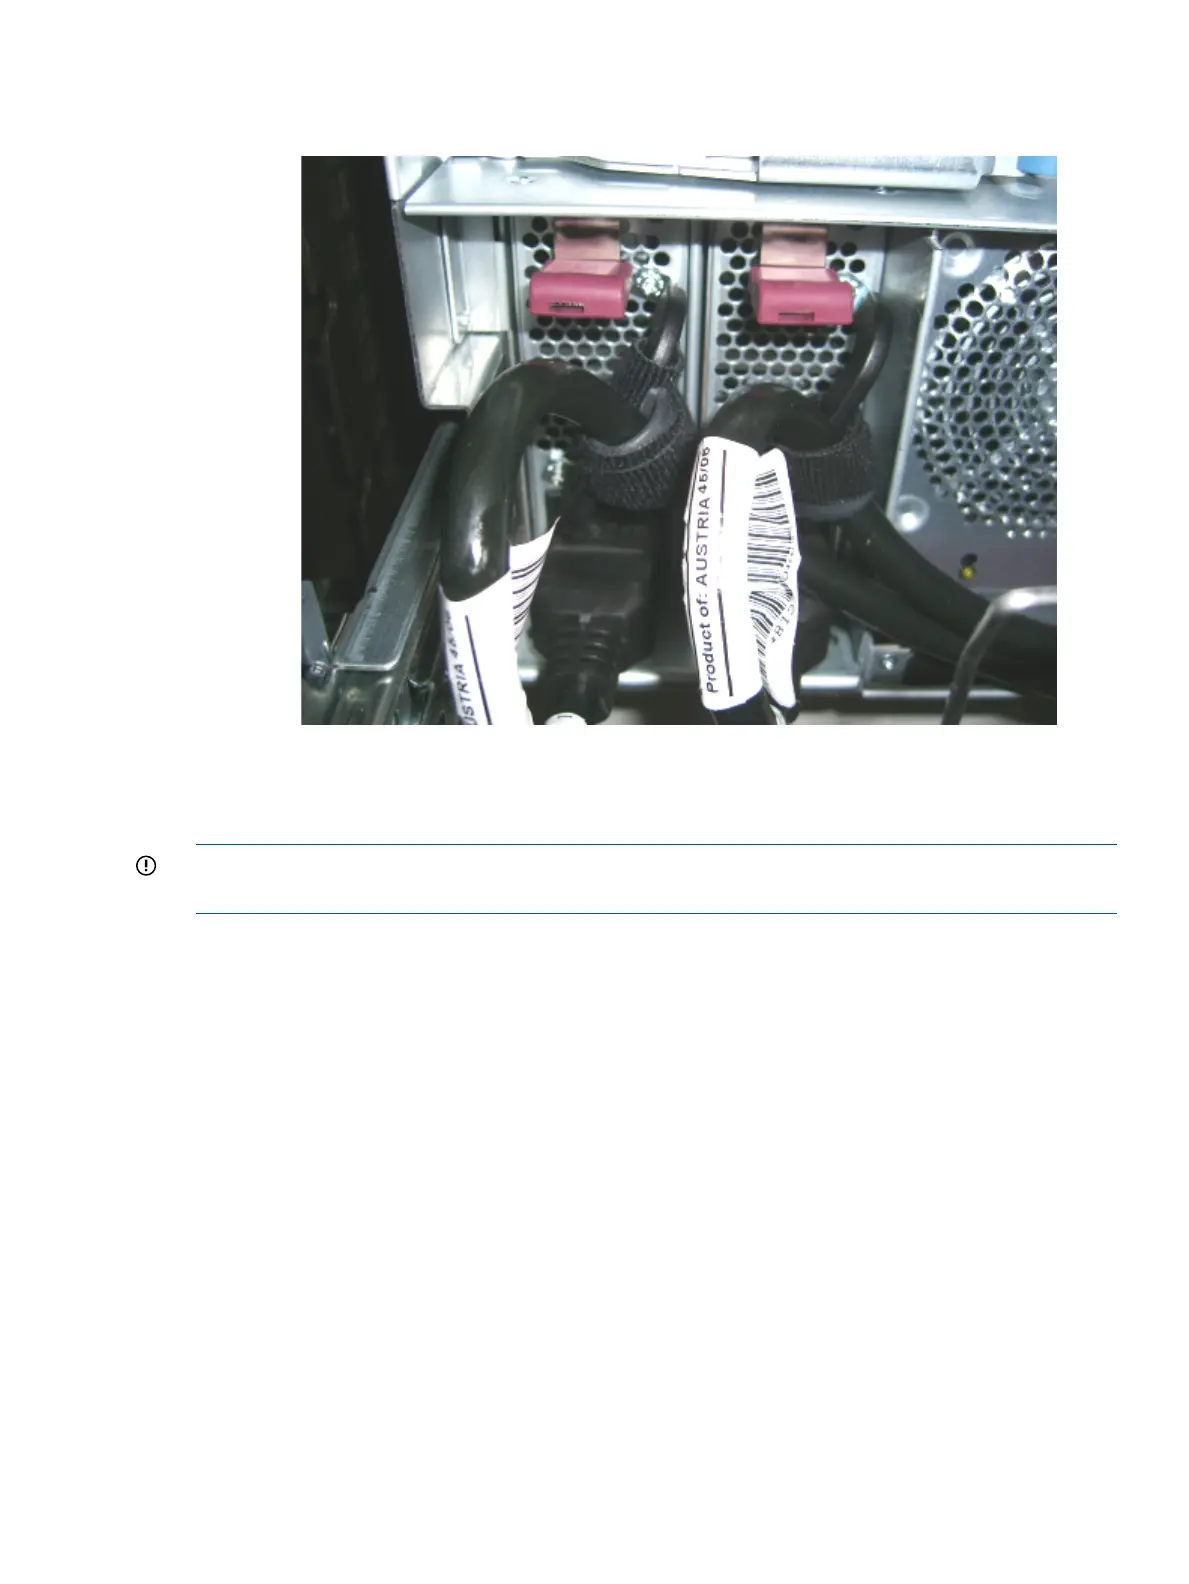
2. Attach the other end of the strap to the power cord (Figure 16).
Figure 16 Fastening the Power Supply
Applying Standby Power to the Server
To apply standby power to the server, follow these steps:
IMPORTANT: If the server has one BPS, plug the power cable into the receptacle labeled PWR
1.
1. Locate the appropriate receptacle on the rear of the chassis. Plug the power cord into the
receptacle.
2. Observe the following LEDs at two different intervals to ensure the server is in the standby
power state:
INTERVAL ONE
After you plug the power cord into the server, the BPS flashes green and an no light is present
on the hard disk drives.
INTERVAL TWO
Approximately 30 seconds later, the BPS is green and no light is present on the hard disk
drives. Standby power is now on.
LAN
The server has two LAN ports that can provide network connectivity.
Figure 17 shows the available LAN ports for the server.
Connecting the Cables 35
 Loading...