2-9
Installing the Series 2300 and 2500 Switches
Installation Procedures
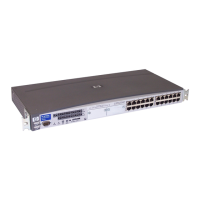
Installing the Series 2300
and 2500 Switches
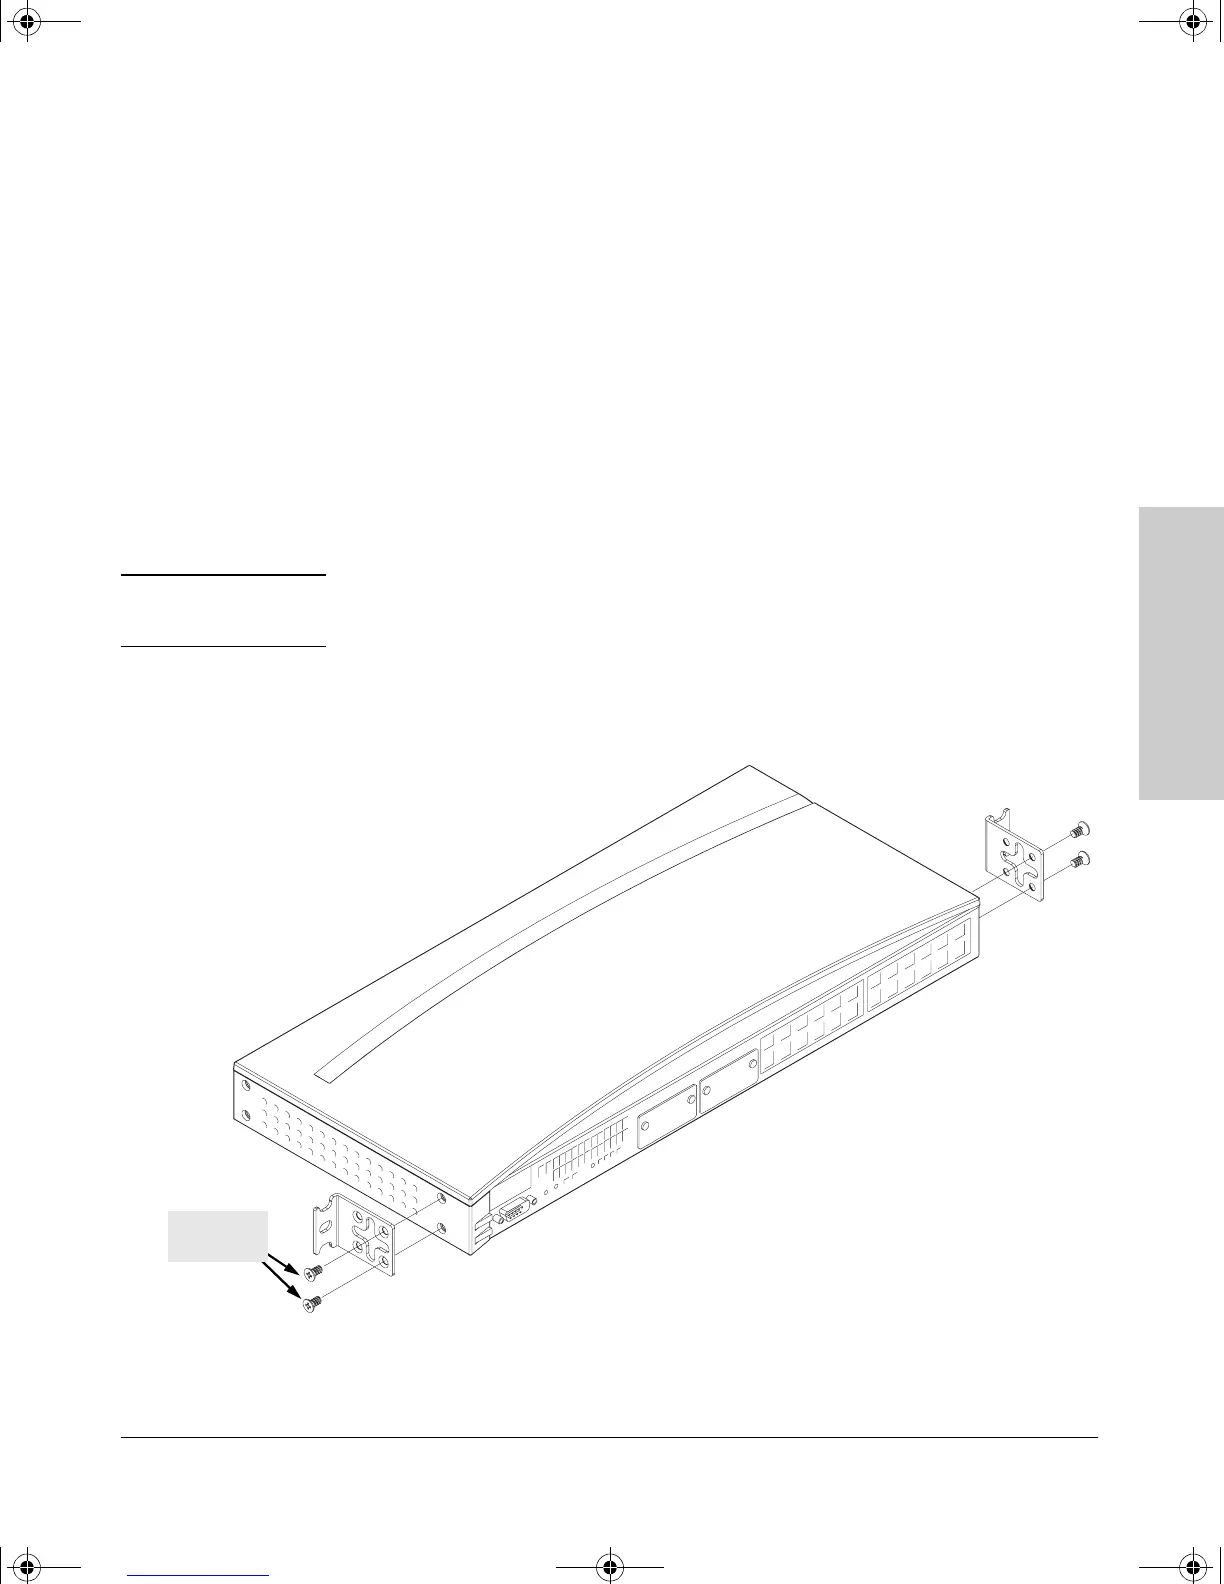
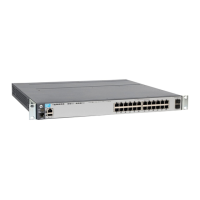
4. Mount the Switch
After you have verified that the switch passes self test, you are ready to mount
the switch in a stable location. The Series 2300 and 2500 switches can be
mounted in these ways:
■ in a rack or cabinet
■ on a horizontal surface
■ on a wall
Rack or Cabinet Mounting
The Series 2300 and 2500 switches are designed to be mounted in any EIA-
standard 19-inch telco rack or communication equipment cabinet.
Warning For safe operation, please read the mounting precautions on
page 2-3, before mounting a switch.
1. Use a number 1 Phillips (cross-head) screwdriver and attach the mounting
brackets to the switch with the included 8-mm M4 screws.
8 mm
M4 screws
2353-ed2.book Page 9 Friday, February 9, 2001 6:00 PM