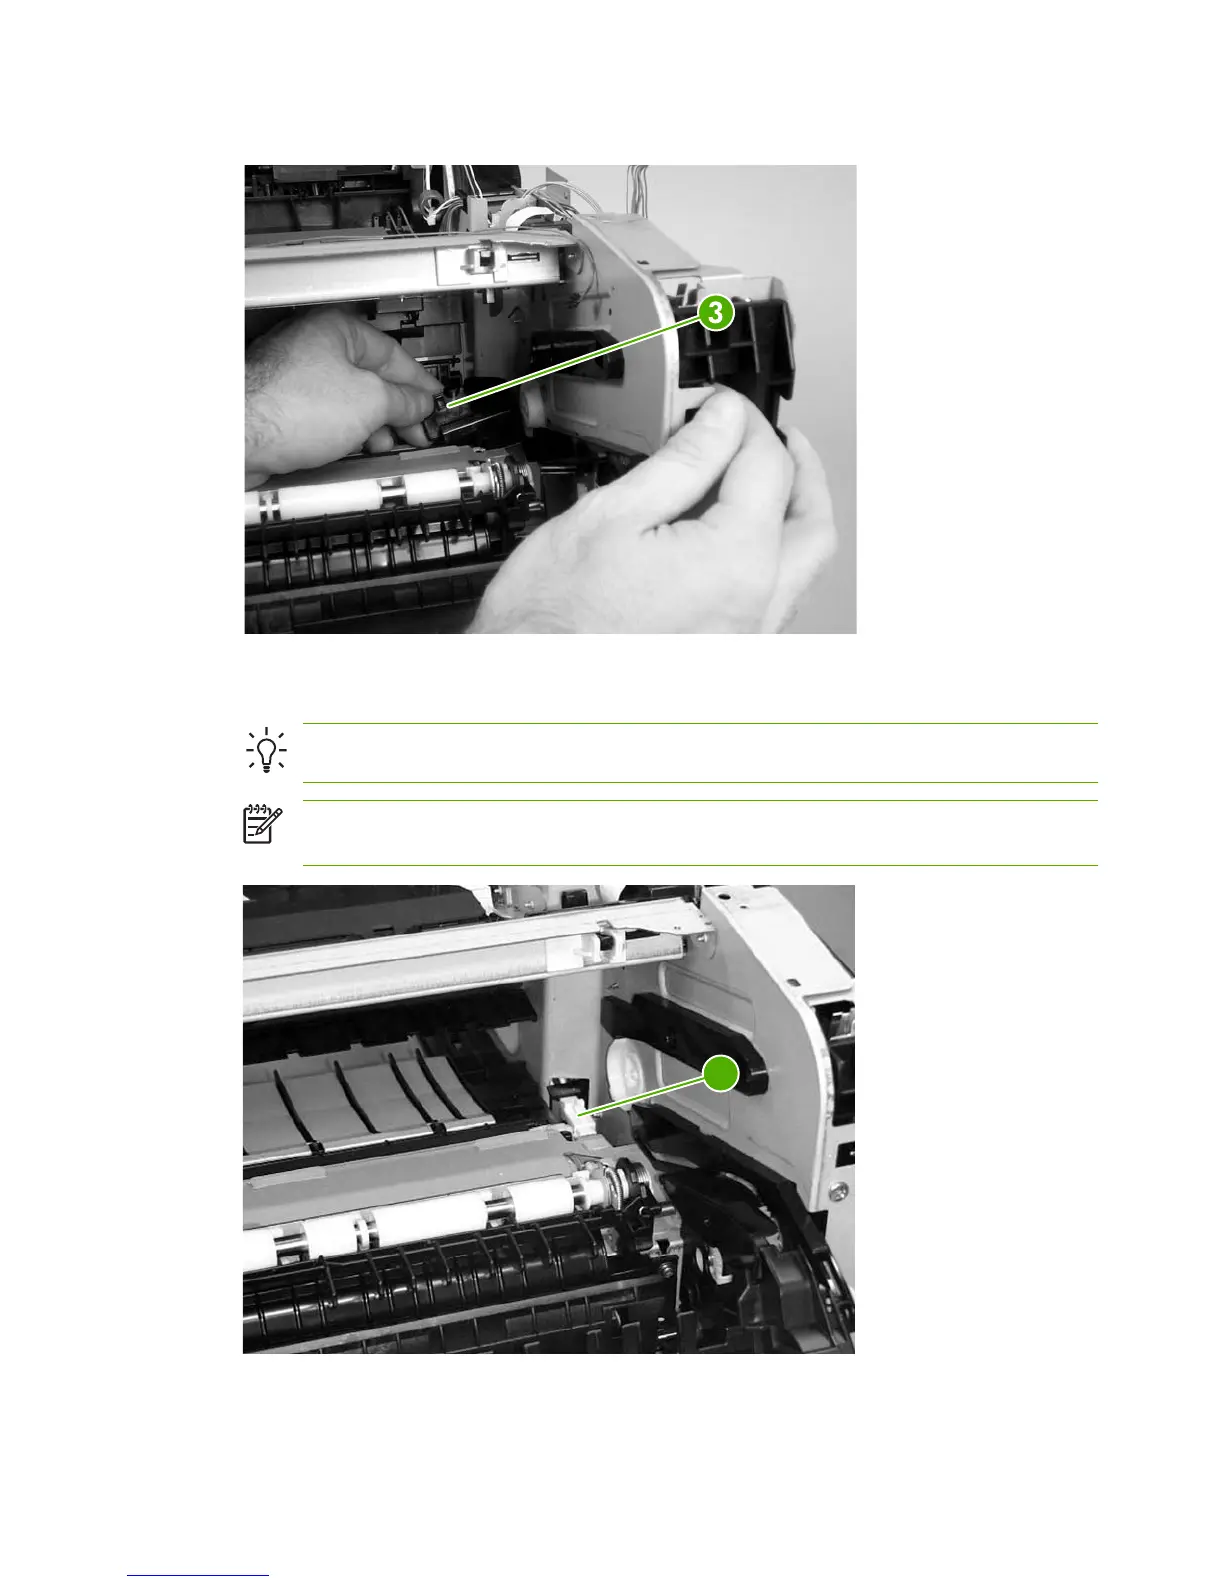
3. Remove the connector cover (callout 3).
Figure 5-150 Removing the low-voltage power supply PCA (2 of 6)
4. Use a flatblade screwdriver to disconnect one connector (callout 4).
Hint It is easier to disconnect the connector with the paper guide removed.
NOTE The connector release is on the left side of the connector. Push the connector
release when disconnecting the connector.
6
Figure 5-151 Removing the low-voltage power supply PCA (3 of 6)
152 Chapter 5 Removal and replacement ENWW
 Loading...