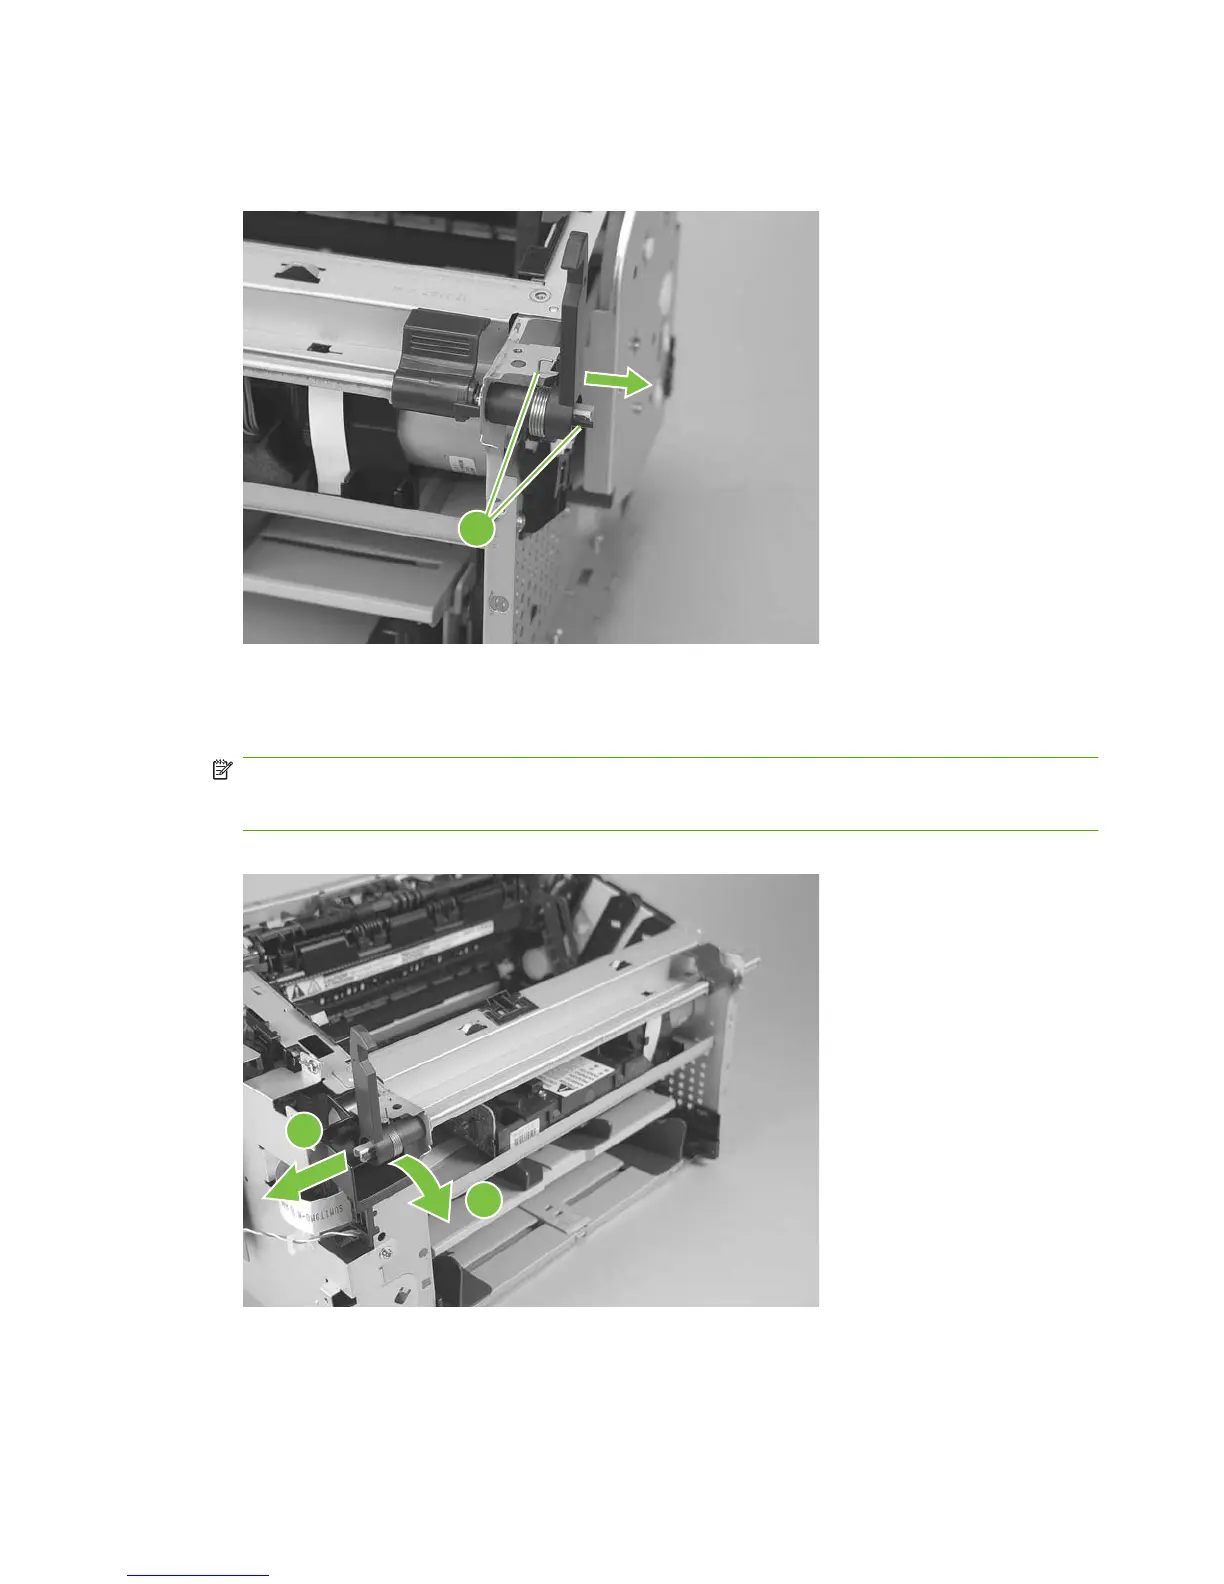
3. Release one tab and one spring (callout 3) and then remove right-side scanner-assembly locking
lever.
Figure 5-64 Remove the laser/scanner (2 of 7)
3
4. Push the shaft to the left to disengage it (you might need to release the left-side locking-lever
spring), and then rotate the shaft towards the front of the product until the left-side scanner-
assembly locking lever is in the down position.
NOTE: When the shaft is reinstalled, make sure that the locking levers and the cartridge-door
button (mounted to the shaft near the right-side locking lever) are correctly positioned. Verify that
the locking-lever tension springs are engaged in the slots in the chassis.
Figure 5-65 Remove the laser/scanner (3 of 7)
1
2
90 Chapter 5 Removal and replacement ENWW