22 Chapter 1 Setting up ENWW
The wizard starts when the device is turned on. You can choose to
use the wizard or exit the wizard to configure the settings at a later
date. If you choose to configure the fax settings later, you can select
the FAX icon and the wizard will open.
Note The settings configured using the wizard on the control panel override
any settings made in the embedded Web server.
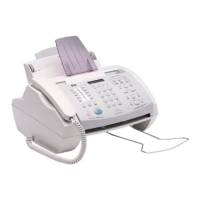
Accessing fax settings menu
The required fax settings are set using the fax settings menu. The fax
menu is accessed from the MFP control panel Menu button, see
Figure 1-26, “MFP control panel.”
Note If the fax menu settings do not appear in the menu listing, LAN fax may
be enabled. When LAN fax is enabled, the analog fax accessory is
disabled and the fax menu does not display. Only one fax feature, either
LAN fax or analog fax, can be enabled at a time. The fax icon displays
for either fax feature. If you wish to use analog fax when LAN fax is
enabled, use the HP MFP Digital Sending Software Configuration
Utility to disable LAN fax.
Figure 1-26 MFP control panel
For detailed information on the operation of the MFP control panel,
see the MFP user guide.
To set or verify the date and time
The date and time setting for the fax accessory is the same value as
the MFP date and time setting. If this is the first time you are powering
up the MFP, you will prompted for this information.
To verify or change the date and time settings, complete the following
steps.
Touch-screen area
Menu button
Fax
Fax icon
Start button
 Loading...