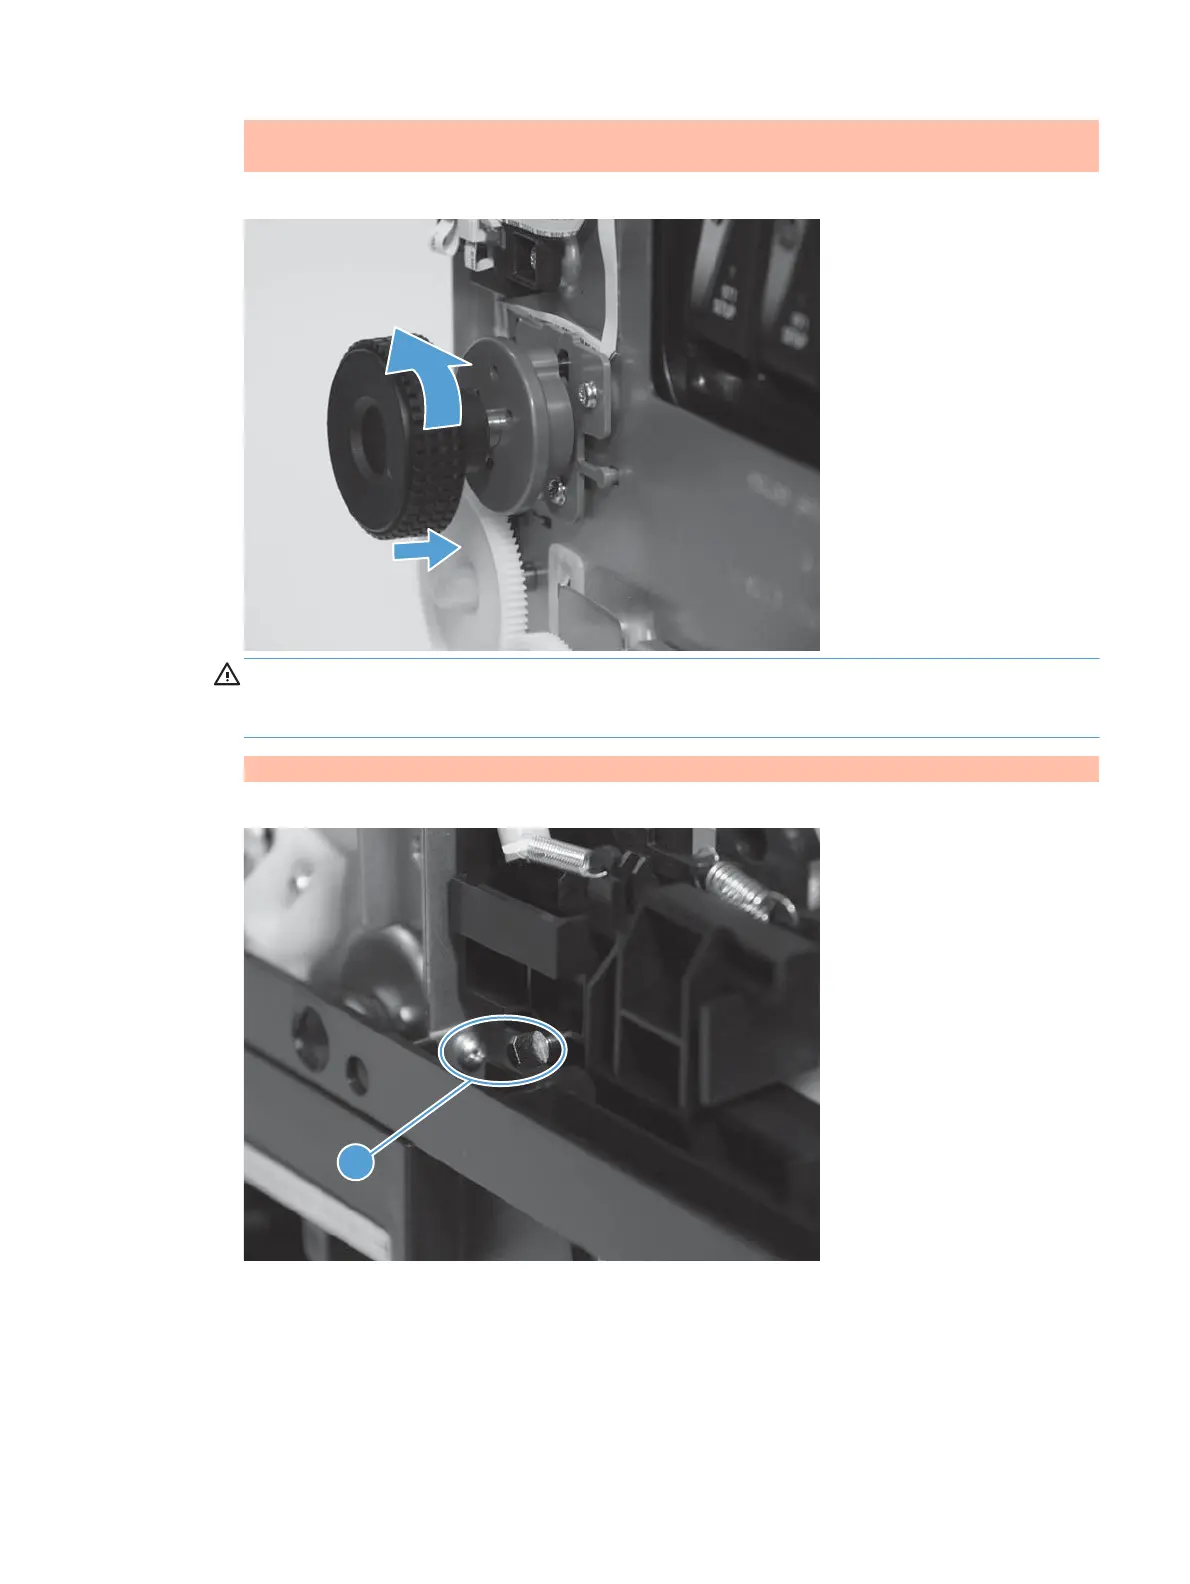
3. Insert the printbar lift lock tool into the printbar lock mount, rotate the tool counter-clockwise, and
then push in the locking disc to secure the printbar in place. (Optional)
Figure 1-76 Remove the web wipe assembly (2 of 6)
CAUTION: The printbar lift lock tool must remain in place until either the printbar is removed, or
the web wipe assembly is reinstalled in the product. If the printbar drops to the bottom of the
product, the printbar might be damaged. This is not a concern for disposal and recycling.
4. Locate the web wipe cartridge drive shaft (callout 1).
Figure 1-77 Remove the web wipe assembly (3 of 6)
1
 Loading...