Do you have a question about the HP P2000 and is the answer not in the manual?
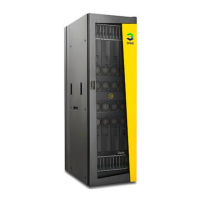
HP recommends installing storage enclosures at the bottom of a rack to optimize cabling access.
Instructions for installing cage nuts on the rack, with a note about illustration markings.
Steps to slide rear rails into front rails and secure with screws, noting alignment.
Instructions on using hanger pins to hang rails and securing them to the rack with screws.
Attaching side brackets to the enclosure using Phillips flat-head screws before rack installation.
Sliding the enclosure onto rail ledges and securing the front and side brackets to the rack.
The enclosure is ready for cabling and configuration after installation.
Specifies minimum clearances in front, behind, and between racks for proper airflow.
Recommends installing in a climate-controlled environment with maximum ambient temperature.
Comply with electrical regulations; avoid overloading circuits and use separate circuits.
Ensuring proper grounding according to national and local electrical codes for safety.
Warnings regarding rack stability, leveling jacks, and handling to prevent injury or damage.
Provides information on accessing HP MSA user guides, website, and technical support.
| Drive Support | SAS |
|---|---|
| Controller | Dual Controller options available |
| Host Interface | 6Gb SAS, 8Gb FC, 1Gb iSCSI |
| RAID Levels | RAID 0, 1, 5, 6, 10 |
| Storage Type | SSD |
| Hot-swappable Components | Drives, controllers, power supplies, fans |
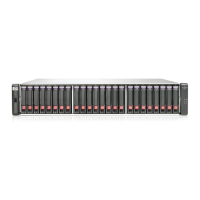
| Dimensions | 8.9 x 44.8 x 63.5 cm (3.5 x 17.6 x 25 inches) |
| Drive Bays | Up to 12 LFF or 24 SFF drive bays per enclosure |