Creating DVD Movies 141
To edit your video files:
1 If your project is already open, click the Edit
button and skip to step 4.
2 Click Start, choose All Programs, Video,
InterVideo WinDVD Creator, and then
click InterVideo WinDVD Creator again.
3 Open a project by selecting either the Create
new project or the Open existing
project button.
4 If you have already captured video for this
project, drag and drop the video files from the
Media Library to the Storyboard. If you have
video files on your hard disk drive you would
like to add to this project, click Import (or
Drag and Drop).
5 If you do not like the sequence of the video
files, drag and drop the files in the Storyboard
to change the sequence.
Adding images
1 Click the Image Library icon.
2 Click the Import (or Drag and Drop)
button to open the My Pictures folder on your
hard disk drive.
3 Select the images from your hard disk drive
you would like to add to your Image Library,
and click Open.
4 Drag and drop images from the Image Library
to your storyboard.
Click the following icons to edit still images and
video files.
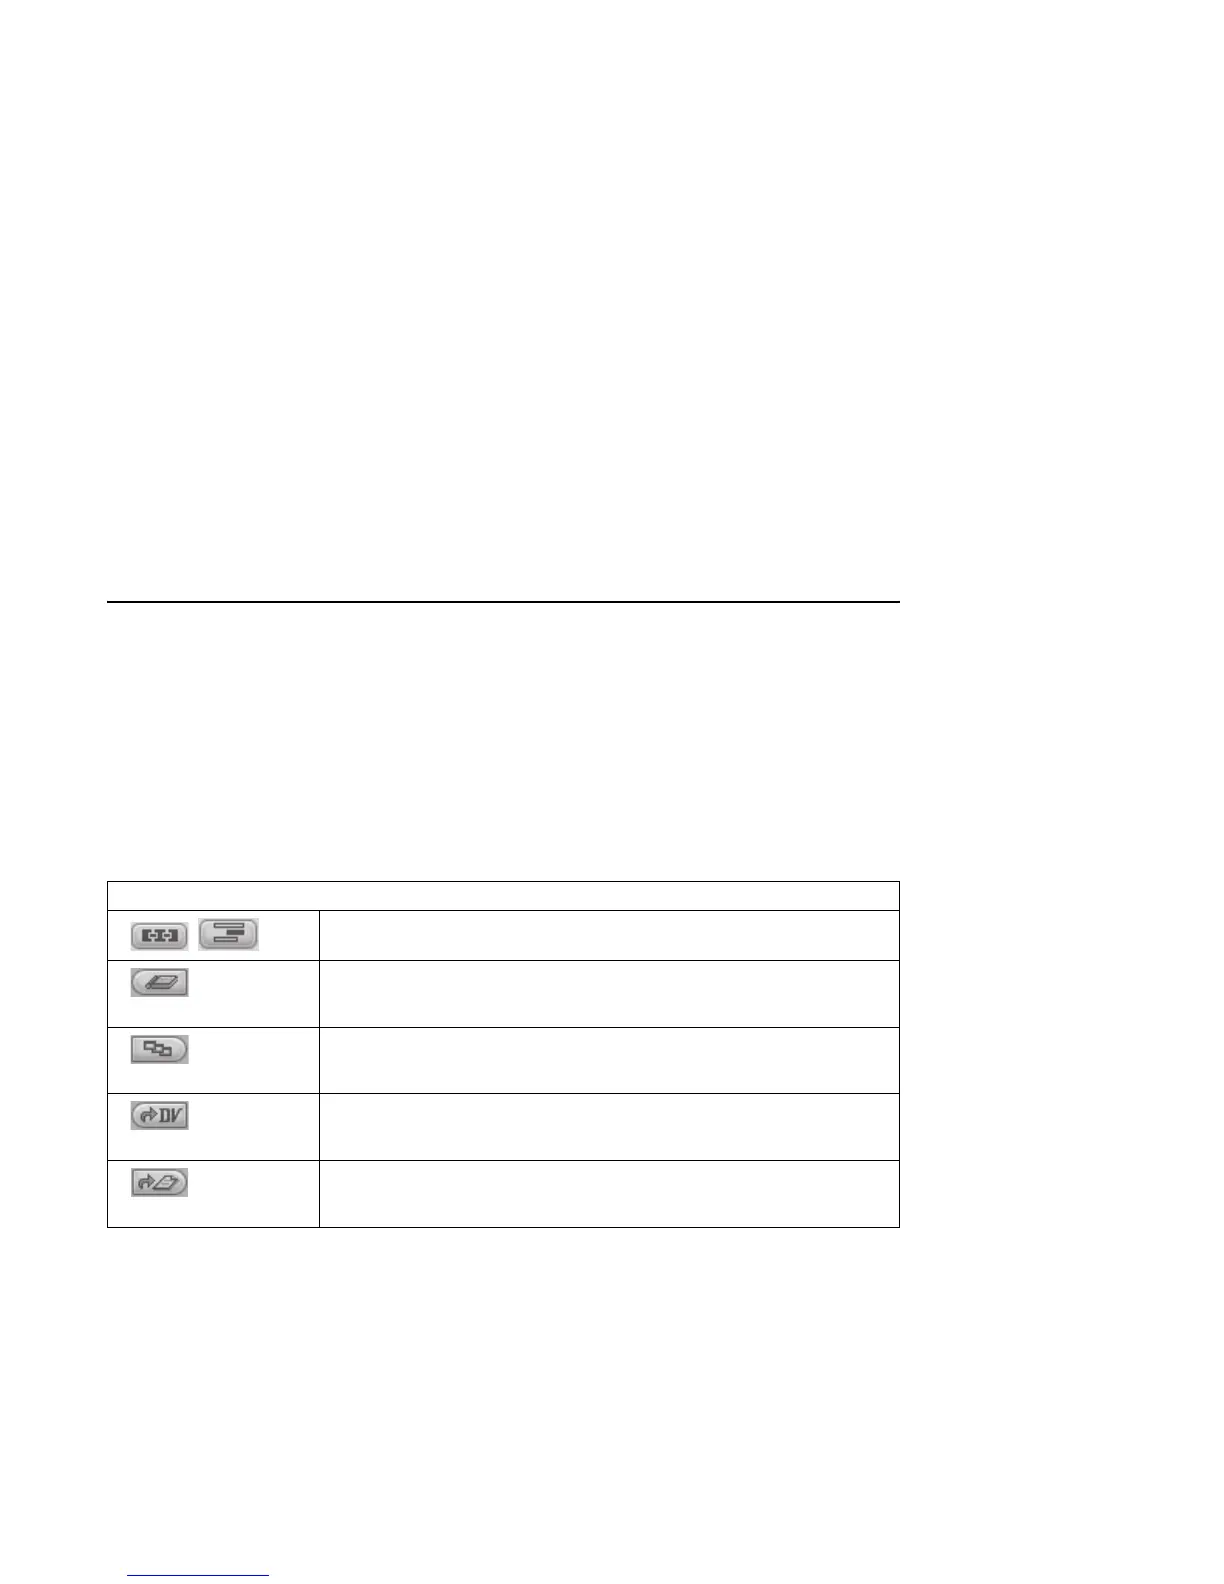
Storyboard icons
/
Switches between Storyboard mode and Timeline mode.
Group
Groups multiple images into one on the storyboard.
Expand
Expands grouped images so they are all displayed on the storyboard.
Save Movie
Records output directly to a DV camcorder.
Save Movie
Writes output to a file in your selected format.
 Loading...


