3. Pull the antennas through the hole that leads to the other side of the top cover (2).
4. Place the computer upright and open as far as possible.
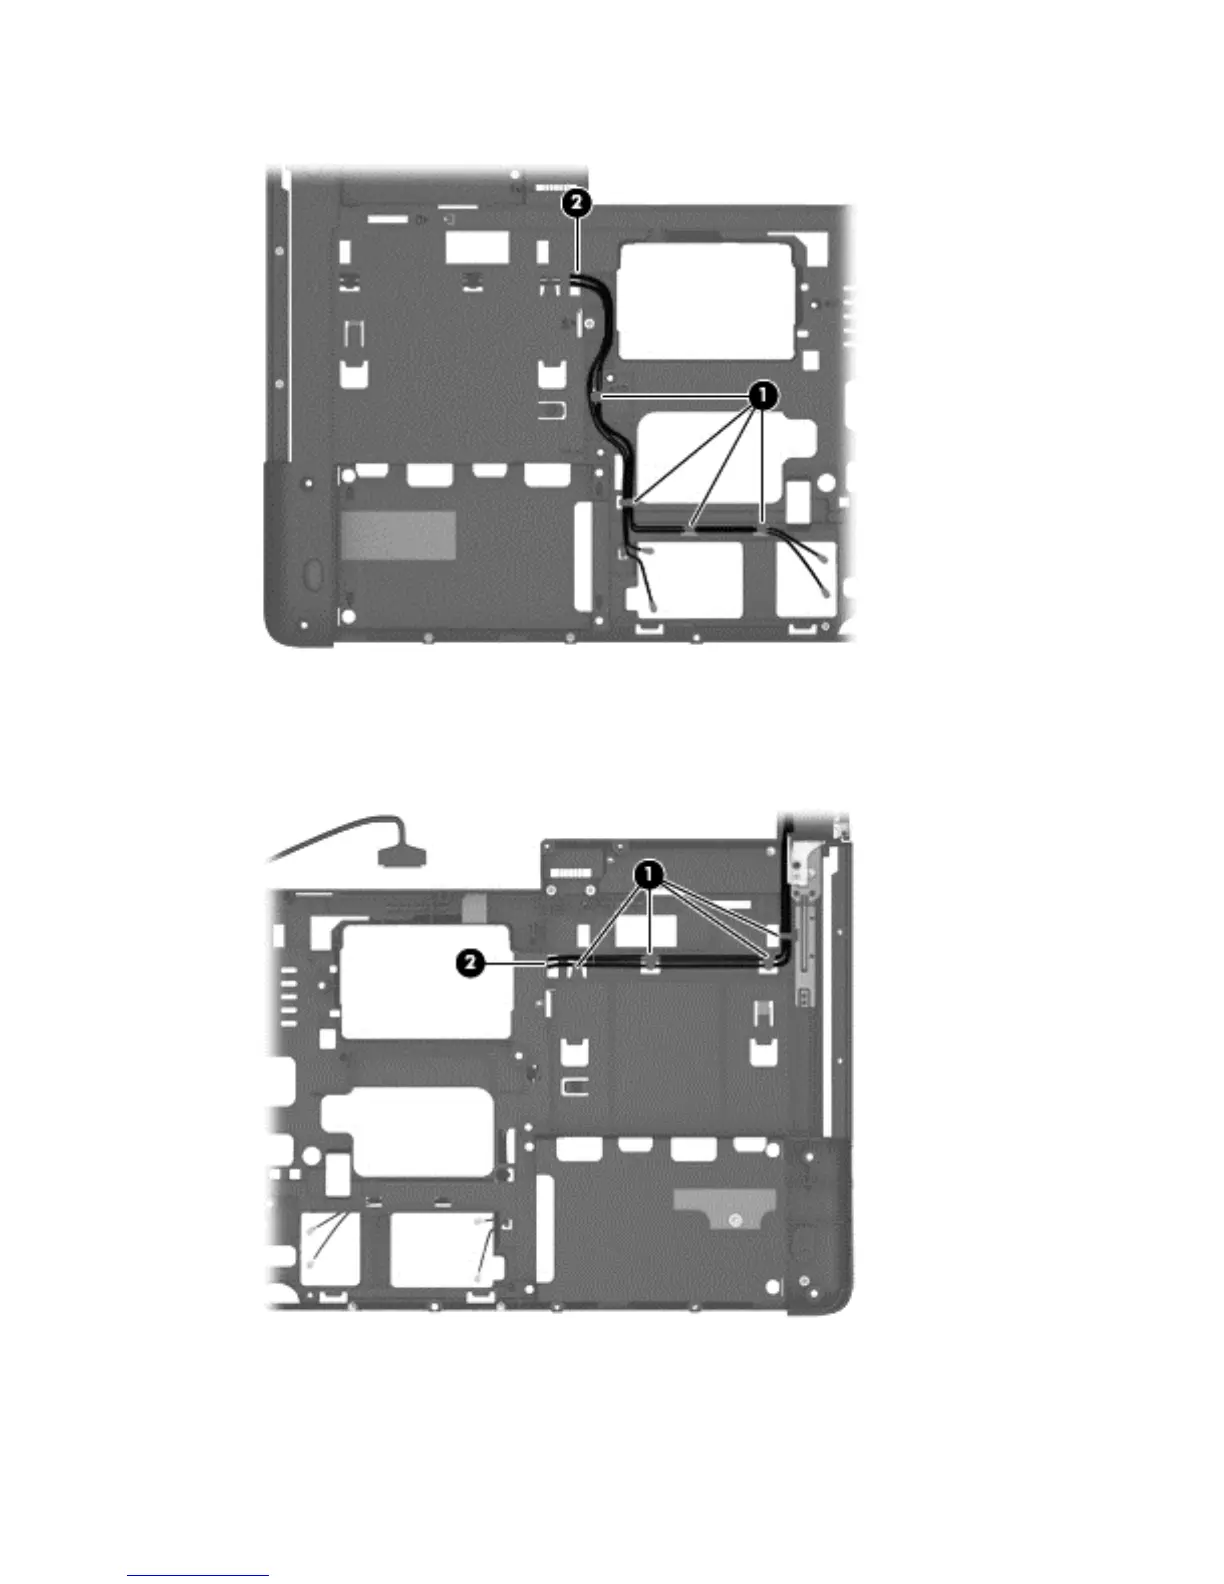
5. Remove the WLAN antennas from the tabs and the routing path (1) on the top of the computer.
6. For reassembly, note the location that the antennas route through to the bottom of the computer (2).
7. Remove the 4 Torx T8M2.5×4.0 screws (1) from the display hinges.
Component replacement procedures 79

 Loading...