EasyManuals Logo

HP ProDesk 600 G2 Series User Manual

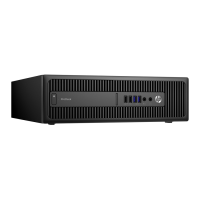
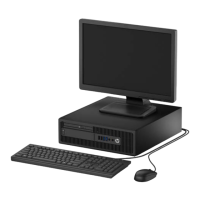
HP ProDesk 600 G2 Series
142 pages
To Next Page IconTo Next Page
To Previous Page IconTo Previous Page
Page #44 background imageLoading...
Page #44 background image
7. Connect the power cable (1) and data cable (2) to the rear of the optical drive.
8. If installing a new drive, connect the opposite end of the data cable to one of the light blue SATA
connectors (labeled SATA1 or SATA2) on the system board.
9. Replace the front bezel if it was removed.
10. Replace the computer access panel.
11. Reconnect the power cord and any external devices, and then turn on the computer.
12. Lock any security devices that were disengaged when the access panel was removed.
36 Chapter 4 Removal and replacement procedures – Microtower (MT) chassis
Table of Contents

Questions and Answers:

Question and Answer IconNeed help?

Do you have a question about the HP ProDesk 600 G2 Series and is the answer not in the manual?

HP ProDesk 600 G2 Series Specifications

General IconGeneral
Processor OptionsIntel Core i3, Intel Core i5, Intel Core i7 (6th Gen)
MemoryUp to 64 GB DDR4
Storage OptionsHDD, SSD
GraphicsIntel HD Graphics, Optional discrete graphics
PortsUSB 3.0, USB 2.0, DisplayPort, VGA, RJ-45
Form FactorSmall Form Factor (SFF), Mini Tower (MT)
Operating SystemWindows 10 Pro, Windows 7 Professional
Expansion SlotsPCIe x16, PCIe x1, PCI
Power Supply200W
DimensionsVaries by form factor
WeightVaries by form factor

Related product manuals