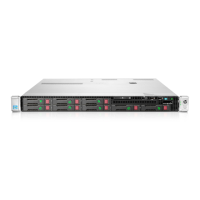
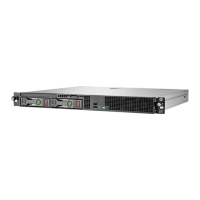
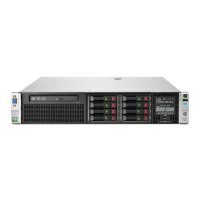
Hardware options installation 68
7.
Connect the power and data cable to the system board and the optical drive.
8. Install the access panel (on page 25).
9. Install the server into the rack ("Installing the server into the rack" on page 40).
10. Connect each power cord to the server.
11. Connect each power cord to the power source.
12. Power up the server (on page 23).
Redundant hot-plug power supply option
CAUTION:
All power supplies installed in the server must have the same output power capacity.
Verify that all power supplies have the same part number and label color. The system becomes
unstable and may shut down when it detects mismatched power supplies.
Label color Output
Blue
460W
Orange
750W
White
750W 48V DC
Green
1,200W
CAUTION: To prevent improper cooling and thermal damage, do not operate the server unless
all bays are populated with either a component or a blank.
IMPORTANT: Before selecting power supplies, HP recommends that you run the HP Power
Advisor to determine the right size power supply for your server configuration. HP Power Advisor
is available as both an online tool, running directly from the HP website, and as a downloadable
tool. Instructions on how to download and use the tool are available on the HP website
(http://www.hp.com/go/hppoweradvisor).
To install the component:
1. Access the product rear panel (on page 25).
2. Remove the blank.
 Loading...