15. Replace and latch the access panel, and then reinstall the rear I/O panel. See Removing and replacing
the access panel on page 5.
16. Replace the thin client stand.
17. Reconnect the AC power cord and turn on the thin client.
18. Lock any security devices that were disengaged when the thin client access panel was removed.
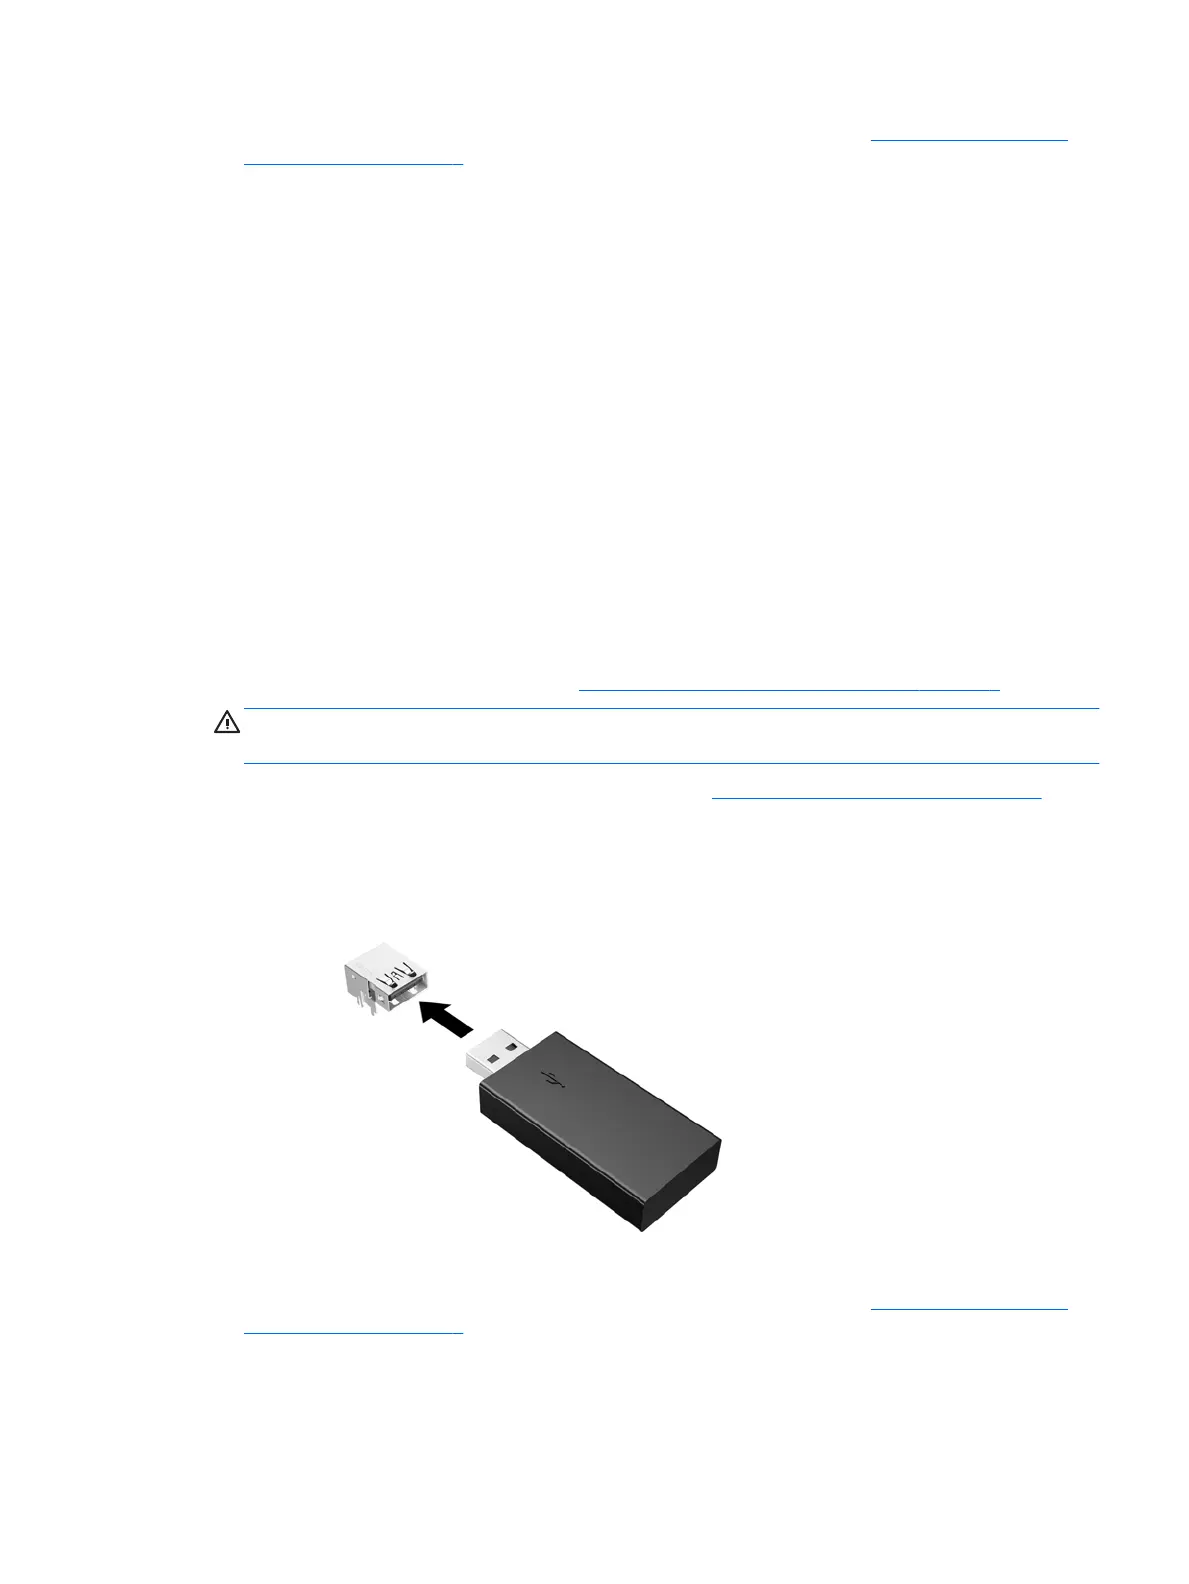
Installing an internal USB ash drive
There is one USB 3.0 ash drive port on the system board.
To install a USB ash drive:
1. Remove/disengage any security devices that prohibit opening the thin client.
2. Remove all removable media, such as USB ash drives, from the thin client.
3. Turn o the thin client properly through the operating system, and then turn o any external devices.
4. Disconnect the AC power cord from the AC outlet, and disconnect any external devices.
5. Remove the stand from the thin client.
6. Lay the unit at on a stable surface with the right side up.
7. Remove the thin client access panel. See Removing and replacing the access panel on page 5.
WARNING! To reduce risk of personal injury from hot surfaces, allow the internal system components
to cool before you touch them.
8. Locate the USB ash drive port on the system board. See Locating internal components on page 8.
9. Align the USB ash drive with the USB port and press the drive rmly into the port until it is securely
seated.
10. Replace and latch the access panel, and then reinstall the rear I/O panel. See Removing and replacing
the access panel on page 5.
11. Replace the thin client stand.
Installing an internal USB ash drive 17