8
Installing the Power Supply
Note During the installation, make sure that AC power is NOT connected to the unit
being installed.
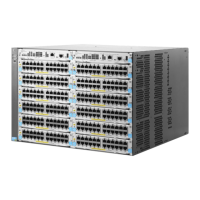
Note Although the illustration shows an HP 5406R zl2 switch, the installation
procedure is the same for all zl2 switches.
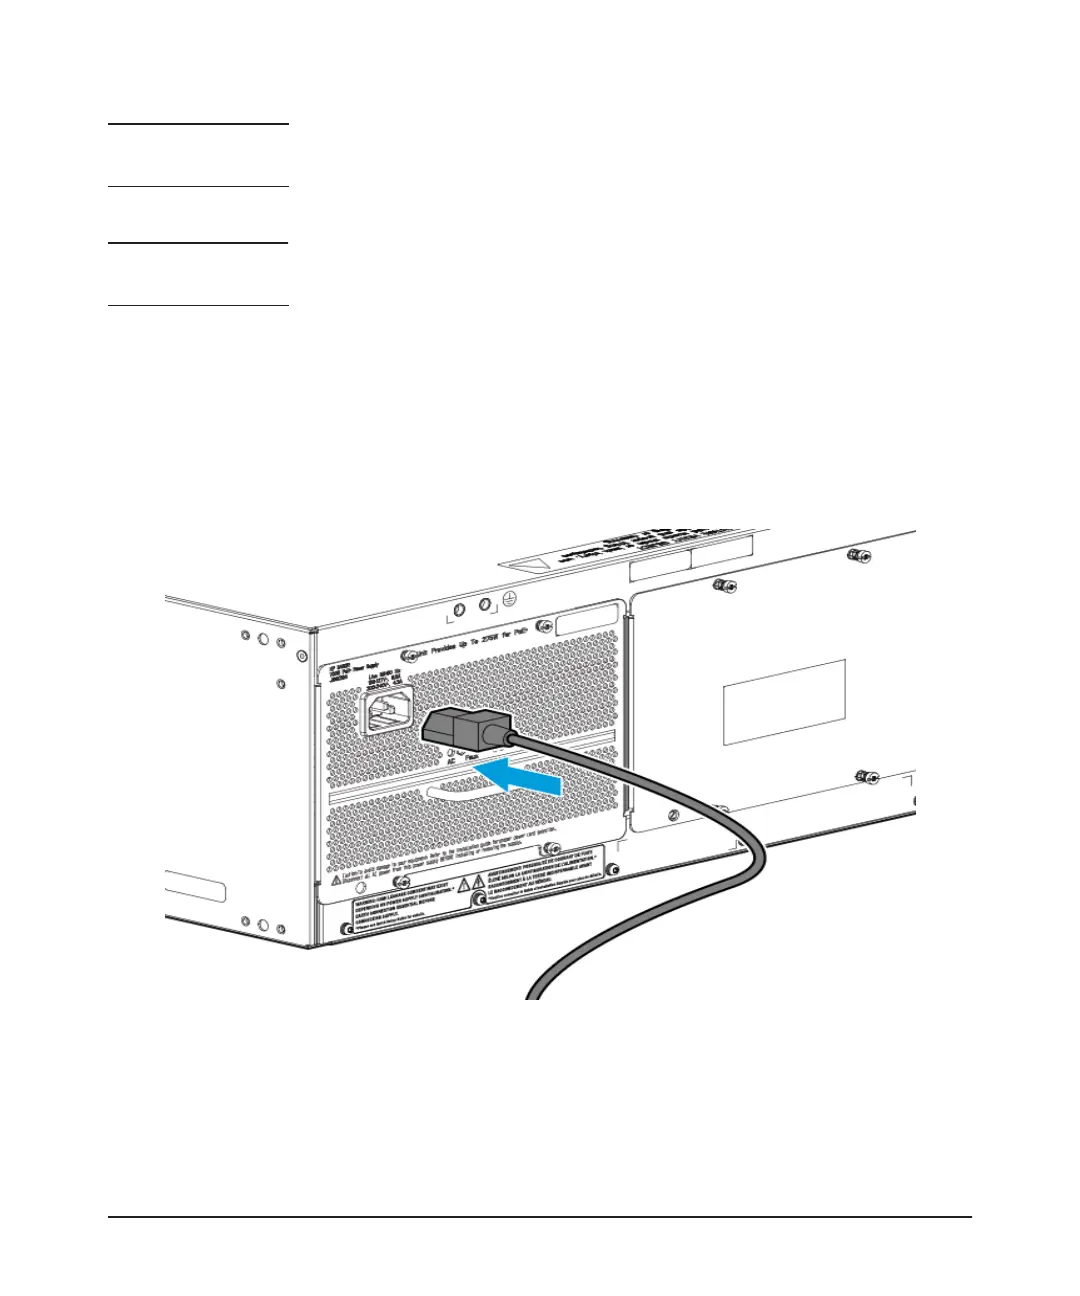
3. Tighten the four retaining screws that hold the power supply in place
until the screws are secure, as shown in the next illustration. The screws
can be tightened with either a flat-bladed or Torx T-10 screwdriver. Be
careful not to overtighten the screws.
4. Attach ground cable, if you have one, to the grounding lug.
Figure 5. Fully installed power supply
5. Connect the power cord supplied with the power supply to the power
connector, and then into a properly grounded electrical outlet. To provide
true redundancy, the second power supply should be connected to a
different AC power source from the other supply. Then, if one AC power