Do you have a question about the HUANUO HNDS8 and is the answer not in the manual?
Read instructions, avoid misuse, handle gas spring carefully, ensure desk capacity.
Monitor weight (4.4-19.8 lbs) and VESA pattern (75x75mm to 100x100mm) are critical.
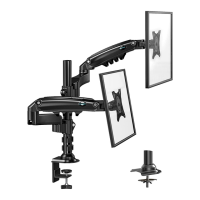
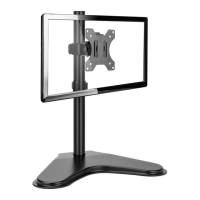
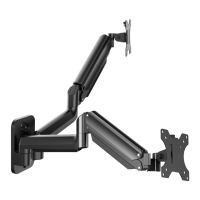
Demonstrates 360° and 180° movement capabilities of the mount arms.
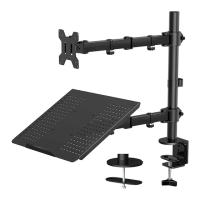
Details C-Clamp and Grommet mounting options for base installation.
Ensure monitor is attached and net weight is within 4.4-19.8 lbs before adjusting.
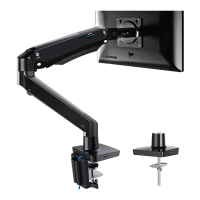
Use Allen key to turn bolts clockwise (-) or counter-clockwise (+) to adjust tension.
A screwdriver is required for assembly but not supplied with the mount.
Lists C-Clamp, Pole Assembly, various bolts, nuts, locking plate, and Allen key.
Details Arms, Cable Clips, Bolts, Spacers, Cable Covers, and Allen Keys for subsequent steps.
Covers C-Clamp and Grommet mounting procedures for securing the base.
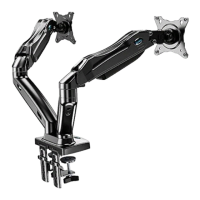
Attaches the monitor arms to the pole assembly and secures them.
Selects correct bolts and attaches monitors to the arms.
Fine-tunes arm tension so monitors stay at desired height.
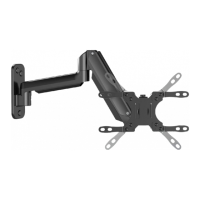
Defines proper and non-proper usage directions for arm rotation.
Adjusts the tilt angle of the monitor.
Adjusts the horizontal rotation of the monitor.
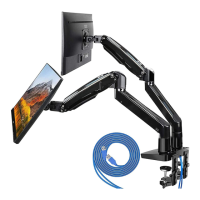
Secures cables along the arms using cable covers and guides.
| Model | HNDS8 |
|---|---|
| Category | Racks & Stands |
| Type | Monitor Stand |
| Color | Black |
| VESA Compatibility | 75x75mm, 100x100mm |
| Rotate | 360° |
| Weight Capacity | 17.6 lbs (8 kg) |
| Height Adjustability | Yes |
| Compatibility | Most flat and curved monitors |
| Mounting Options | Grommet |
| Material | Steel, Aluminum, Plastic |
| Screen Size | 13 to 32 inches |