6
Installing the Router
Before the installation, ensure the following:
Sufficient space has been reserved for the router.
The DIN rail has been fixed.
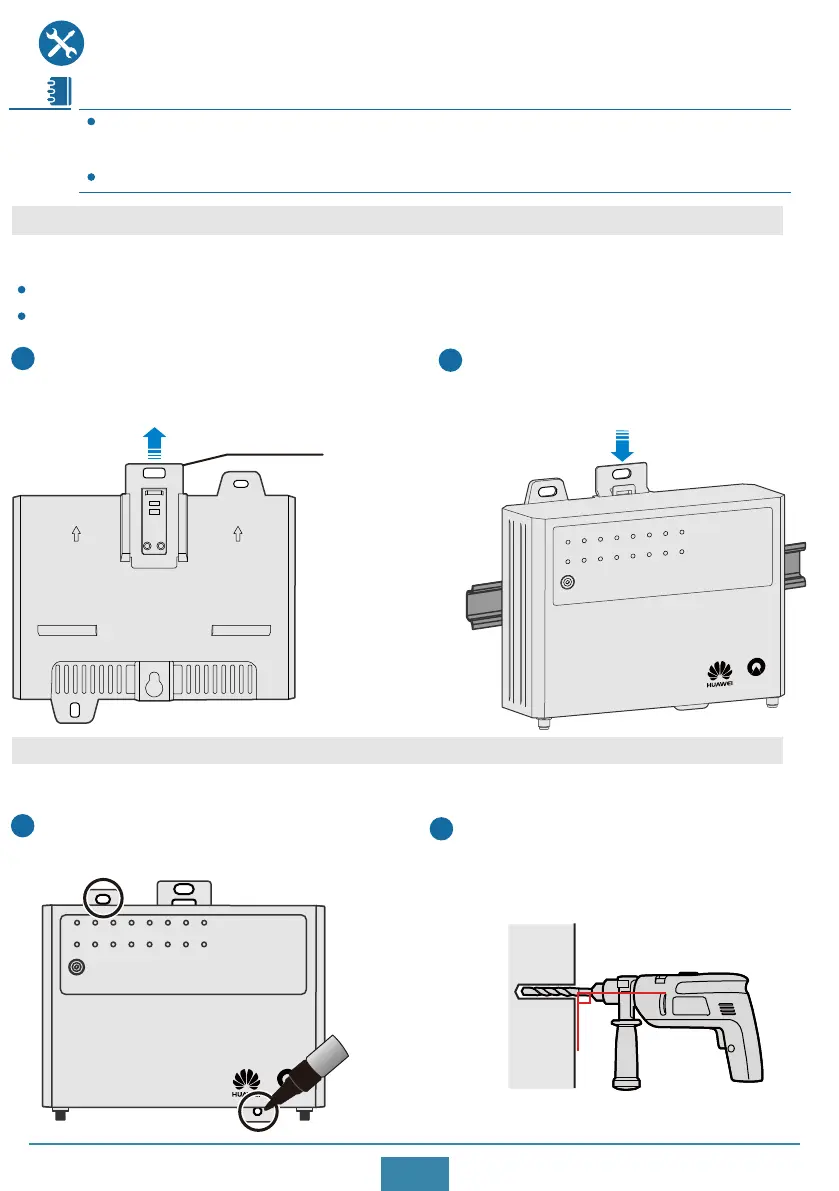
Pull the fixture on the DIN rail mounting
kit at the back of the router.
1
Place the DIN rail mounting kit onto
the DIN rail and press the fixture to
secure the router on the DIN rail.
2
Scenario 1: Installing the Router on a DIN Rail
Fixture
Scenario 2: Mounting the Router on a Wall
Mark the positions of two mounting
holes on the wall.
1
Installation Method 1
Drill holes for ST4.2 tapping screws on
the wall using a hammer drill with an
appropriate drill bit.
2
The methods for installing, connoting and logging in to the AR-Sc, AR-Se, AR-Sa, AR-So
series routers and AR-PM series UPS
are similar. AR-Sc-Lc-MC is used as an example here.
AR-PM series UPS cannot be mounted
on a Wall.
Note
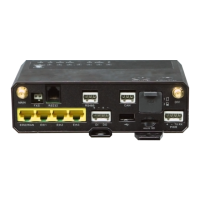
Schindler
PWR FXS RS232-0 RS232-1 CAN-0 CAN-1 SIGNAL DI
Eth0/WAN
BLE/RST
Eth1 Eth2 Eth3 CIL1 CIL2 CIL3 CIL4
Schindler
PWR FXS RS232-0 RS232-1 CAN-0 CAN-1 SIGNAL DI
Eth0/WAN
BLE/RST
Eth1 Eth2 Eth3 CIL1 CIL2
CIL3
CIL4
90°
 Loading...