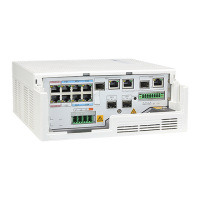
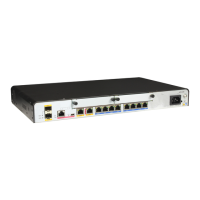
L1
L2 L3
FE5
FE4
FE3
FE2
N
A
RS485-0
B
A
RS485-1
DI-0
DI-1
B
GE0
RX
TX
GE1
MONITOR
Power Outage Survival
RX
TX
FE6
FE7
CONSOLE
1
2
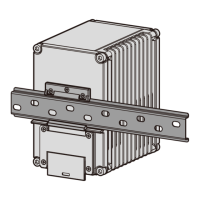
Step 3 Hang the router onto the topmost screw on the 530 horizontal rack-mounting kit and adjust
position of the router to align the mounting holes on the router with those on the rack-
mounting kit. Use two M4x30 screws to fix the router onto the rack-mounting kit and tighten
the topmost screw on the rack-mounting kit.
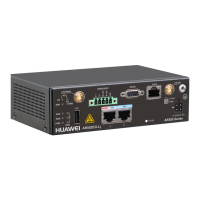
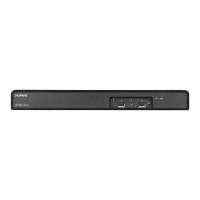
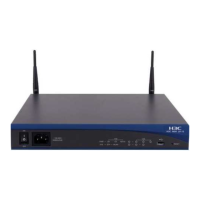
AR530
Series
INFRARED
PWR
RUN/ALM
RS485-0
RS485-1
AR531-F2C-H
1
2
Step 4 Install two floating nuts on each front mounting rail of the cabinet. Leave four mounting holes
between the two floating nuts on the same mounting rail.
Huawei AR500&AR530&AR550 series Industrial Switch
Routers
Hardware Installation and Maintenance Guide
4 Installing an AR530 Series Industrial Switching Router
Issue 05 (2015-12-01) Huawei Proprietary and Confidential
Copyright © Huawei Technologies Co., Ltd.
51
 Loading...