9
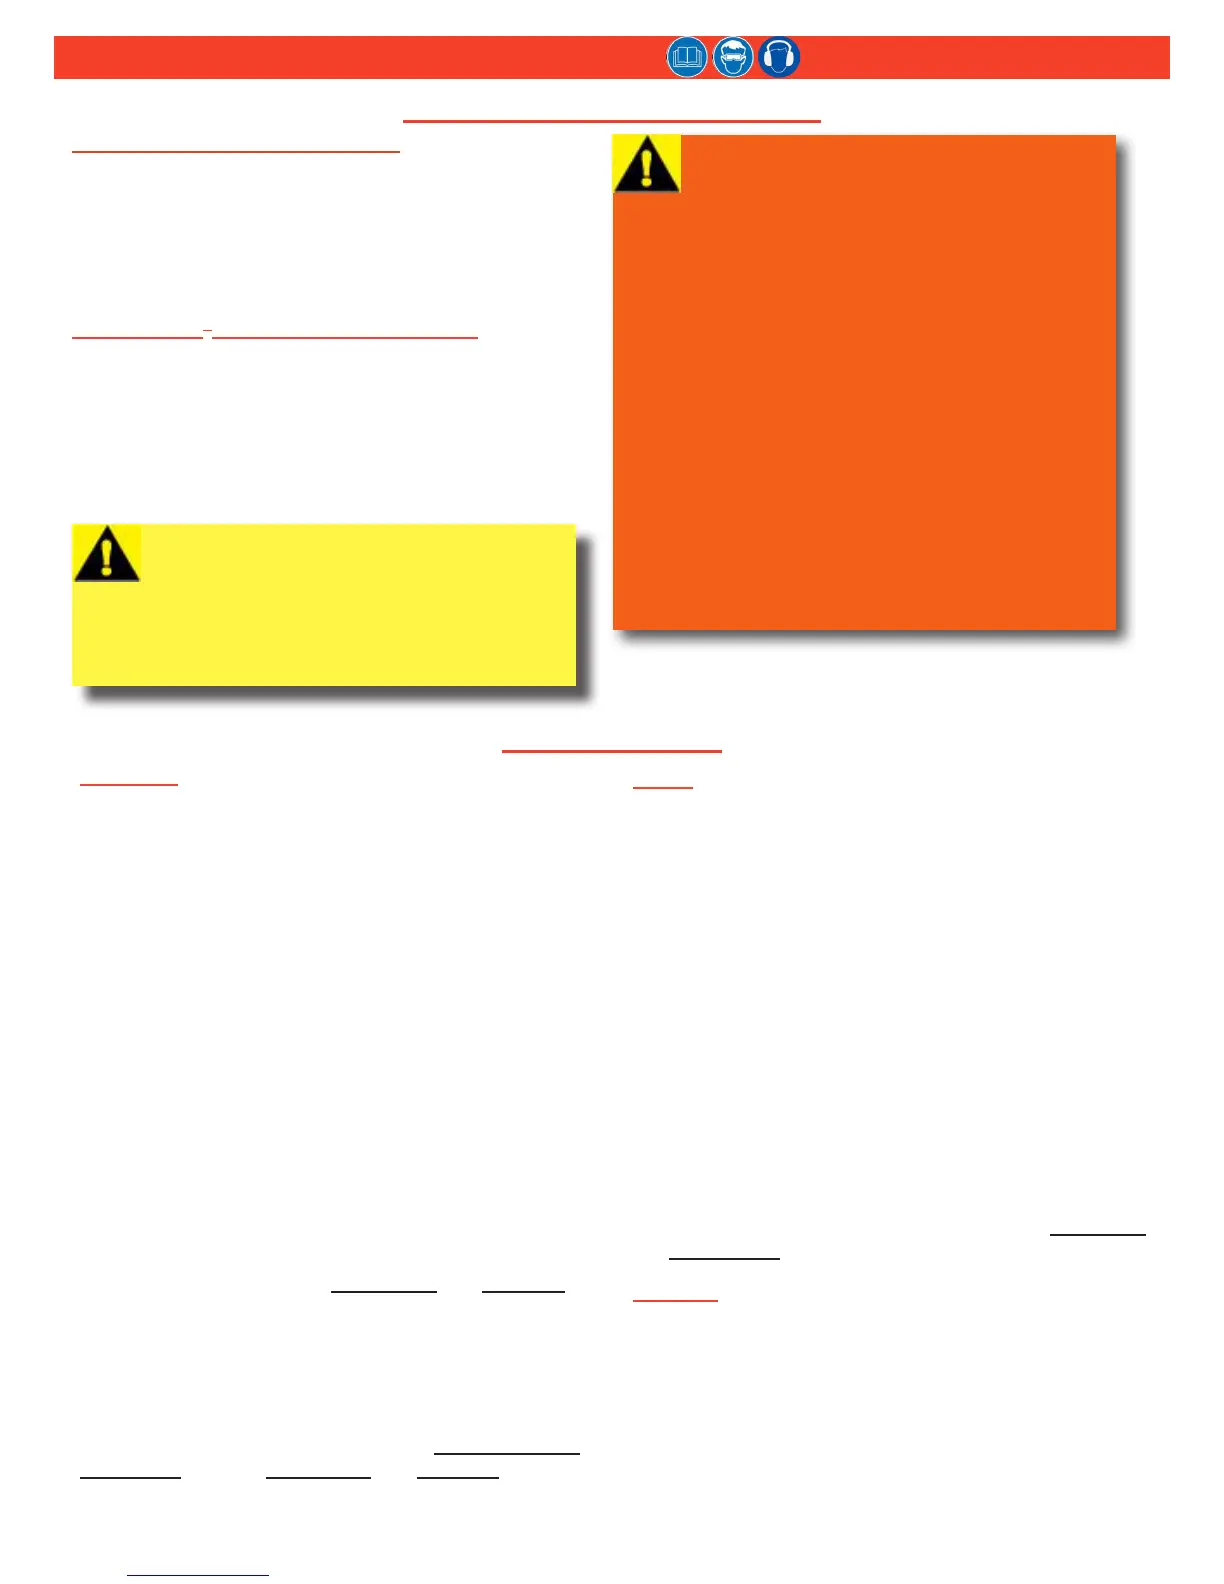
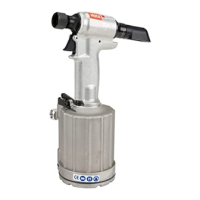
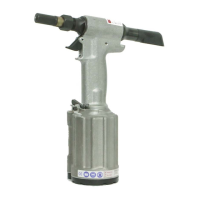
2025 Series Pneudraulic Installation Tools (HK1006) Alcoa Fastening Systems & Rings
GENERAL
The operating efciency of your tool is directly related to
the performance of the entire system. Regular inspection
and the immediate correction of minor problems will keep
the tool operating efciently, and prevent downtime. A
schedule of “preventive” maintenance of the tool, nose
assembly, hoses, trigger and control cord, and POWERIG
will ensure your tool’s proper operation and extend its life.
NOTE: Huck tools should be serviced only by personnel
who are thoroughly familiar with its operation.
√ Service the tool in a clean, well-lighted area. Take
special care to prevent contamination of pneumatic
and hydraulic systems.
√ Have available all necessary hand tools—standard
and special.
√ Carefully handle all parts. Before reassembly,
examine them for damage and wear. Always replace
seals when a tool is disassembled.
√ Disassemble and assemble tool components in a
straight line. Do NOT bend, cock, twist, or apply
undue force. Follow the dIsasseMbly and asseMbly
procedures in this manual.
√ Have Service Parts Kit 2025KIT available when
servicing the tool; it includes important consumable
parts. Other components, as experience dictates,
should also be available.
For supplementary information, refer to troubleshootIng,
Parts lIsts, and the dIsasseMbly and asseMbly
procedures in this manual.
DAILY
√ If a Filter-Regulator-Lubricator unit is not being used,
uncouple the air disconnects and add a few drops of
hydraulic uid or a light-weight oil to the air inlet of
the tool.
NOTE: If the tool is in continuous use, add a few
drops of oil in every 2–3 hours.
√ Before connecting an air hose to the tool, bleed the
air lines to clear dirt or water.
√ Check all hoses and couplings for damage and air
leaks; tighten or replace if necessary.
√ Check the tool for damage and air or hydraulic leaks;
tighten, repair, or replace if necessary.
√ Check the nose assembly for tightness and damage;
tighten or replace if necessary.
√ Periodically, check the tool stroke. If the stroke is
short, add uid. For more information, see MeasurIng
tool stroke on page 15.
WEEKLY
√ Disassemble, clean, and reassemble nose assembly
in accordance with applicable instructions.
√ Check the tool and all connecting parts for damage
and uid/air leaks; tighten or replace if necessary.
MaIntenanCe
operatIng InstruCtIons
WARNINGS:
Inspect tools for damage and wear before
using. Do not use if damaged or worn;
serious personal injury may occur.
Pulling a pin without a collar, or with collar
chamfer against workpiece, may result in
the pin becoming a high-speed projectile
when the pin grooves are stripped or the
pintail breaks off. Serious personal injury
may occur to anyone in the pin’s “ight
path.” This includes pins that ricochet.
Broken pintails eject from the deector with
speed and force. Be sure the pintail deector
is directed safely away from all personnel.
Ejecting pintails striking anyone may cause
serious personal injury. Always use pintail
bottles with models 2025B and 2025V.
Replace damaged pintail deectors and
bottles to avoid serious personal injury.
BLIND FASTENER INSTALLATION
The fastener can be placed in either the work hole or
the end of the nose assembly. For both methods, the
tool and nose assembly must be held against the work
and at a right angle (90-degrees) to it. Press and hold
the trigger until the fastener is installed and the pintail
breaks. Release the trigger.
MAGNA-GRIP
®
FASTENER INSTALLATION
Place the pin in the work-hole and place the collar over
the pin. See WARNINGS. (If the collar has only one
tapered end, that end must be out toward tool.) Hold
the pin in the hole. Push the nose assembly onto the
pin protruding from the collar until the anvil touches
the collar. Press and hold the trigger until the collar is
swaged and the pintail breaks. Release the trigger.
CAUTION: Remove excess gap from
between sheets so that enough of the pintail
protrudes from the collar that all of the jaw
teeth can grip the pintail grooves. Jaws that
are not fully gripping pintail grooves will be
stripped or broken.