A
Angela MartinezAug 13, 2025
Why is my Hunter Douglas Indoor Furnishing shading not responding to the PowerView® Gen 3 remote?
- Llaura84Aug 13, 2025
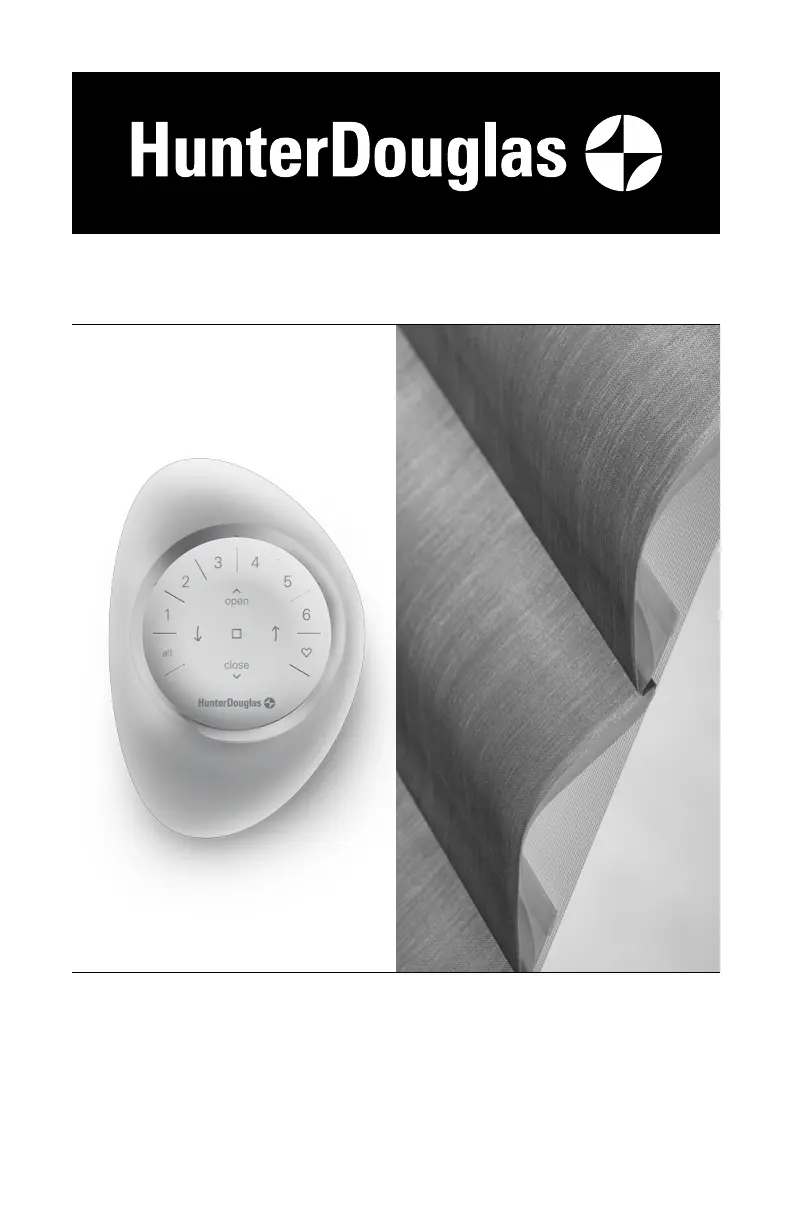
A shade will not operate until it is joined to a group. Ensure the correct group number is selected, and the LED for that group lights up. You can verify the shade's group number in the PowerView App under MORE > ACCESSORIES. Also, check the batteries; replace them if completely drained (no lights on) or running low (inner ring buttons light up RED). The remote requires two CR2032 batteries.