10
Electrician Installation Manual
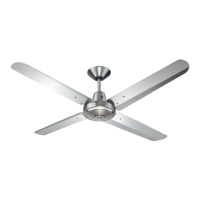
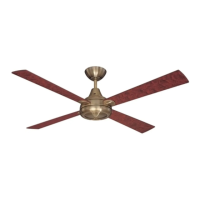
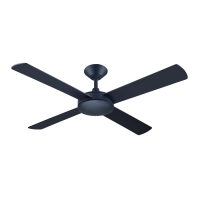
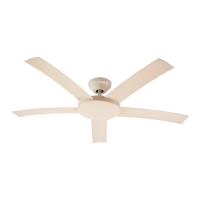
Typhoon Ceiling Fan
1. Do not attempt to operate the fan (or optional light kit) with any wall control that is not
approved by Hunter Pacific for use with its fans. DO NOT use solid state controllers. The
use of unapproved controllers will void your warranty.
2. Do not
mix blade sets from one fan to another as this may upset the balance of the fan. If
only one blade is damaged you are still required to replace with a new set.
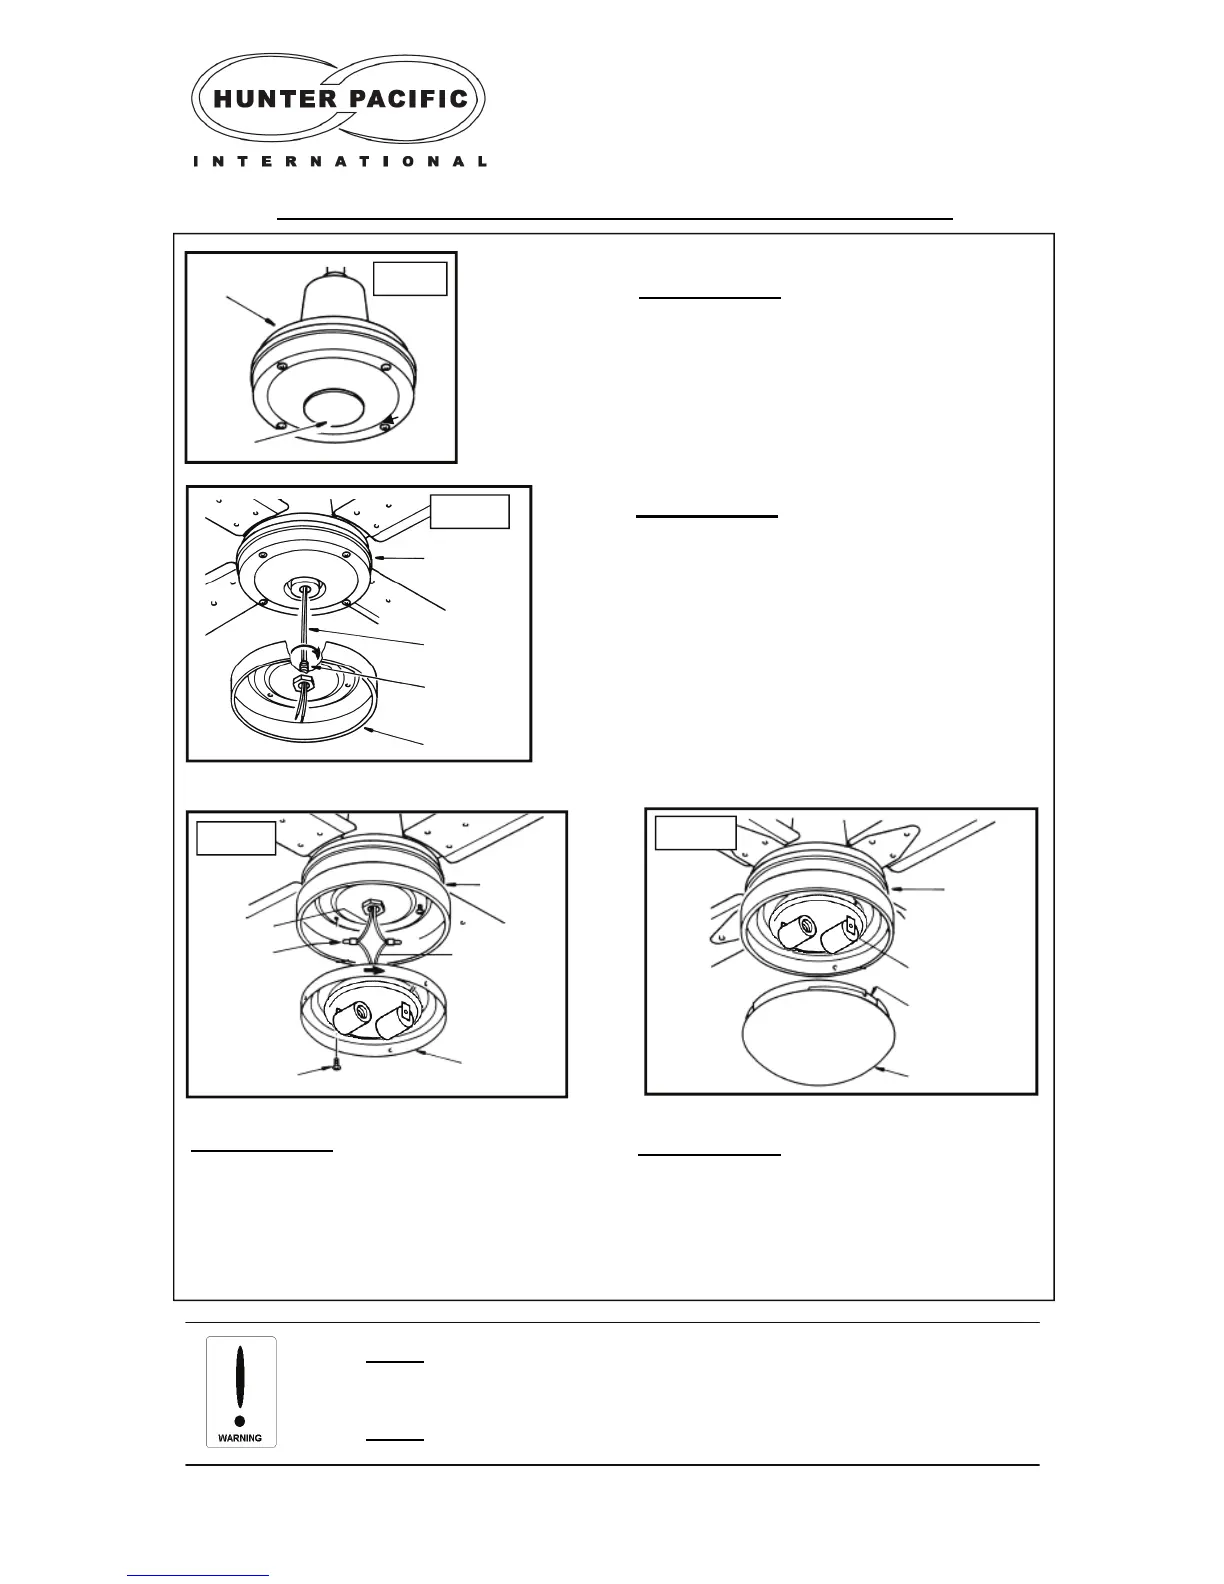
Attaching an accessory light kit — E27 light (MAX 2x40W)
STEP 3 (Fig. 16)
a) Connect fan wires to light wires using crimp
style connectors.
b) Turn the light kit inner housing to lock it to
the light kit outer housing
c) Tighten screws provided to securely attach
the light kit inner housing.
STEP 1 (Fig. 14)
a) Unscrew base plate to remove from the motor
housing.
Fig. 16
Fig. 15
Motor
Housing
Fan Wires
Thread
Light Kit outer
Housing
Fig. 14
Motor
Housing
Base Plate
Fan Wires
Wire
Connec-
Motor
Housing
Light Wires
Light Kit Inner
Housing
Screw
Fig. 17
Glass Cover
Lamp holder
Groove
Motor
Housing
STEP 4 (Fig. 17)
a) Install light globes into the light socket.
b) Attach glass cover to the light kit, do not
over tighten as this can make the glass cover
difficult to remove in the future.
STEP 2 (Fig. 15)
a) Once the base plate is removed use pliers to
gently pull the two light wires out from the motor
housing.
b) Feed the fan wires through the thread adap-
tor.
c) Tightening the thread adaptor to secure the
outer light kit housing onto the motor housing.