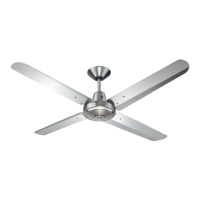
8
Electrician Installation Manual
Typhoon Ceiling Fan
1. Do not attempt to operate the fan (or optional light kit) with any wall control that is not
approved by Hunter Pacific for use with its fans. DO NOT use solid state controllers. The
use of unapproved controllers will void your warranty.
2. Do not
mix blade sets from one fan to another as this may upset the balance of the fan. If
only one blade is damaged you are still required to replace with a new set.
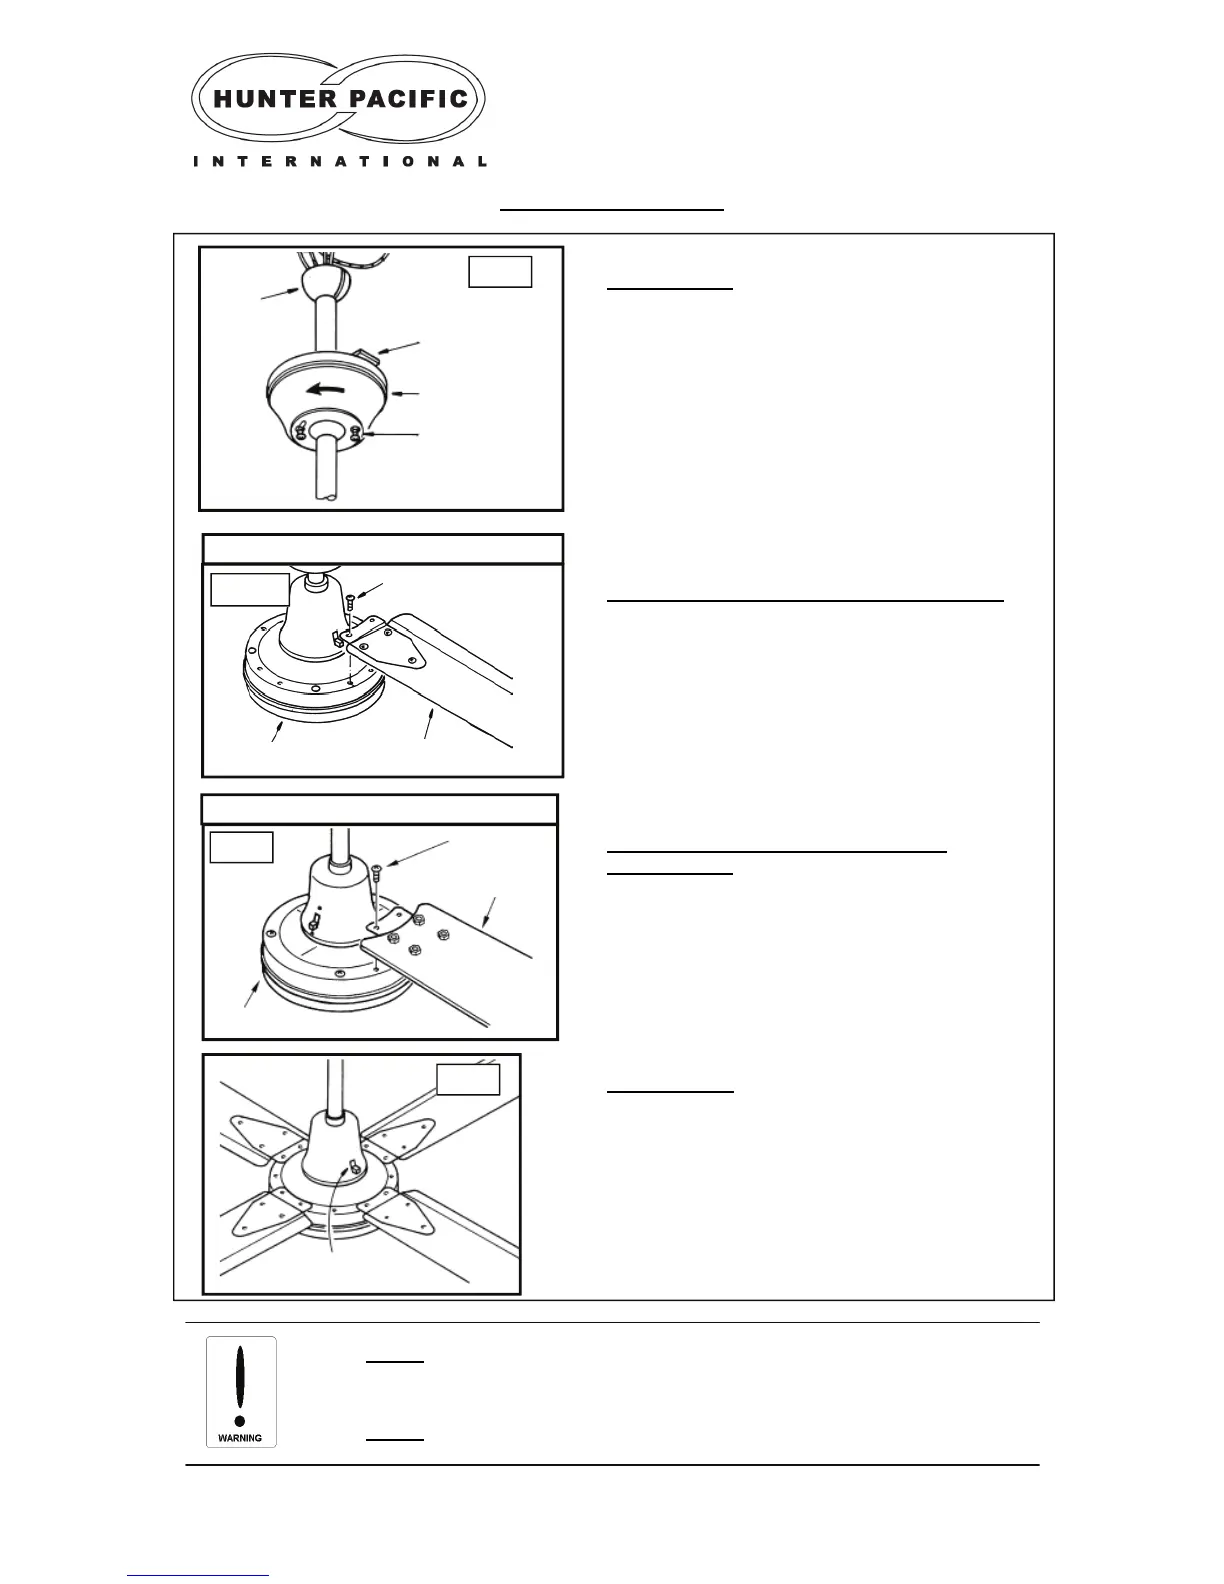
Assembling the fan
STEP 5 (Fig 6)
a) Slide canopy cover up and over the hanger
bracket.
b) Twist the canopy to locate screws holes
then loosen canopy screws half way.
c) Now twist the canopy cover in the opposite
direction and fully tighten screws until the
canopy cover is stabilized.
Fig. 6
Fig. 7
Hanger Bracket
Canopy Cover
STEP 6 (Fig 7) - For Typhoon Metal Fan Only
a) Attach blades to the motor housing using the
2 screws provided.
b) Repeat this procedure for the other 3 blades.
Motor Housing
Canopy Screw
Blade Screw
Blade
STEP 7 (Fig 9)
a) The reverse
switch should be fully pushed to
the bottom for Summer (fan spins anticlock-
wise) and pushed fully to the up for Winter (fan
spins clockwise).
c) Make the sure reverse switch is not stuck in
its neutral position otherwise the fan will not
spin.
Fig. 9
Ball
Joint
Reversing Switch
Typhoon Metal
Motor Housing
Blade
Fig. 8
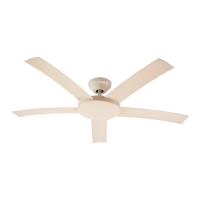
Typhoon Timber & Moulded
STEP 6 (Fig 8)- For Typhoon Timber &
Moulded Fans
a) Attach blades to blade holders.
b) Attach blades with blade holders to the motor
housing using the 2 screws provided.
c) Repeat this procedure for the other 3 blades.
Blade Screw