24
41524-01 9-5-2001
®
INSTALLING INCLUDED SINGLE-
GLOBE LIGHT FIXTURE
1. Remove the plug cap from the
lower switch housing.
Note: Do not discard the plug
cap. You will need this if you re-
move the light fixture in the fu-
ture.
2. Locate the two wires in the lower
switch housing labeled “Connect
Light Here” or “For Light Use”.
One will be white, the other black/
white. Unscrew the wire nuts
counterclockwise to expose the
bare metal leads.
3. Locate the white wire and the
black wire coming from the light
fixture.
4. Thread the two wires from the
light fixture through the center
hole in the lower switch housing.
5. Screw the fixture into the lower
switch housing. Thread the
lockwasher and nut provided over
the wires. Making sure the light
fixture mounting screw holes are
aligned; hold the light fixture and
tighten the nut on the inside of
the lower switch housing. Insert
and tighten the two #6-32 sems
light fixture mounting screws.
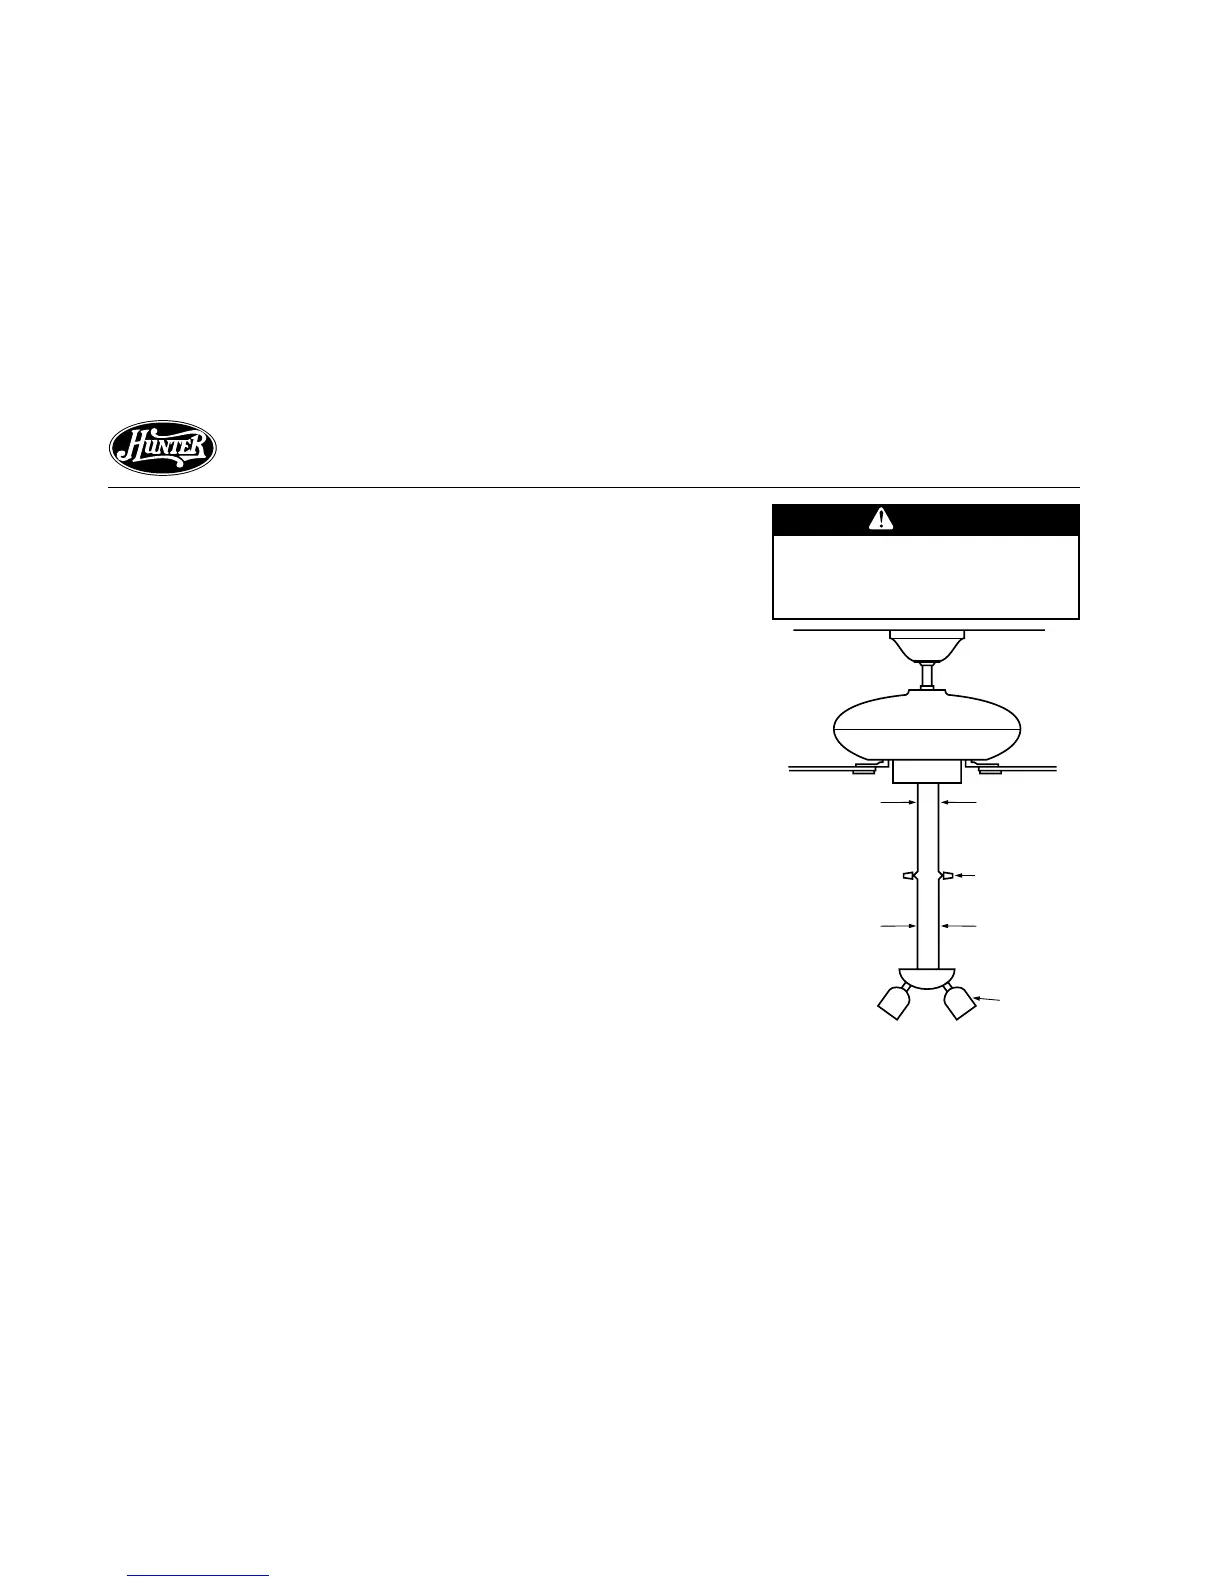
6. Connect the black wire from the
light fixture to the black/white
wire from the lower switch hous-
ing. See Figure 10b.
Connect the white wire from the
light fixture to the white wire from
the lower switch housing. See Fig-
ure 10b.
To fasten the wires, twist the two
bare leads together. Place a wire
nut over the intertwined length
of wire and twist clockwise until
tight.
Black/White
Wire from
Switch Housing
White Wire
from Switch
Housing
Wire Nut
White Wire
from Light
Fixture
Black Wire
from Light
Fixture
Light
Fixture
Figure 10b - Wiring Light Fixture to
Fan
CAUTION
Be sure no bare wire or wire
strands are visible after mak-
ing connections.