7
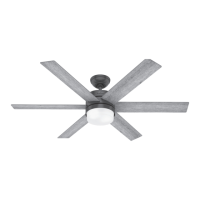
Attach each blade to a blade iron using the blade washers, found in the hardware
bag, and the blade assembly screws, found in the hardware bag.
Repeat x6
Ceiling Bracket Downrod Hanging Fan Wiring Canopy Blades Light Bulbs Remote CradleRemote
x2
Lift the canopy into place so that
the screw holes are aligned.
Insert the two canopy screws
found in the hardware bag.
F
i
t
t
h
e
c
a
n
o
p
y
i
n
p
l
a
c
e
a
s
s
h
o
w
n
.
bag
Canopy Screw
x18
bag
Blade Screw
x18
bag
Blade Washer
IMPORTANT
NOTE: Follow the instructions on the blade. Installing it
incorrectly could result in your fan not functioning.
Fan style may vary.
Note:
Fan style may vary.
Note:
Note: The screw was installed for shipping purposes only.
Preparing the Light Fixture
Remove the pre-installed xture screw and red
ag from the light kit assembly. Save the screw.
It will be needed for light kit installation.
Follow these steps to prepare the light xture for installation.
KEEP
Fixture Screw
Carefully remove the light xture
from the light xture assembly
and set the light xture aside.
Red Flag
 Loading...