9
Keyhole
Slot
Installing the Light Fixture
3 of 6
Fixture Screw
bag
Partially install three xture screws, found
in the hardware bag, into the posts as
shown, leaving the circled post empty.
Fixture
Screw
Empty Post
Connect the plugs from the upper and
lower switch housings. Make sure to
line up the colored markings on the
connectors and that the connectors latch.
Align the three keyhole slots in the light
kit with the three assembly screws in
the posts. Lift the light kit and twist
counterclockwise to lock it into place. Be
sure that both pull chains are hanging
freely.
Install a bulb into each of the
sockets. When necessary, replace
with bulbs of the same wattage.
Install the fourth xture
screw and tighten all four
screws securely.
This is the screw you saved that
was attached to the red flag.
Fixture Screw
bag
1 of 1
IMPORTANT
Make sure the lower switch housing is securely
attached to the upper switch housing. Failure to
properly secure all three assembly screws could
result in the light xture falling.
Installing the Glass and Light Fixture Cage
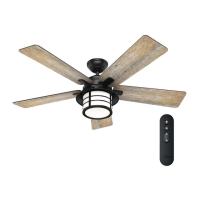
Ceiling Bracket Downrod Hanging Fan Wiring Canopy Blades Light Bulbs/Cage Remote Cradle
 Loading...