5
6
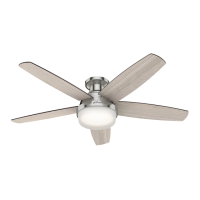
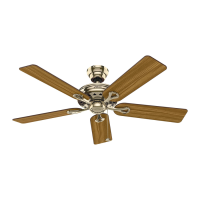
Ceiling Bracket Top housing Hanging Fan Wiring Canopy Blades Light Remote ReverseGlass/Bulbs
Repeat x5
x15
bag
Blade Screw
x15
bag
Blade Washer
Put the blade washers found in the hardware
bag onto the blade screws found in the
hardware bag. Then install the blade screws to
secure each blade to the fan.
2 of 3
Canopy
Screws
bag
1 of 3
Canopy
Screws
bag
Swing the fan up to align the
canopy screw holes with the
mounting holes on the ceiling plate.
Using both hands, push the canopy trim
ring up to the top of the canopy. The canopy
trim ring will snap and lock into place.
Hold the canopy up with the screw holes
aligned. Partially install two canopy screws,
found in the hardware bag, into the
holes opposite the ceiling plate hooks.
Partially install a canopy screw, found
in the hardware bag, between
the ceiling plate hooks. When all the
holes are properly aligned, securely
tighten all three canopy screws.
Note: The slots in
the canopy must
remain engaged while
swinging the canopy
for alignment.
Note: Should you need to remove the trim ring,
press rmly on opposite sides of the trim ring. The
tabs will ex out releasing the canopy trim ring.
Place the receiver inside the
canopy. Ensure the wires
remain connected.
FAN FALL HAZARD
Make sure screws are tight.