EasyManua.ls Logo

Hunter Symphony User Manual

Hunter Symphony
19 pages
To Next Page IconTo Next Page
Page #1 background imageLoading...
Page #1 background image
PAGE
5
30 inches
7 feet
PAGE
2
What to Expect with
Your Installation Ceiling Bracket
Ladder
PAGE
3
Tools Needed
Troubleshooting
Table of Contents
PAGE
16
Remote
Control Cradle
PAGE
18
PAGE
4
Mounting Options
?
?
?
PAGE
19
Congratulations on purchasing your new
Hunter® ceiling fan! It will provide comfort
and performance in your home or ofce for
many years. This installation and operation
manual contains complete instructions for
installing and operating your fan.
We are proud of our work and appreciate
the opportunity to supply you with the best
ceiling fan available anywhere in the world.
Light Kit
PAGE
13
PAGE
17
Remote Control
PAGE
15
Operation,
Maintenance & Cleaning
PAGE
9
Wiring
PAGE
6
Downrod Canopy
PAGE
10
PAGE
11
Blades
PAGE
12
Switch Housing
1
Question and Answer IconNeed help?

Do you have a question about the Hunter Symphony and is the answer not in the manual?

Hunter Symphony Specifications

General IconGeneral
Number of Blades5
MountingDownrod
Blade ColorWalnut
Room SizeLarge
Motor Speed3 speeds
WarrantyLifetime motor warranty

Summary

Installation Preparations

Wiring and Safety Checks

Verify wiring knowledge and ensure safety precautions are understood before installation.

Ceiling Mounting Options

Angled Ceiling Installation

Instructions for mounting the fan on angled ceilings, including angle determination.

Ceiling Bracket Installation

Bracket Safety and Preparation

Turn power OFF and ensure all bracket bumpers are attached before proceeding with installation.

Securing the Ceiling Bracket

Instructions for securely attaching the ceiling bracket to the support structure or outlet box.

Downrod Options and Selection

Downrod Setscrew and Wire Prep

Setscrew Tightening Procedure

Properly tighten the downrod setscrew using pliers to ensure secure fan attachment.

Canopy and Bracket Connection

Fan Wiring Guide

Single Switch Wiring

Connect fan wires to ceiling wires for single-switch operation using provided wire connectors.

Blade Attachment

Attaching Blade Irons

Lightly attach blade irons to the motor with screws, then securely tighten after all are in place.

Switch Housing Installation

Final Switch Housing Securing

Insert and tighten the third screw to ensure the upper switch housing is securely attached.

Light Kit Installation

Final Light Kit Securing

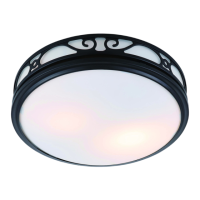
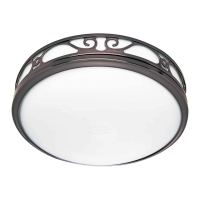
Insert and tighten the third screw to securely attach the light kit to the mounting plate.

Remote Control Setup

Battery Compartment Access

Remove the Phillips head screw to access the battery compartment and install the CR2032 battery correctly.

Remote Pairing Instructions

Procedure for pairing the remote transmitter to the receiver, including power cycling and pressing the pair button.

Fan Operation and Care

SIMPLEconnect Wi-Fi Setup

Troubleshooting Fan Issues

Fan Power and Operation

Troubleshoot a non-functional fan by checking power, circuit breakers, wiring, and connections.
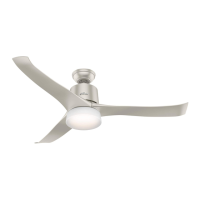
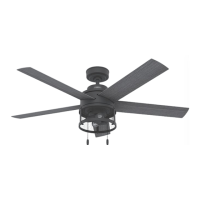
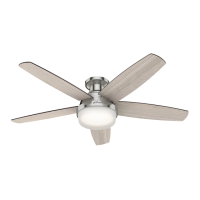
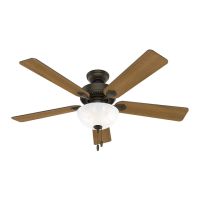
Related product manuals