INSTALLATION
6
Installation Overview
To install your 16 Shade Smart Power Supply, you will need to complete the following five
steps:
STEP 1: Mount the Enclosure
STEP 2: Wiring
STEP 3: Connect the Power Supply to the Home Network
STEP 4: Connect the Power Source
STEP 5: Install the Enclosure Cover
STEP 1: Mount the Enclosure
The 16 Shade Smart Power Supply may be surface mounted or recess mounted within the
wall.
NOTE: The four mounting feet are pre-installed on the enclosure.
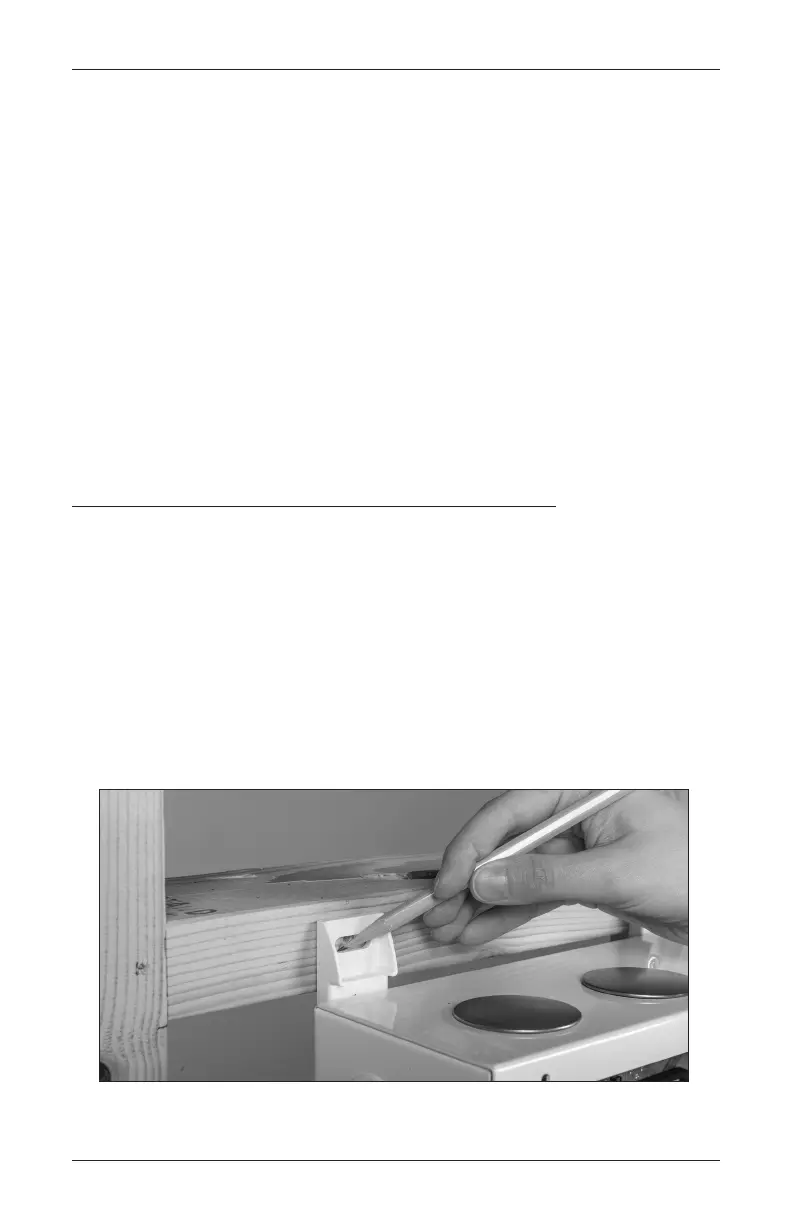
Surface and Recessed Mounting for the Enclosure
For recessed mounting, mount the enclosure so that it protrudes from the front of the stud by
a measure equal to the thickness of the finished wall. The front of the enclosure should be
visible and flush with the surface of the finished wall.
If using the Mounting Feet
■
Place the enclosure on an appropriate mounting surface and mark the location of the
screw holes.
NOTE: Studs or solid wood are the preferred mounting surfaces.
IMPORTANT: If mounting to drywall, two of the mounting feet should be secured to a
stud and two should be secured to drywall anchors.
■
Drill the screw holes using a
1
⁄
8
" drill bit.
 Loading...