EasyManua.ls Logo

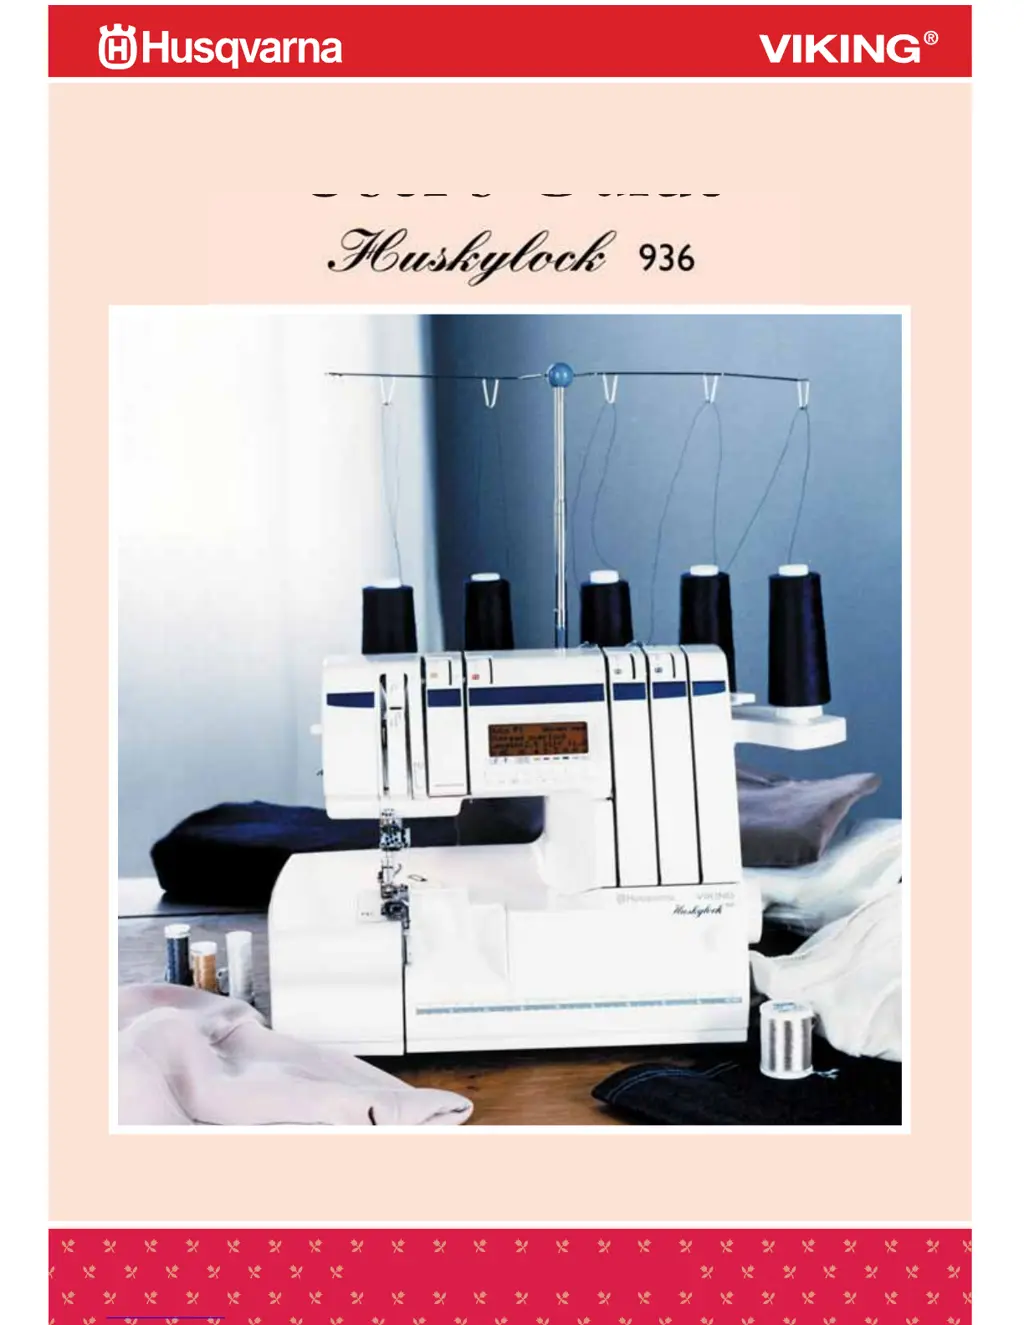
Husqvarna Viking Huskylock 936 - User Manual

Husqvarna Viking Huskylock 936
78 pages
Print Icon
To Next Page IconTo Next Page
Loading...
KEEPING THE WORLD SEWING™
User's Guide

Questions and Answers

  • C
    Chad CarlsonJul 26, 2025
    Why are my threads breaking on my Husqvarna Viking Sewing Machine?
    • E
      Emily CarterJul 26, 2025
      Thread breakage can occur due to several reasons: * The machine might be improperly threaded, in which case you should re-thread it. * The thread tension(s) may be too tight; try resetting the thread tension(s). * There might be an incorrect tension setting of the needle; in this case, reset the needle or change to a new one.
  • M
    Mr. Philip BarnesJul 31, 2025
    Why is my Husqvarna Viking Huskylock 936 skipping stitches?
    • N
      ntrujilloAug 1, 2025
      Skipping stitches can occur due to: * A bent or blunt needle, so try inserting a new needle. * The needle might be inserted incorrectly, so reset the needle. * Improper threading can also cause this, so re-thread the machine.
  • M
    michaelschneiderAug 7, 2025
    Why is my Husqvarna Viking Huskylock 936 puckering?
    • A
      Alexis HawkinsAug 7, 2025
      Puckering may occur if: * Needle thread tensions are too tight, so loosen them. * The machine is improperly threaded, so re-thread it. * Differential feed is needed, so set the differential feed to 0.5-N.
  • C
    Christopher McfarlandAug 13, 2025
    What to do if my Husqvarna Viking Huskylock 936 does not feed properly?
    • T
      Teresa WilliamsAug 13, 2025
      If the machine isn't feeding fabric correctly: * The pressure on the presser foot might be insufficient; increase the pressure by setting the lever to (N~5). * The differential feed might not be set correctly; adjust the differential feed.
  • T
    Timothy GrossAug 19, 2025
    What to do if my Husqvarna Viking Sewing Machine needle breaks?
    • J
      Jose ChambersAug 19, 2025
      Needle breakage can occur for several reasons: * If the needle is bent or blunt, insert a new needle. * If the needle is inserted incorrectly, reset the needle. * Avoid pulling the fabric while sewing to prevent needle breakage.

Summary

IMPORTANT SAFETY INSTRUCTIONS

DANGER - To reduce the risk of electric shock:

Essential safety precautions to mitigate the risk of electric shock when operating the sewing machine.

WARNING - To reduce the risk of burns, fire, electric shock, or injury to persons:

Critical safety guidelines to prevent burns, fire, electric shock, and personal injury during use.

SUMMARY

1-6. Replacing the needle

Step-by-step guide on how to safely remove and insert sewing machine needles.

SEWING ADVISOR DISPLAY GUIDE

2-1. Selection buttons

Details the function and operation of various buttons used to navigate and select settings on the Sewing Advisor display.

2-2. Sewing Advisor display function

Explains the information displayed on the Sewing Advisor, including stitch type, length, tension, and fabric settings.

2-5. Manual Mode

Details how to manually adjust stitch settings like length, differential feed, and tension.

2-4. Auto Mode

Explains how to use the Auto Mode for recommended stitch settings based on fabric and thread type.

THREADING

3-1. Upper looper threading (A)

Step-by-step instructions for threading the upper looper of the sewing machine for various stitch types.

3-2. Lower looper threading (B)

Detailed guide on how to thread the lower looper, ensuring correct thread path for stitches.

3-3. Needle threading (C) (D)

Instructions for threading both the left and right needles, including the use of the needle threader.

3-7. Thread tension

Detailed guide on adjusting thread tension for different threads and stitch types, with troubleshooting for common issues.

SEWING

4-1. Four thread overlock stitch with 2 needles

Covers the setup and execution of a four-thread overlock stitch using two needles.

4-2. Three thread overlock

Guides on how to perform a three-thread overlock stitch by removing one needle.

4-3. Two thread overlock

Instructions for setting up and performing a two-thread overlock stitch using the appropriate converter.

4-8. Five thread over lock stitch and Double chain stitch

Details the threading and setup for five-thread overlock and double chain stitches.

4-9. Cover stitch

Step-by-step instructions for setting up the machine to perform cover stitches and chainstitches.

MAINTENANCE

TROUBLE SHOOTING

SPECIFICATIONS

Husqvarna Viking Huskylock 936 Specifications

General IconGeneral
TypeOverlock
Stitch LengthUp to 4 mm
Differential FeedYes
Built-in Stitch FingerYes
Free ArmYes
Number of Threads3 or 4
Stitch TypesOverlock, Rolled Hem
Number of Needles2
ThreadingColor-coded threading system
Presser FeetMultiple options available

Related product manuals