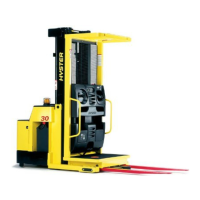
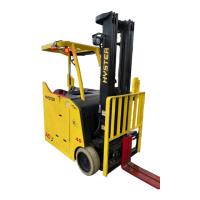
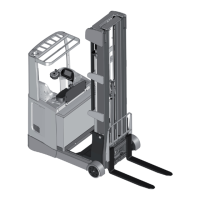
4000 SRM 764 Three-Stage Mast
NOTE: If the battery is in the battery compartment,
remove it at this time.
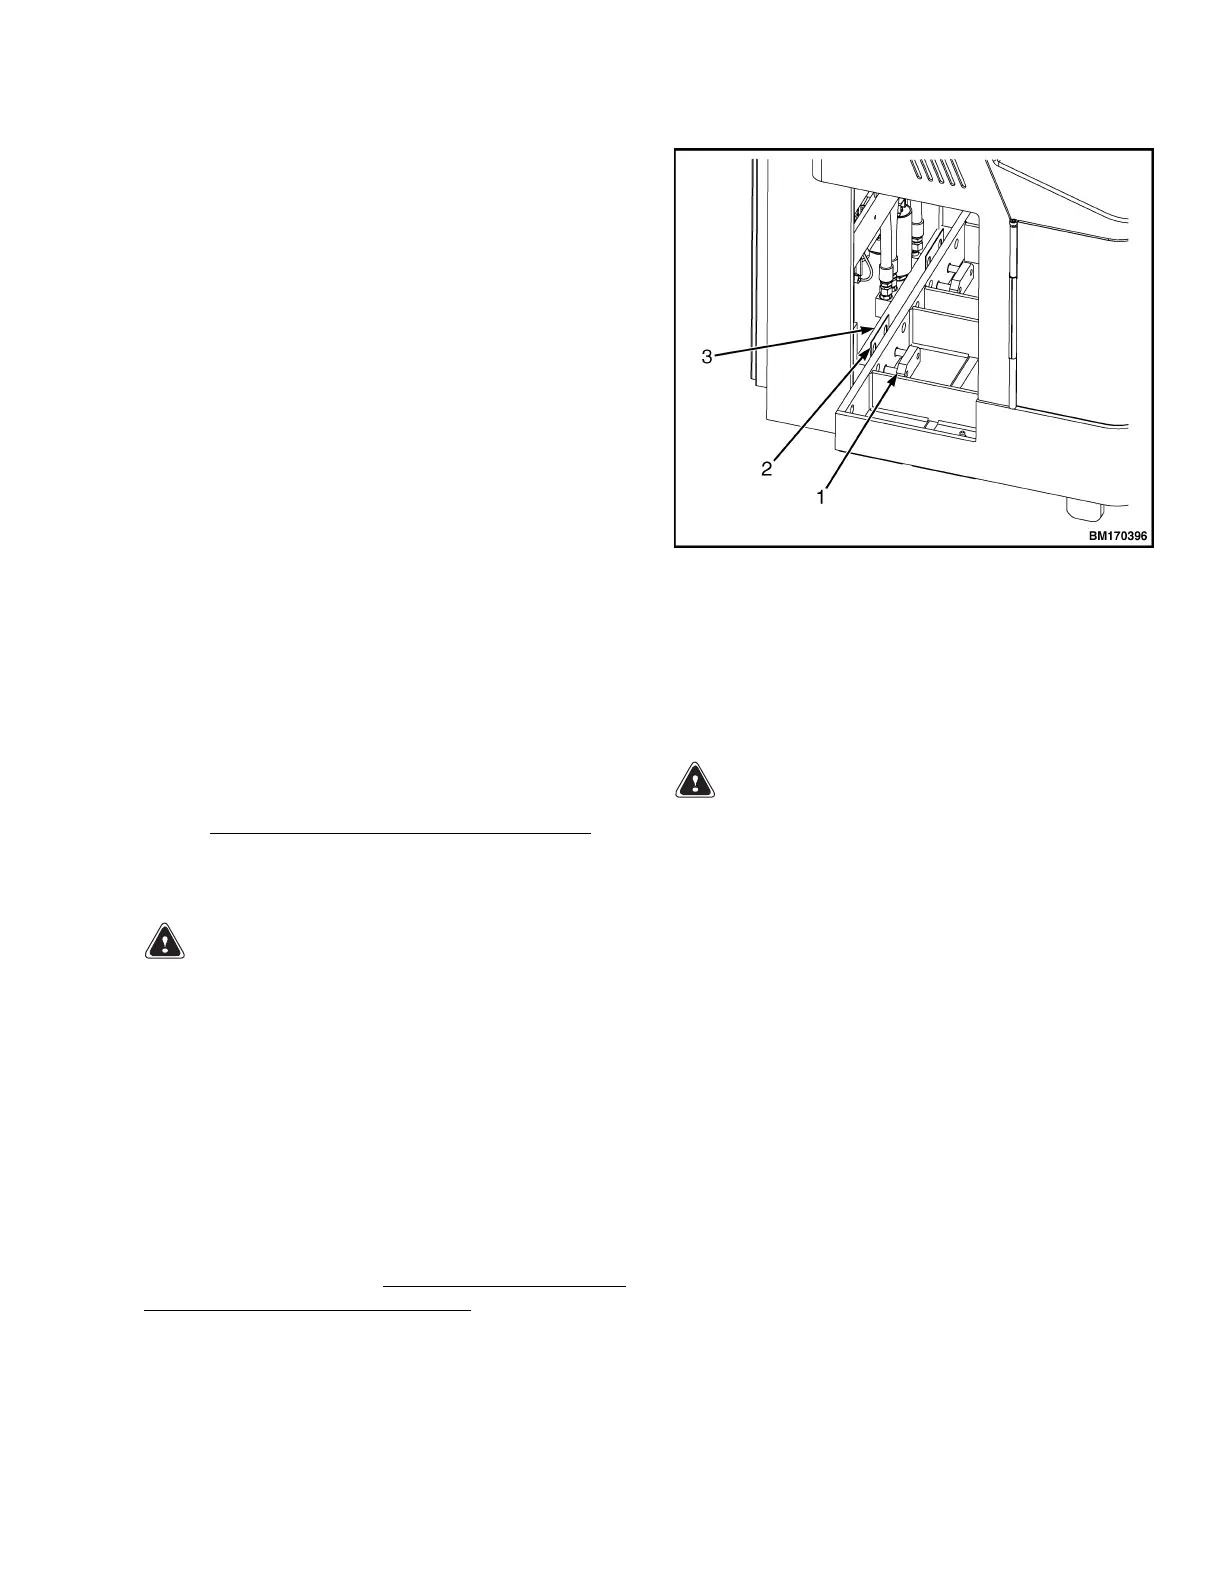
10. With the four capscrews inserted, place the plate
nuts on the back side through the battery com-
partment and start the bolts. Do not tighten at
this time.
11. Once the mast mounting capscrews have been
started into the plate nuts, insert the shims be-
tween the mast and the chassis frame. See Fig-
ure11. Iftheshimsareunabletobeinserted
between the frame and mast use a second hoist
to connect to the platform and pull away from the
truck. This will allow the shims to have enough
spacetogobetweenthemastandframe.
12. After inserting the shims, tighten the mast
mounting bolts to 225 N•m (166 lbf ft).
1. PLATE NUT
2. SHIM
3. MAST ASSEMBLY
Figure 11. Plate Nut Mast Mounting
Three-Stage Mast
REMOVE
NOTE: If the mast assembly will be disassembled,re-
move the operator platform before the mast assembly
is removed. See Operator Platform, Remove in this
section.
WARNING
Fully lower all the mast weldments. Weld-
ments, carriages, or operator platform and
forks can move suddenly and cause an injury
as hydraulic lines are disconnected.
The removal procedure of the three-stage mast is
similar to the removal procedure for the two-stage
mast. See Two-Stage Mast, Remove in this section
for the correct procedure.
DISASSEMBLE
NOTE: This procedure does NOT include the removal
of the operator platform. R
emove the operator plat-
form before starting this procedure.SeetheOpera-
tor Platform, Remove in this section to remove the
operator platform. See Figure 4 and Figure 12.
WARNING
Make sure the battery side of the mast is to-
ward the floor so the front of the mast is up for
easier disassembly. Make sure the mast weld-
ments are fastened together so the weldments
will only slide when being moved during disas-
sembly.
1. If necessary, remove the lift chains by removing
the pin in the chain anchor. Removing the pin
will allow chain removal without changing the
adjustment.
2. Install a sling near the center of the free-lift
cylinder. The sling must pass through the loop
at the end of the sling so the sling tightens and
does not slip on the cylinder as it is lifted.
3. Remove the capscrews, spacers, washers, and
nuts that fasten the shell of the free-lift cylin-
dertotheinnermastweldment. Removethe
hydraulic fitting at the bottom of the cylinder.
Install plugs to keep dirt out of the cylinder
and hydraulic lines. Remove the snap ring that
fastens the bottom of the cylinder to the mast
weldment. Use a crane to remove the cylinder.
13
 Loading...