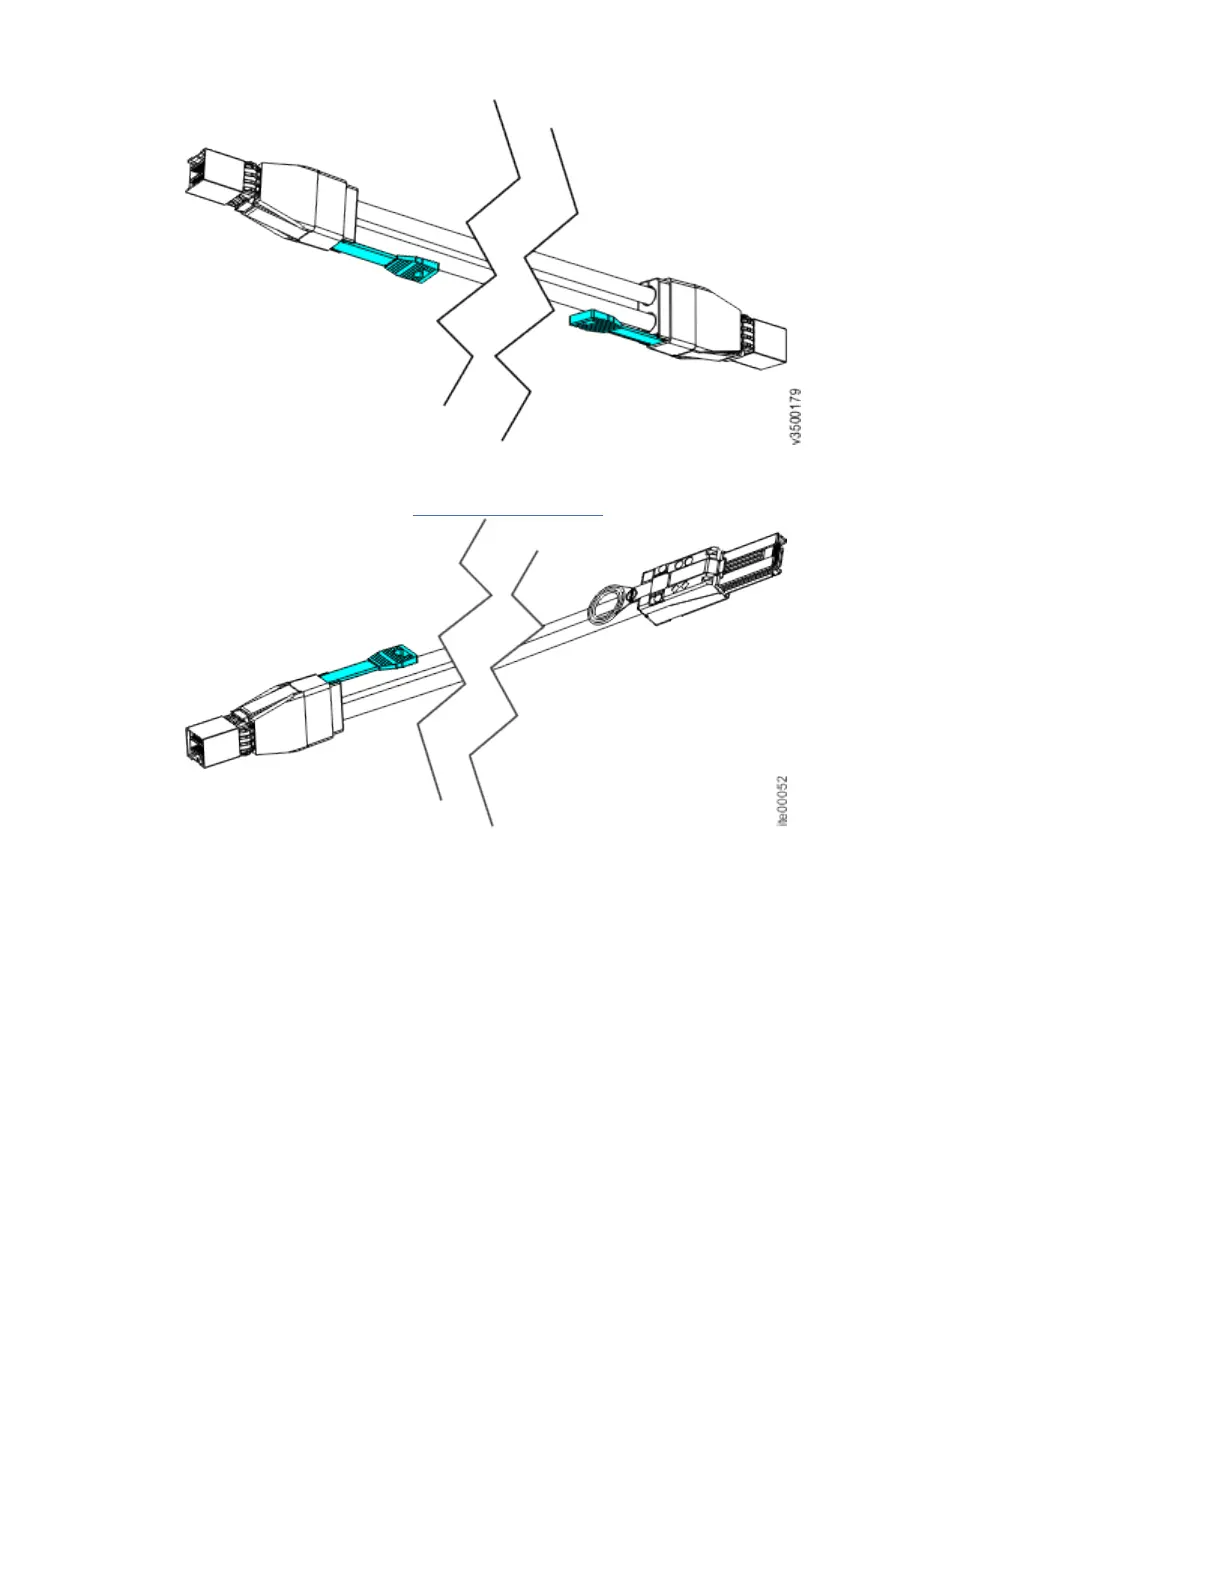
Figure 65. Mini SAS HD to Mini SAS HD cable
• Mini SAS HD to Mini SAS (Figure 66 on page 67)
Figure 66. Mini SAS HD to Mini SAS cable
Note: When you insert a SAS cable, make sure that the connector is oriented correctly.
• When you connect cables to the SAS ports on the left side of the node canister, the blue pull tab must
be below the connector.
• Insert the connector gently until it clicks into place. If you feel resistance, the connector is probably
oriented the wrong way. Do not force it.
• When inserted correctly, the connector can only be removed by pulling the tab.
Procedure
To install the cables, complete the following steps.
1. Connect the required number of SAS cables.
See the "Planning" section of the IBM Knowledge Center for instructions on determining the number of
cables required.
Note: When you connect cables to the SAS ports on the left side of the node canister, each host must
be connected to both canisters. Both canisters must have the same number of cables connected.
2. Arrange the cables to provide access to the hardware.
• USB ports. USB port access is required when you use a USB flash drive to congure the system.
• Access is required to the hardware for servicing and for safely removing and replacing components
by using two or more people.
Chapter 4. Installing the system hardware
67