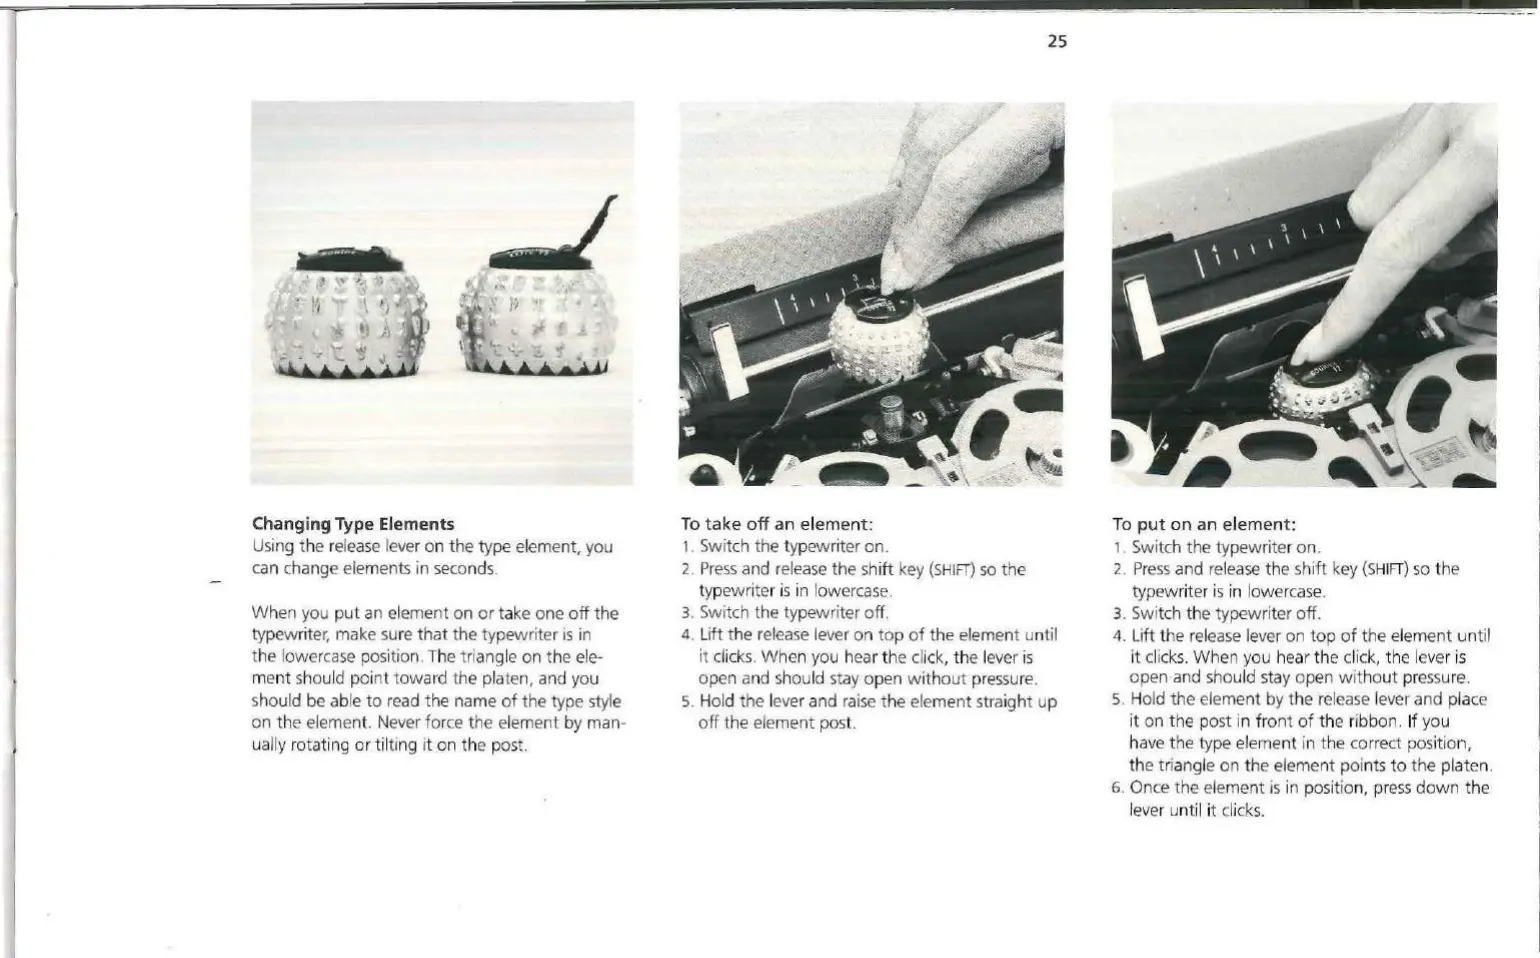
Changing Type Elements
Using t he relea
se
lever on the type element, you
can change elements in seconds.
When you
put
an element on
or
ta
ke
one o
ff
the
typewriter, make
su
re t
hat
the
typewriter
is
in
the
low
ercase position.
Th
e triang
le
on
the ele-
ment should poi
nt
toward
the
platen, and you
shou
ld
be able to read the name
of
the type style
on
the
element. Never
fo
r
ce
the
element by man-
ually rotating or
ti
lting
it
on
the post.
To
take
off
an
element:
1. Switch the typewriter on.
25
<I,. • t
'~
1
..
· ~
2.
Press
and
re
lease
the
sh
ift
key
(SHIFT)
so
the
type
wr
iter is in lowercase.
3.
Switch the typewriter off.
4. Lift t he release lever
on
to
p
of
the element until
it
clicks. When you hear t he
cl
ic
k,
the lever
is
open and shou ld stay open w i
thout
pressure.
5. Hold the lever and
ra
i
se
the element straight up
off
the element post.
To
put
on
an
element:
1. Switch the typewriter on.
2.
Press
and
re
lease
the
sh
ift
key
(SH
I
FT
)
so
t
he
typewri
ter
is
in
lowercase.
3.
Switch the typewrit
er
off
.
4. Lift the
re
l
ease
lever on
top
of
the element
unt
il
it
cl
i
cks
. When you hear the
cli
c
k,
the lever
is
open and shou ld stay open
wi
t h
out
pressure.
5 . Hold the element by
the
release lever and place
it
on the post
in
front
of
the
ri
bb
on
. If you
h
ave
the type element in the correct position ,
the
tr
iangle on the element points
to
the
platen.
6.
Once
the
element
is
in position, pre
ss
down
the
lever until it clicks.

 Loading...


