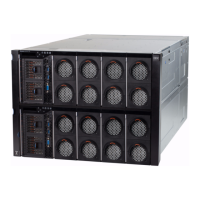
Attention: To ensure proper installation of the server, do not push the rear lift
handles down into the server until the server is secure on the rails in the rack.
When removing the server from the rack (while sliding the server out), release
the lift handles after the handles are beyond the server that is in the rack above
the server you are removing.
3. Lift the server up, place the rear of the server onto the rails, and slide the
server into the rack until the rear handles are near the front EIA flanges. While
supporting the front of the server, press down on the rear handles on the server
(both sides) to close them and lock them in place.
Handle
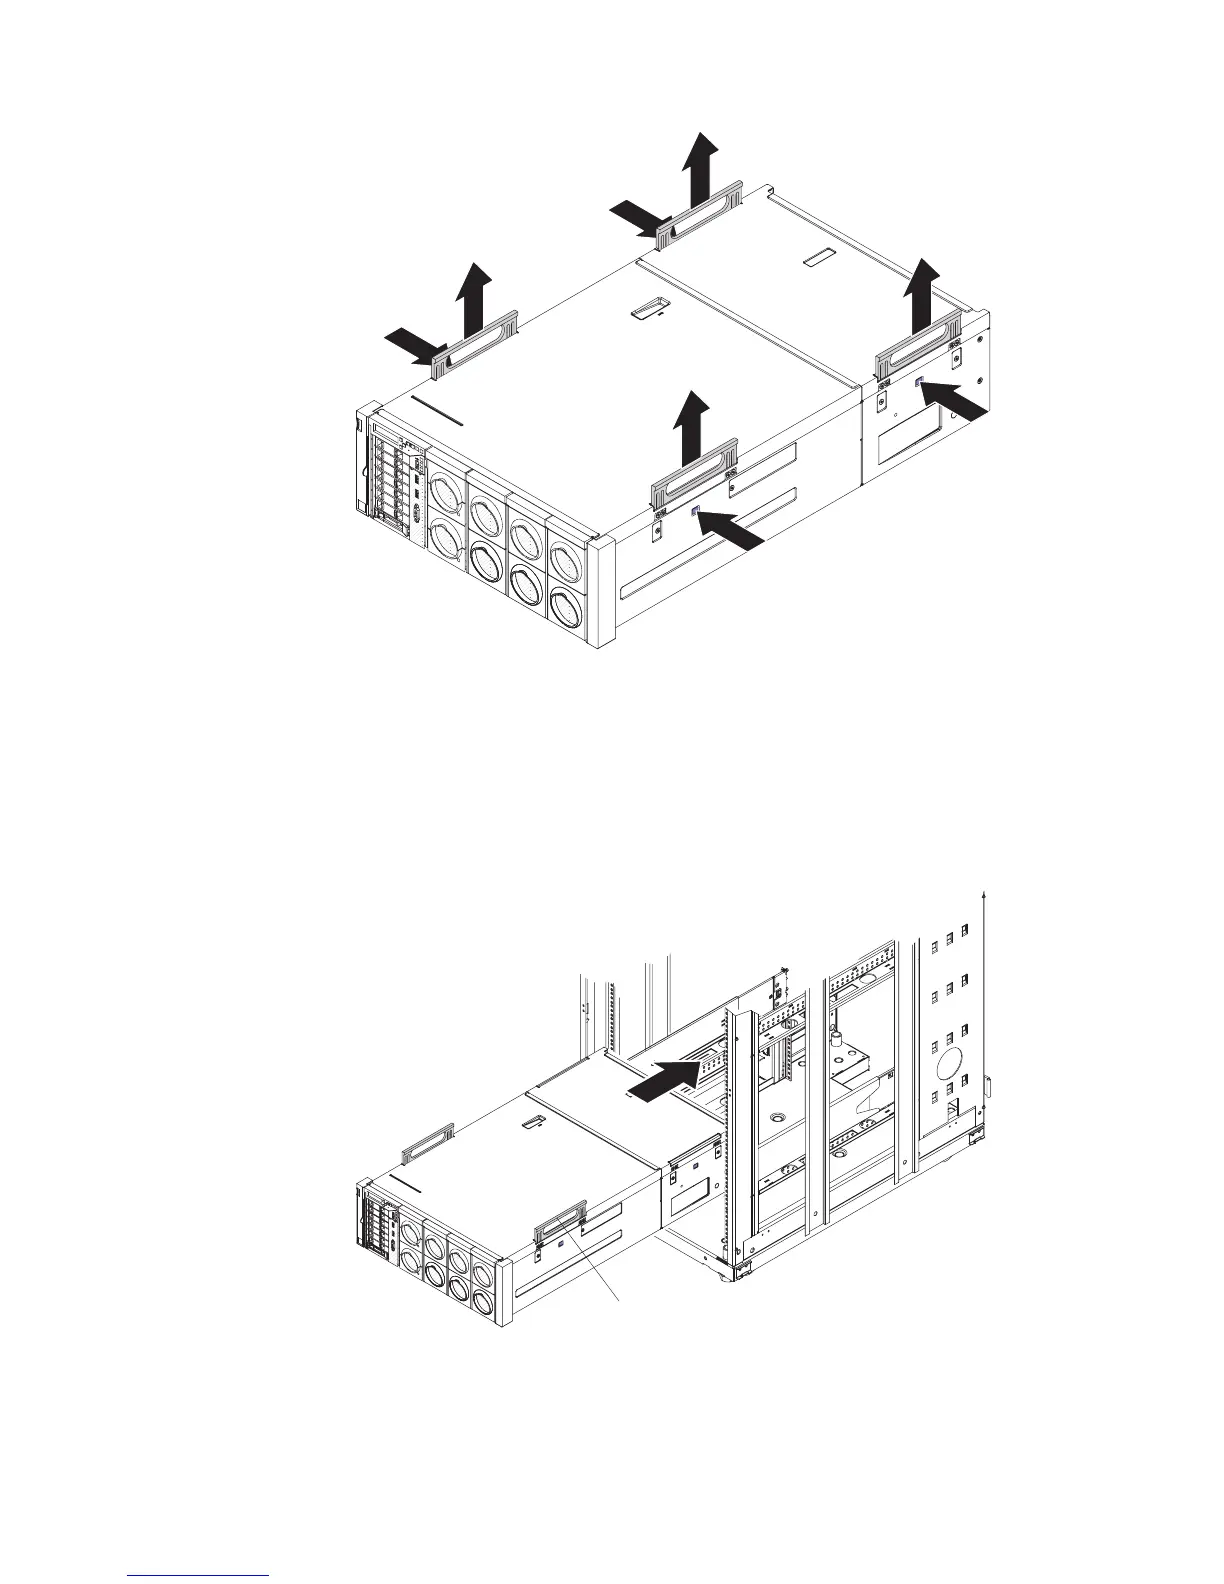
4. Slide the server farther into the rack until the front handles are near the front
EIA flanges; then, press the front handles down to lock them in place.
5. Slide the server all the way into the rack.
6. To fasten the server into the rack, see “Fastening the server in the rack” on
page 13 for more information.
12 System x3850 X6 and x3950 X6 Types 3837 and 3839: Rack Installation Instructions
 Loading...


