ICE COBOTICS RS20 6
OPERATOR MANUAL
UNCRATING MACHINE
Be sure and check packing carton for any damage.
Immediately report any damage to carrier. Check
the contents of package to ensure that the
following items are included:
• Machine
• Lithium-ion Batteries
• Squeegee assembly
• 1-Pad driver
• 1-Brush
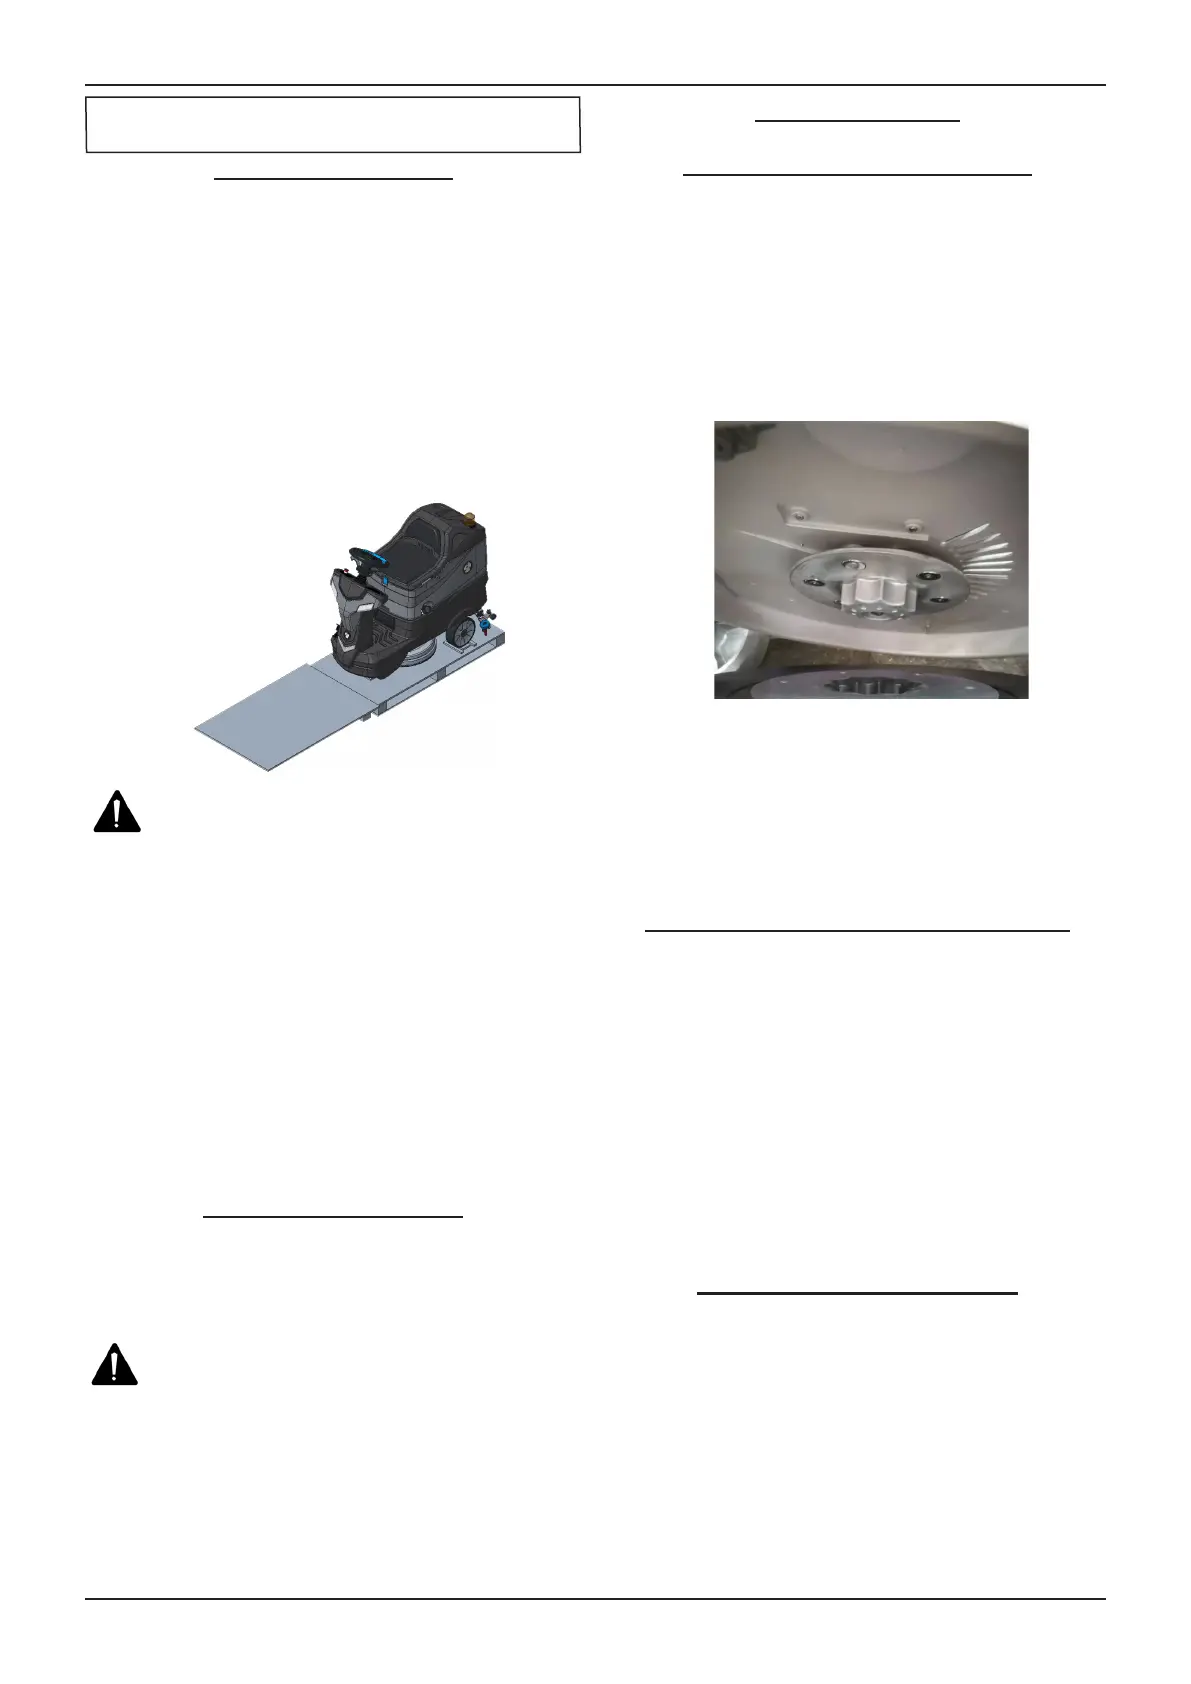
1. Uncrate the wooden box, place the top board
on the edge of pallet, lie in the front of the
machine, as below shown.
WARNING:
Do
not operate machine unless
you have read & understood this manual.
2. Install batteries.(see INSTALLING BATTERIES)
3. Press and hold the one-key start switch for 3
seconds (machine components, #19) to turn
on the machine, make sure the Squeegee
assembly (machine components, #3) and the
Scrub head assembly (machine components,
#6) is o the oor.
4. Sit in the Operator seat (machine components,
#12), hold the Steering wheel (machine
components, #14), press the Propel pedal
(machine components, #9) and driving slowly
the machine down from the slope.
INSTALLING BATTERIES
The machine uses the Lithium-ion batteries,
the batteries are already in the machine upon
delivery; However you will need to connect the
Lithium ion batteries to the machine.
WARNING: Fire or Explosion Hazard.
Keep sparks and open ames away! Keep
battery compartment open when charging.
1. Turn o the machine.
2. Open and prop up the Operator seat, plug the
batteries connector to the machine adaptor,
connect machine green port to the batteries.
MACHINE SET UP
INSTALLING BRUSHES OR PADS
1. Turn o the 1-Step switch (machine
components, #35) and raise the Scrub head
assembly o the oor, then stop machine on the
level surface, ensure the machine is turned o.
2. If using the pad driver, rst attach the
appropriate pad to the pad driver surface.
3. Align the pad driver or brush under the motor
hub and push it magnetically attracted.
4. To remove the pad driver or brush, raise the
scrub head and remove the Side squeegee
assembly (machine components, #7), Press
down on pad release plunger(machine
components, #5), push the edge of brush
downward.
MOUNTING THE SQUEEGEE ASSEMBLY
1. Turn o the 1-Step switch and raise the
Squeegee assembly o the oor.
2. Mount the squeegee assembly to the squeegee
pivot bracket. make sure the knobs are
completely seated into the slots before securing
knobs.
3. Connect the Vacuum hose (machine
components, #41) to the squeegee assembly.
Loop the hose by using the hose clip provided.
4. Check the squeegee blades for proper
adjustment.
FILLING THE SOLUTION TANK
At the side has a water injection port.
NOTE: Before accessing the bucket ll-port
make sure that the recovery tank is empty.
When lling the solution tank with a bucket,
make sure that the bucket is clean. Do not use
the same bucket for lling and draining the
machine.
MACHINE SET UP & INSTALLATION
 Loading...