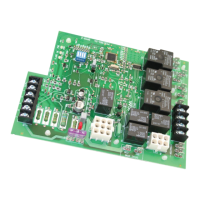
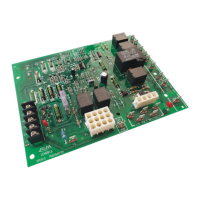
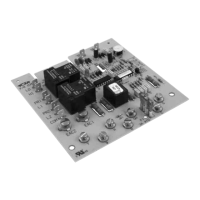
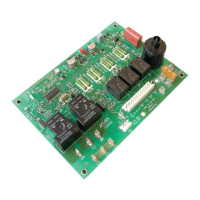
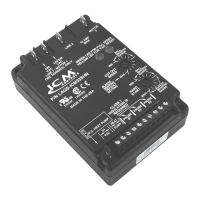
ICM
288
FURNACE CONTROL MODULE
7313 William Barry Blvd.
North Syracuse, NY 13212
ICM CONTROLS 800.365.5525
www.icmcontrols.com
LII362-1
CAUTION!
Failure to turn off gas and electric supplies can result in explosion, fire, personal injury or death.
DANGER!
Only trained personnel should install or service heating equipment. When working with heating equipment, be sure to read and understand
all precautions in the documentation, on labels, and on tags that accompany the equipment. Failure to follow all safety guidelines may
result in damage to equipment, severe personal injury or death.
FAN
120 VAC
TRANSFORMER
TO SECOND ICM288
WIRING DIAGRAM
ELECTRICAL RATINGS
• Voltage Range: Line (98 to 132 VAC) @60HZ
• Ignitor: 5A, 120 VAC
• Fan blower: 10A, 2 HP, 240 VAC
• Cool blower: 10A, 2 HP, 240 VAC
• Heat blower: 5A, ½ HP, 250 VAC
• Inducer blower: 4A, 120 VAC
• Gas Valve: 1A, 24 VAC
• Humidifier motor: 10A, 120 VAC
TIMING
• Prepurge Heat: 60 seconds
• Prepurge Cool: 1 second
• Postpurge Heat: 90-180 seconds
• Postpurge Cool: 40 seconds
• Trial for Ignition: 10 seconds
SPECIFICATIONS
P1
1 – N/C
2 – 24 VAC Common
3 – Limit switch
4 – Gas valve
5 – Pressure switch OUT
6 – Pressure switch IN
7 – Flame sensor
8 – Limit switch IN
9 – 24 VAC Common
P2
1 – HSI
2 – N/C
3 – 120 VAC Neutral
4 – Inducer
5 – N/C
6 – 120 VAC Neutral
PIN CONNECTIONS
FAN
120 VAC
TRANSFORMER
TO SECOND ICM288
FOR TWINNING
FAN
120 VAC
TRANSFORMER
TO SECOND ICM288
FOR TWINNING
The HEAT speed air blower off time delay is selectable for 90 seconds, 120 seconds, 160
seconds or 180 seconds using top two positions of SW1.
The COOL speed air blower off time is fixed for 40 seconds.
The G (Fan) mode, the Fan blower off time is fixed for 1 second.
BLOWER TIMING
OFF Time SWITCH 1 SWITCH 2
90 OFF ON
120 OFF OFF
160 ON OFF
180 ON ON
DIP SWITCH SETTINGS
•
SW1 SWITCHES 1 & 2
SW1 Switch 3: Single or TWIN systems
SW1 Switch 4: Select 1st or 2nd stage
•
SW1 SWITCHES 3 & 4
1. Disconnectallpowertothefurnace.Donottouchthecontrolorthewiring
priortodischargingyourbody’selectrostaticchargetoground.
2. Togroundyourself,touchyourhandandtoolstoaclean,metal(unpainted)
furnacesurfacenearthecontrolboard.
3. Servicethefurnaceaftertouchingthechassis.Yourbodywillrechargewith
staticelectricityasyoushufeyourfeetormovearound,andyoumust
regroundyourself.
4. Regroundyourselfifyoutouchungroundeditems.
5. Beforehandlinganewcontrol,regroundyourself;thiswillprotectthe
control.Storeusedandnewcontrolsinseparatecontainersbefore
touchingungroundedobjects.
6. ESDdamagecanalsobepreventedbyusinganESDservicekit.
ESD PREPARATION
CarefullyremoveallwiringfromtheOEMboardandremoveOEMBoardfrom
furnace.
InstalltheICM288boardandreinstallwiresasperoriginalinstallation.
IMPORTANT:There are some Furnace models which performed ame
sense differently. Please read the information below before
testing the furnace!
1. Units without a separate ame sensorwillrequirepurchaseofaRheem
FlamesensorKittobewiredtopin7ofthe9pinharnessofthefurnace.
2. Units with a separate ame sensor which is NOT routed through the
9 pin harnesswillrequireremovalofamesensorwirefromexisting
connectionandrewiringittopin7ofthe9pinharnessofthefurnace.
3. Unitswhichhaveaseparateamesensorroutedtopin7ofthe9pin
harnessdonotrequirerework.
INSTALLATION