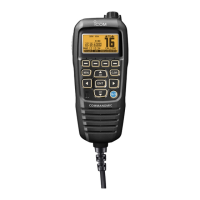
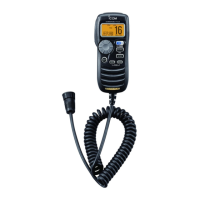
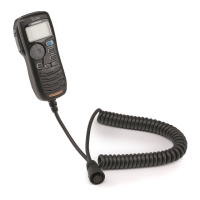
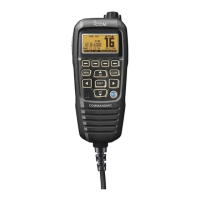
REMOTE-CONTROL MICROPHONE
HM-195 series
INSTRUCTIONS w
⁄6 Entering Individual/Group ID
q Enter “INDIVIDUAL ID” or “GROUP ID” in the DSC SET-
TINGS menu.
w Push [ADD].
• The “INDIVIDUAL ID” or “GROUP ID” entry screen is dis-
played.
e Enter an ID in the following way:
• Select a number using Dial, or [∫]/[√]/[Ω]/[≈].
• Push [ENT] or Dial to set it.
• To move the cursor, select either arrow, “←” or “→,” then push
[ENT] or Dial.
The first digit is specified as ‘0’ for a Group ID.
The first two digits are ‘0’ for any Coast station ID.
r Repeat step e to enter all 9 digits.
t After entering, push [ENT] or Dial to set it.
• The ID name entry screen is displayed.
y Enter a 10 digit ID name in the following way:
• Select a character using Dial, or [∫]/[√]/[Ω]/[≈].
• Push [ENT] or Dial to set it.
• To move the cursor, select either arrow, “←” or “→,” then push
[ENT] or Dial.
• Push [123] then [!$?] then [ABC] to select a character group.
u After entering the ID name, select “FINISH” using Dial, or
[∫]/[√]/[Ω]/[≈], then push [ENT] or Dial to set it.
• The “INDIVIDUAL ID” or “GROUP ID” list screen is displayed.
i Push [MENU] to exit the MENU screen.
⁄8 Entering position and time
q Enter “POSITION INPUT” in the DSC SETTINGS menu.
w Edit your latitude and longitude position using Dial, or [∫]/
[√]/[Ω]/[≈].
• Select a number using Dial, or [∫]/[√]/[Ω]/[≈].
• Push [ENT] or Dial to set it.
• To move the cursor, select either arrow, “←” or “→,” then push
[ENT] or Dial.
• Select N (North latitude) or S (South latitude) when the cursor
is on the ‘N’ or ‘S’ position.
• Select W (West longitude) or E (East longitude) when the cur-
sor is on the ‘W’ or ‘E’ position.
e After entering the position, push [ENT] to save it.
r The UTC time entry screen is displayed, enter the UTC time
in the following way:
• Select a number using Dial, or [∫]/[√]/[Ω]/[≈].
• Push [ENT] or Dial to set it.
• To move the cursor, select either arrow, “←” or “→,” then push
[ENT] or Dial.
t Push [ENT] or Dial to save your position and time.
• Return to the “DSC SETTING” screen.
⁄7 Deleting Individual/Group ID
q Enter “INDIVIDUAL ID” or “GROUP ID” in the DSC SET-
TINGS menu.
• When no address ID is entered, “No ID” is displayed. In this
case, push [MENU] to exit the MENU screen.
w Rotate Dial or push [∫]/[√] to select an ID name, then push
[DEL].
e Push [OK] to delete the ID, and return to the “INDIVIDUAL
ID” or “GROUP ID” list screen.
• Push [CANCEL] to cancel it.
r Push [MENU] to exit the MENU screen.
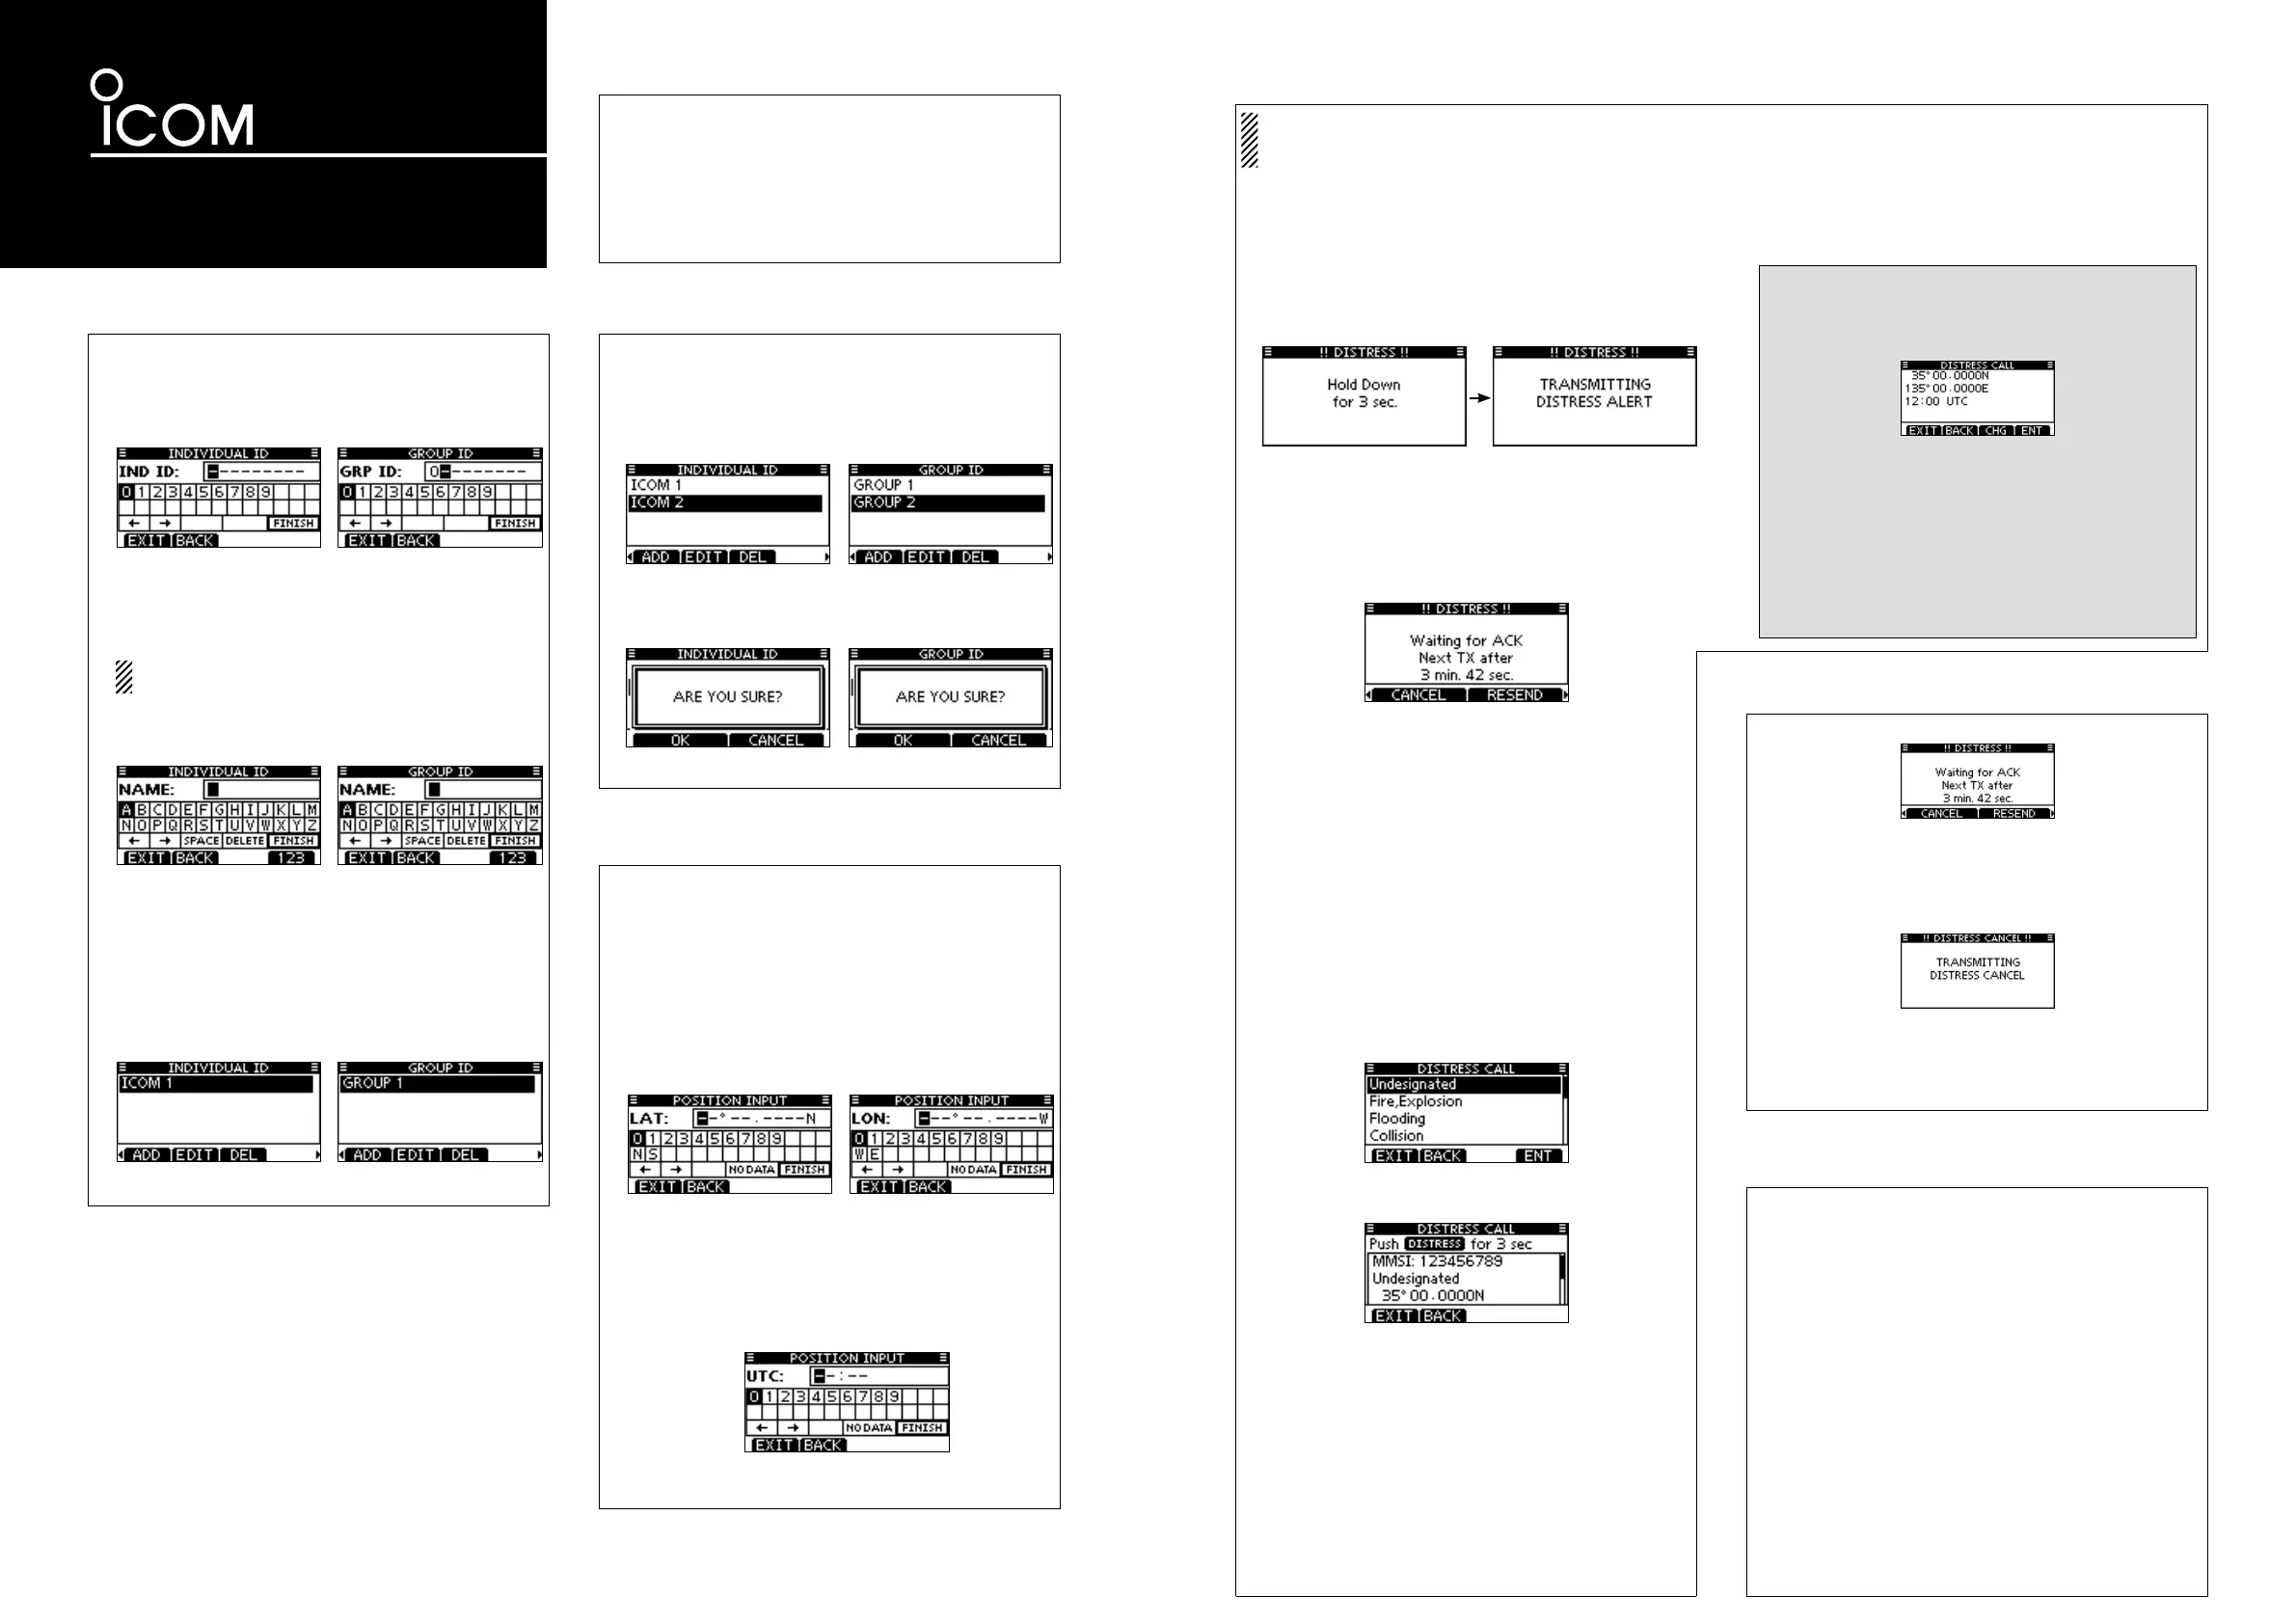
⁄9 Making a Distress Call
The Distress call is automatically transmitted every 3.5 to
4.5 minutes, until an acknowledgement is received (‘Call re-
peat’ mode), or a DSC Cancel call is made (See ¤1).
D Simple Call
q Confirm no Distress call is being received.
w While lifting up the key cover, hold down [DISTRESS] for 3
seconds to transmit the Distress call.
• While holding down [DISTRESS], count down beeps sound
and both the key and display backlighting blink.
• DSC channel (Channel 70) is automatically selected and the
Distress call is transmitted.
e After transmitting the call, the transceiver waits for an ac-
knowledgment call.
• Push [RESEND] to manually transmit the Distress repeat call.
• Push [Ω]/[≈] then push [INFO] to display the transmitted Dis-
tress call information.
• Push [Ω]/[≈] then push [PAUSE] to pause the ‘Call repeat’
mode; push [RESUME] to resume it.
r After receiving the acknowledgment, push [ALARM OFF]
then reply using the microphone.
➥ A distress alert default contains:
• Nature of distress: Undesignated distress
• Position information: The latest GPS or manually entered po-
sition is held for 23.5 hours, or until the
power is turned OFF.
D Regular Call
q Enter “DISTRESS CALL” in the DSC CALLS menu.
w Select the nature of the distress using Dial or [∫]/[√], then
push Dial or [ENT].
• ‘Undesignated,’ ‘Fire,’ ‘Explosion,’ ‘Flooding,’ ‘Collision,’ ‘Ground-
ing,’ ‘Capsizing,’ ‘Sinking,’ ‘Adrift,’ ‘Abandoning ship,’ ‘Piracy’ or
‘Man Overboard’ is selectable.
• The nature of the distress is stored for 10 minutes after a se-
lection is made.
e The Distress call confirmation screen is displayed.
• Rotate Dial or push [Y]/[Z] to see the hidden lines.
r Hold down [DISTRESS] for 3 seconds to transmit the Dis-
tress call.
• While holding down [DISTRESS], count down beeps sound
and both the key and display backlighting blink.
• The selected nature of the distress is stored for 10 minutes.
t After transmitting the call, the transceiver waits for an ac-
knowledgment call.
• Push [RESEND] to manually transmit the Distress repeat call.
• Push [Ω]/[≈] then push [INFO] to display the transmitted Dis-
tress call information.
• Push [Ω]/[≈] then push [PAUSE] to pause the ‘Call repeat’
mode, push [RESUME] to resume it.
y After receiving an acknowledgment call, push [ALARM
OFF], then reply using the microphone.
➥ A distress alert contains:
• Nature of distress: Selected in step w.
• Position information: The latest GPS or manually entered po-
sition is held for 23.5 hours, or until the
power is turned OFF.
When no GPS receiver is connected, and both posi-
tion and time have been manually entered, the screen
shown below appears. Edit your latitude and longitude
position and UTC time as follows:
➥ Push [CHG], then edit your latitude and longitude posi-
tion and UTC time.
• Select a number using Dial, or [∫]/[√]/[Ω]/[≈].
• Push [ENT] or Dial to set it.
• To move the cursor, select either arrow, “←” or “→,” then
push [ENT] or Dial.
• Select N (North latitude) or S (South latitude) when the
cursor is on the ‘N’ or ‘S’ position.
• Select W (West longitude) or E (East longitude) when the
cursor is on the ‘W’ or ‘E’ position.
¤0 Canceling a Distress call
q While waiting for an acknowledgment call, push [CANCEL].
w Push [CONTINUE].
• Push [BACK] to return to waiting for an acknowledgement call.
e Push [FINISH].
• Push [EXIT] to return to waiting for an acknowledgement call.
r The Distress cancel call is transmitted.
t Channel 16 is automatically selected.
• Report your situation using the microphone.
• After the report, push [EXIT] to return to the normal operating
mode.
¤1 Making a Distress Relay ACK
(For only USA version)
q When a Distress Relay Call is received, beeps sound.
Push [ALARM OFF] to stop the beeps.
w Push [ACPT].
• Push [IGN] to ignore the call and return to the normal operat-
ing mode.
• Push [INFO] to display the Distress Relay Call information.
• Push [PAUSE] to pause the countdown.
The Distress cancel
call is transmitted.
e Push [ACK].
• Push [EXIT] to return to the normal operating mode*.
*The exit confirmation dialog is displayed.
r The Distress Relay Acknowledgement confirmation screen
is displayed.
Push [CALL] to transmit the acknowledgement call.
t After transmitting the acknowledgement call, Channel 16 is
automatically selected.
• Push [EXIT] to return to the normal operating mode.*
*The exit confirmation dialog is displayed.
• Push [RESEND] to resend the acknowledgement.
In this INSTRUCTIONS, the IC-M423/IC-M424 series is used
for an example.
•
Some functions and DSC calls may not be usable depending
on the transceiver model or version.
•
Some screen, function name, and softkey name may be differ-
ent, depending on the transceiver.
See the transceiver’s manual for detail operation.
 Loading...