10
4
OPTIONS
1
2
3
4
5
6
7
8
9
10
11
12
13
14
15
16
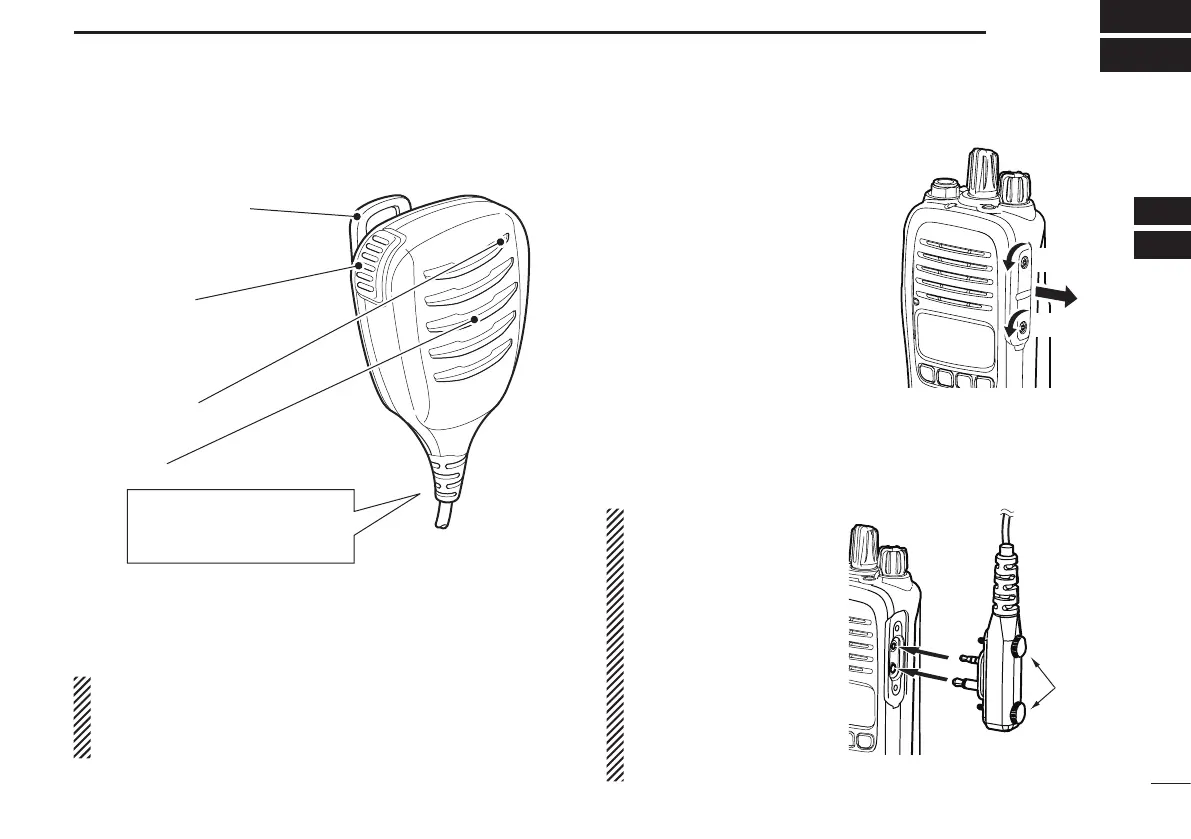
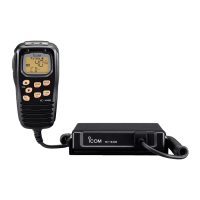
■ Optional HM-168LWP description
Alligator type clip
To attach the speaker-mic.
to your shirt or collar, and so on.
PTT button
Hold down to transmit,
release to receive.
Microphone
Speaker
Turn OFF the transceiver
when you connect the
HM-168LWP.
NEVER immerse the connector in water. If the connector
becomes wet, be sure to dry it BEFORE connecting it to the
transceiver.
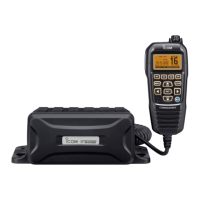
NOTE: The microphone is located as shown in the dia-
gram above. To maximize the readability of your transmit-
ted signal (voice), hold the microphone approximately 5 to
10 cm from your mouth, and speak in a normal voice level.
Hand
tighten
Follow the steps below to attach the
HM-168LWP. First, you must turn
OFF the transceiver, and detach the
jack cover.
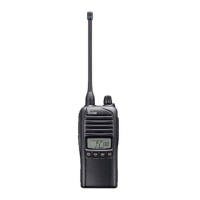
D Detaching the jack cover
q Unscrew the screws using a
screwdriver.
w Detach the jack cover.
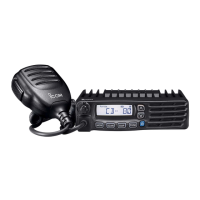
D Attaching the HM-168LWP
q Attach the speaker-microphone’s connector to the speak-
er-microphone jack on the transceiver.
w Tighten the screws with your fingers.
NOTE: Use only your
fingers instead of tools to
tighten the screws.
CAUTION: Firmly attach
the connector. Otherwise
water will enter into the
connector.
IMPORTANT: Keep the
speaker-microphone jack
cover attached to the
transceiver when an exter-
nal device is not used.
w
q
q