


M
michellemooreSep 8, 2025
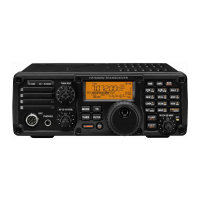
Why does memory scan not start on Icom IC-7200?
- NNicole WigginsSep 8, 2025
Memory scan might not start on your Icom Transceiver if fewer than two memory channels have been programmed. Ensure that you program two or more memory channels.