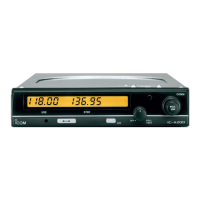
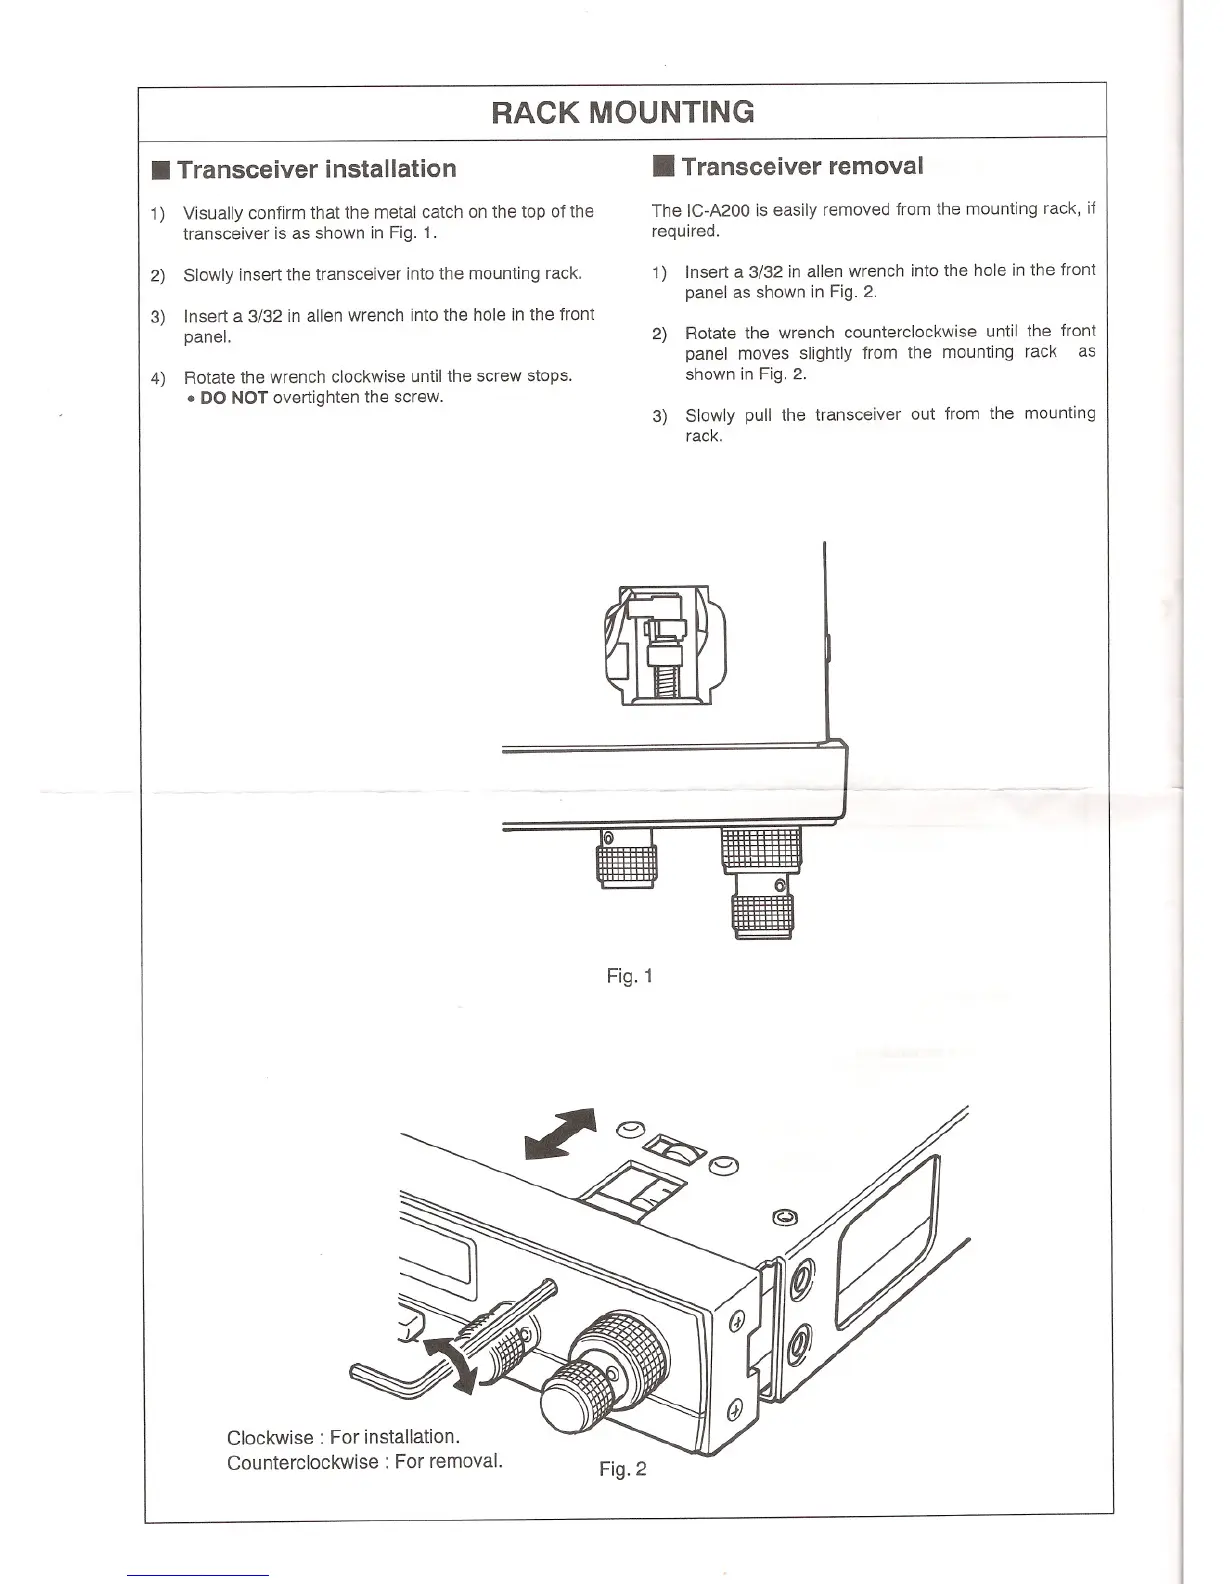
RACK MOUNTING
.Transceiver installation
.Transceiver removal
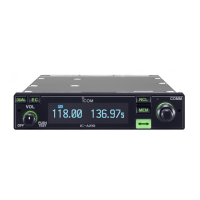
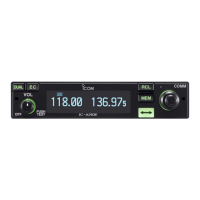
1) Visually confirm that the metal catch on the top of the
transceiver is as shown in Fig. 1.
The IC-A200 is easily removed from the mounting rack, if
required.
2) Slowly insert the transceiver into the mounting rack.
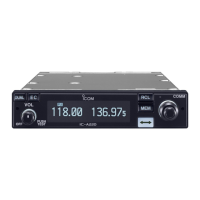
1) Insert a 3/32 in alien wrench into the hole in the front
panel as shown in Fig. 2.
3) Insert a 3/32 in alien wrench into the hole in the front
panel.
2) Rotate the wrench counterclockwise until the front
panel moves slightly from the mounting rack as
shown in Fig. 2.
4) Rotate the wrench clockwise until the screw stops.
.DO NOT overtighten the screw.
3) Slowly pull the transceiver out from the mounting
rack.
...
Fig. 1
Clockwise: For installation.
Counterclockwise: For removal.
Fig. 2