ADS-RR(SR)-TOY02-DS-IG-EN maestro.idatalink.com
ToyoTa pRiuS v WiTh JBL 2012-2014
Automotive Data Solutions Inc. © 2021
3
INSTALLATION INSTRUCTIONS
STEP 1
• Unbox the aftermarket radio and locate its main harness.
• Connect the wires shown on the next page from
aftermarket radio main harness to the TO2 T-harness and
match the wire functions.
• Remove the factory radio.
STEP 2
• If the vehicle is equipped with an OEM backup camera: Cut
the reverse camera plug of the TO2 T-harness and connect
the wires as indicated in the wiring diagram next page
(BROWN/RED and BROWN/YELLOW wires are not used).
STEP 3
• Connect the factory harness to the TO2 T-harness.
STEP 4
• Unplug the Black 2 pin connector near the 28 Pin
connector of the TO2 T-harness.
• Plug the Black 2 pin connector of the TO2 T-harness into
the Black 2 pin connector on the OBDII harness.
• Plug the OBDII connector into the OBDII of the vehicle.
STEP 5
• Plug the aftermarket radio harnesses into the aftermarket
radio.
• Connect the backup camera RCA cable into the
aftermarket radio (if equipped).
• Connect the auxiliary RCA cables into the aftermarket radio
(if equipped).
• Plug the steering wheel control cable into the aftermarket
radio.
STEP 6
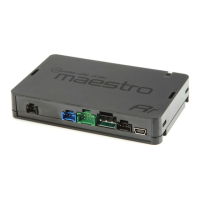
• Connect all the harnesses to the Maestro RR module then
test your installation.
10

 Loading...