Zhuhai Bell Technology Co., Ltd
3.2 安装步骤
Installation steps
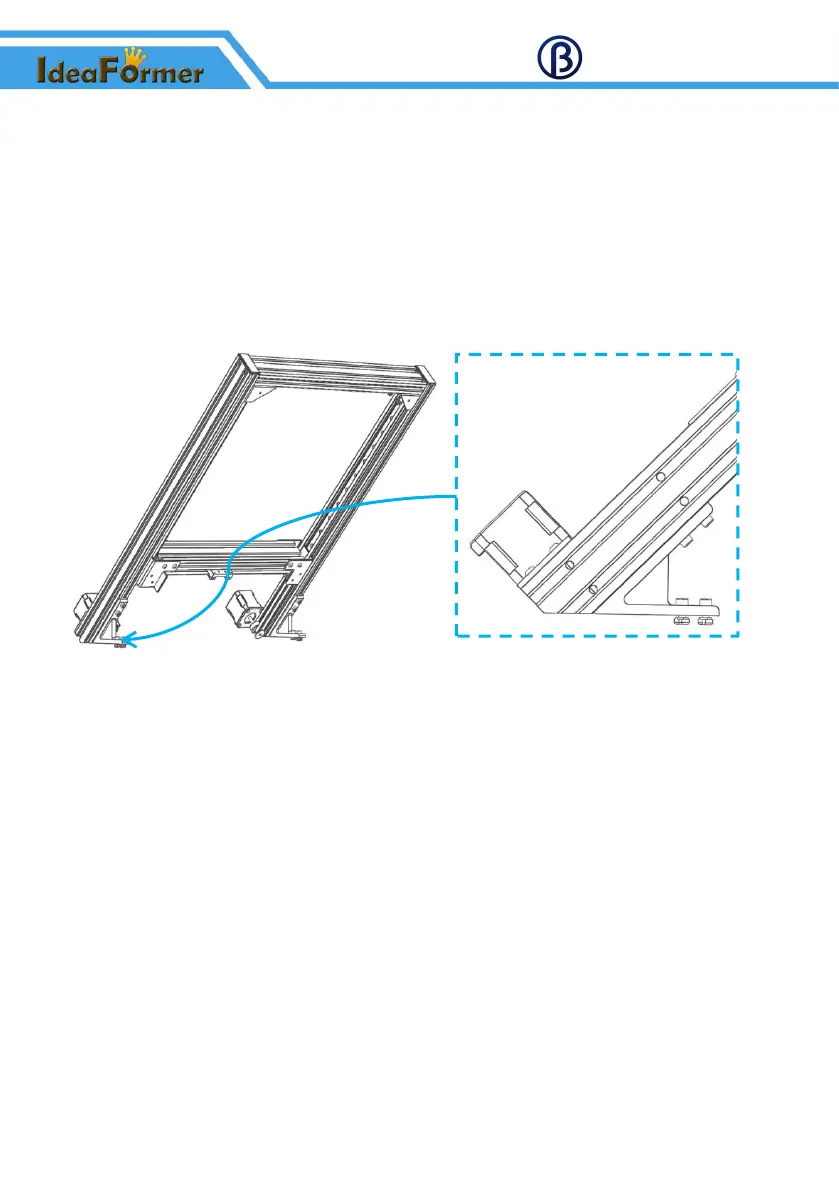
1、安装 45°角码 Install 45°corner brace
在 XY 轴框架上安装角码,使角码底部与铝型材切边齐平。
Install the 45°corner brace on the XY axis frame so that the bottom of the 45°corner brace is flush
with the cutting edge of the aluminum profile.
所需材料:45°角码 ×2、XY 轴框架
Need materials: 45°corner brace ×2, XY axis frame
2、安装 XY 轴框架 Install the XY axis frame
(1)把 45°角码固定在传送带平台的铝型材框架上,使 XY 轴框架与传送带平台贴平。
Fix the 45°corner brace on the aluminum profile frame of the conveyor belt platform so that
the XY axis frame is flat with the conveyor belt platform.
(2)然后再通过三角板调节 XY 轴框架与传送带平台夹角为 45°后,拧上螺丝。
Then adjust the angle between the XY axis frame and the conveyor belt platform to 45°
through the triangular plate, and then screw on the screws.
(3)安装固定板,拧紧螺丝。
Install the fixed plate and tighten the screws.