INSTALLATION
mini HE --- Installation & Servicing
19
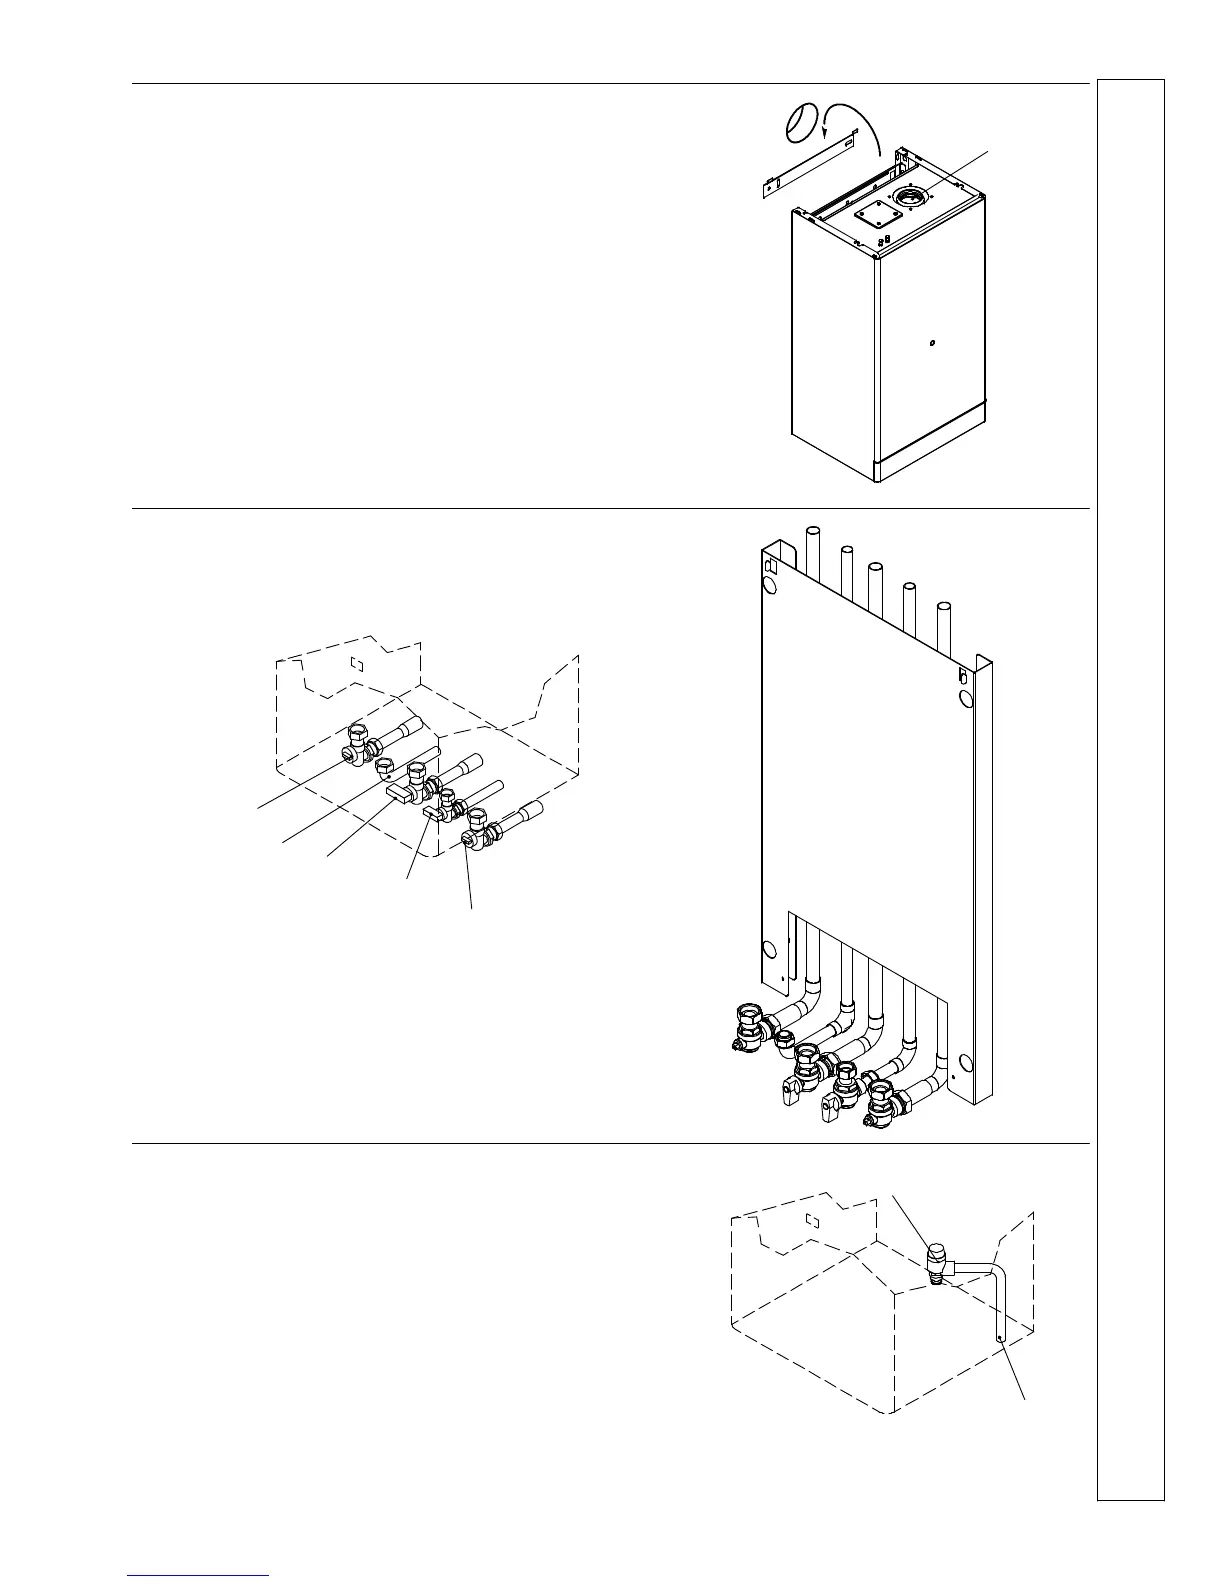
17 MOUNTING THE BOILER
Lift the boiler onto the wall mounting plate locating the bar at
the rear of the back panel assembly into the bracket.
As added protection, the boiler should be lifted with the lower
polystyrene packaging in place.
Lower the boiler into position.
Remove the lower packaging. Remove the front and side
panels (refer to frame 22) and strip off the protective coating.
The panels may be placed to one side and re---fitted when the
installation is complete.
Note. Before fitting the flue system, fili the condensate trap
within the boiler by pouring a cupful of water into the flue
outiet A. Take care to ensure that the water is only poured into
the flue outiet, and does not spill into the boiler casing.
Fit the flue system referring to the instructions contained with
the kit.
Make good the internal wall surface using the seal provided.
A
18 CONNECTIONS
Fit the service valves washers and tail pipes as shown.
Central Heating flow
Domestic hot
water outlet
Gas inlet
Domestic cold
water inlet
Central Heating return
Connect to the tail pipes by proprietory fittings.
The pipework may be directed down or through the rear wall
as required.
The pipework may be directed upwards by using the optional
stand off bracket kit. See illustration for upward pipework
routing
19 SAFETY VALVE DRAIN
The discharge pipe should be positioned so that the
discharge of water or steam cannot create a hazard to the
occupants of the premises or damage to electrical
components and wiring.
Pressure
Discharge pipe
relief valve
INSTALLATION
 Loading...