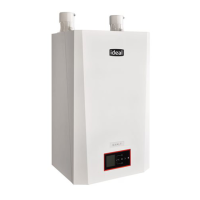
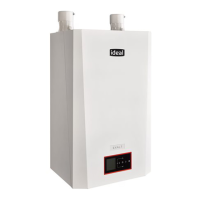
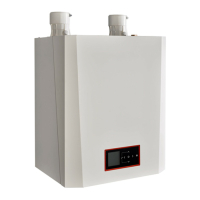
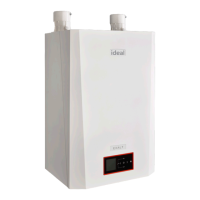
Exalt
Venturi Replacement Kit
2
1. Preliminary Instructions:
1. Verify that the venturi replacement kit is correct for
the model of boiler. See page 1.
2. Turn off electrical power supply to the boiler.
3. Close the manual gas shut off valve to the unit.
4. Remove the front panel of the Exalt by removing
the screw along the bottom edge of the unit. Pull
the bottom of the panel forward and then lift to re-
move the front panel from the unit.
5. Using a voltmeter ensure there is no electrical pow-
er to the boiler by checking for power on the boil-
er’s high voltage terminals L and N.
WARNING
!
ELECTRICAL SHOCK HAZARD
Ensure power to the boiler has been disconnected pri-
or to servicing the unit.
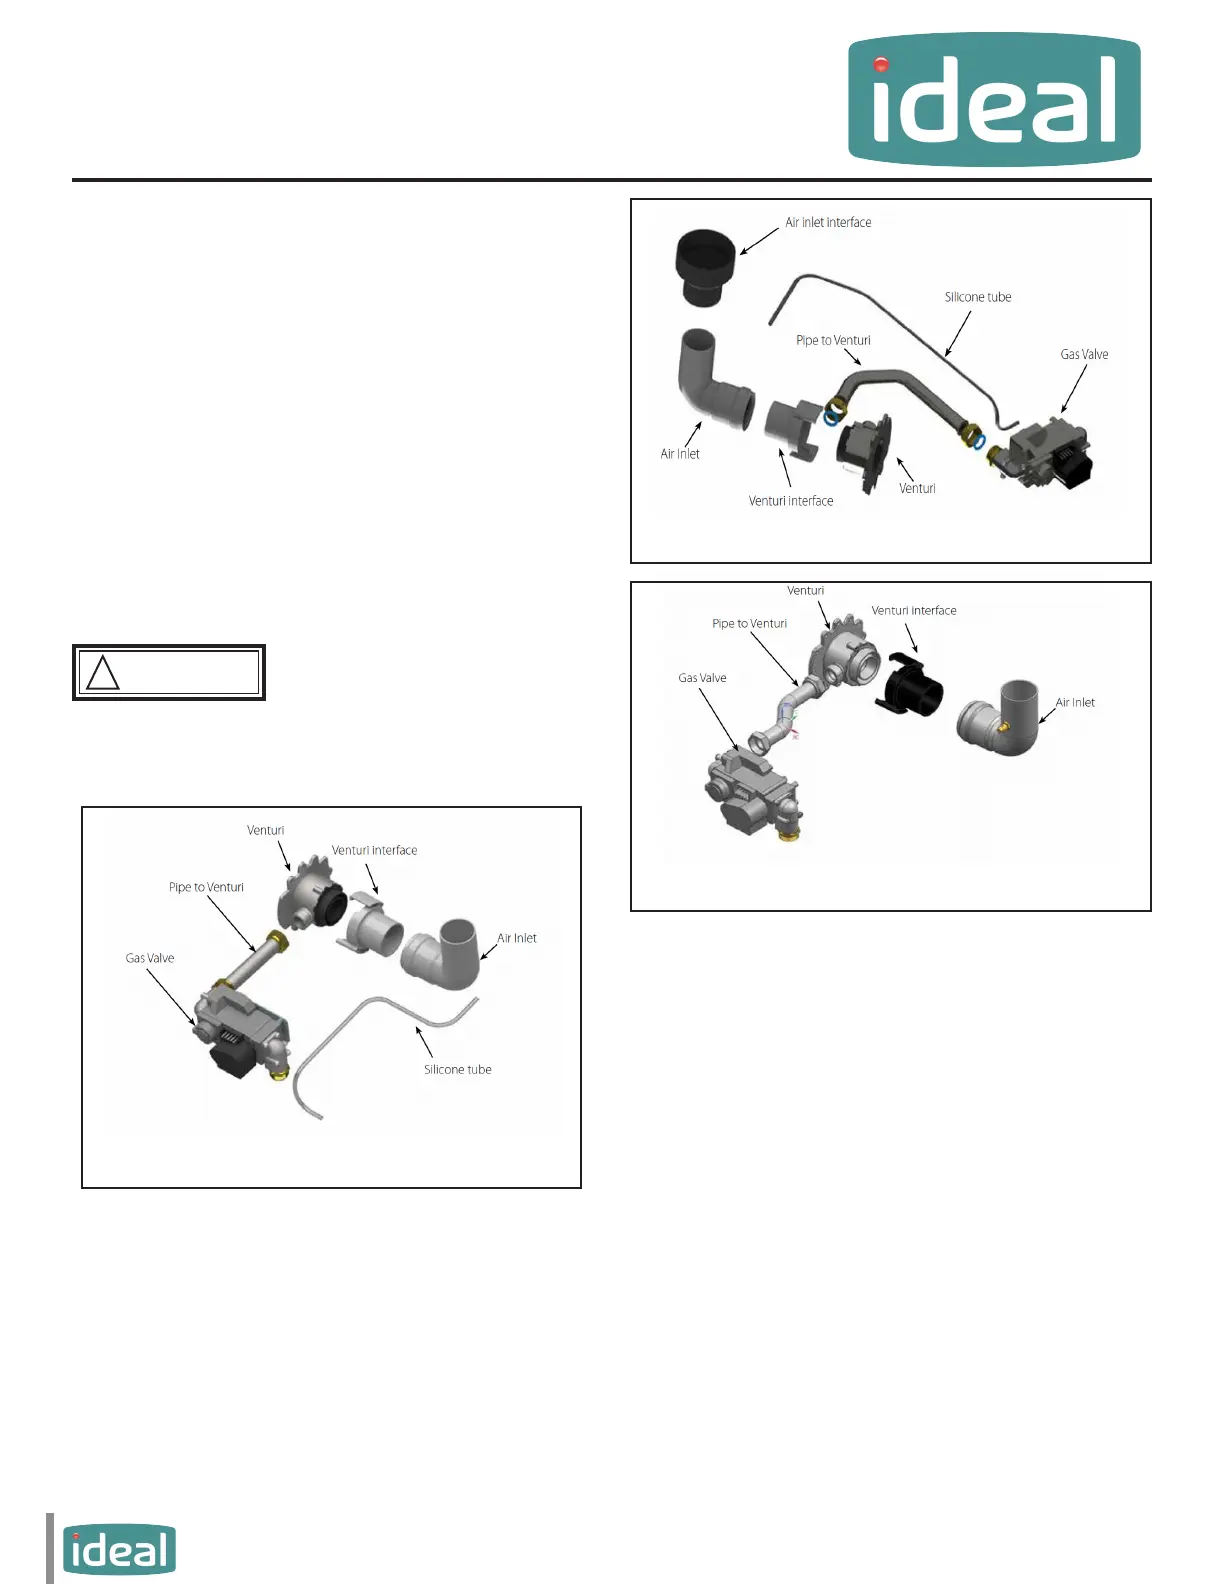
Fig. 1: Exalt 110 Gas Train
Fig. 2: Exalt 155 Gas Train
Fig. 3: Exalt 199 Gas Train
2. Removal of old Venturi
1. Remove the silicone tube from the air inlet elbow,
then remove the air inlet elbow.
2. Rotate the venturi interface approximately 60°
clockwise to release the clamping mechanism and
remove the venturi interface. Discard the gasket
between the venturi and venturi interface.
3. Remove the gas valve to venturi pipe by loosening
the nuts at both ends of the pipe with an adjust-
able wrench.
4. Remove and dispose of the gasket installed at both
ends of the gas valve to venturi pipe. These gaskets
must be removed and replaced with new gaskets.
5. Using a 10 mm wrench, remove the three (3) bolts
securing the venturi to the fan assembly and re-
move the venturi from the unit.