@2020 iDFTECH
13
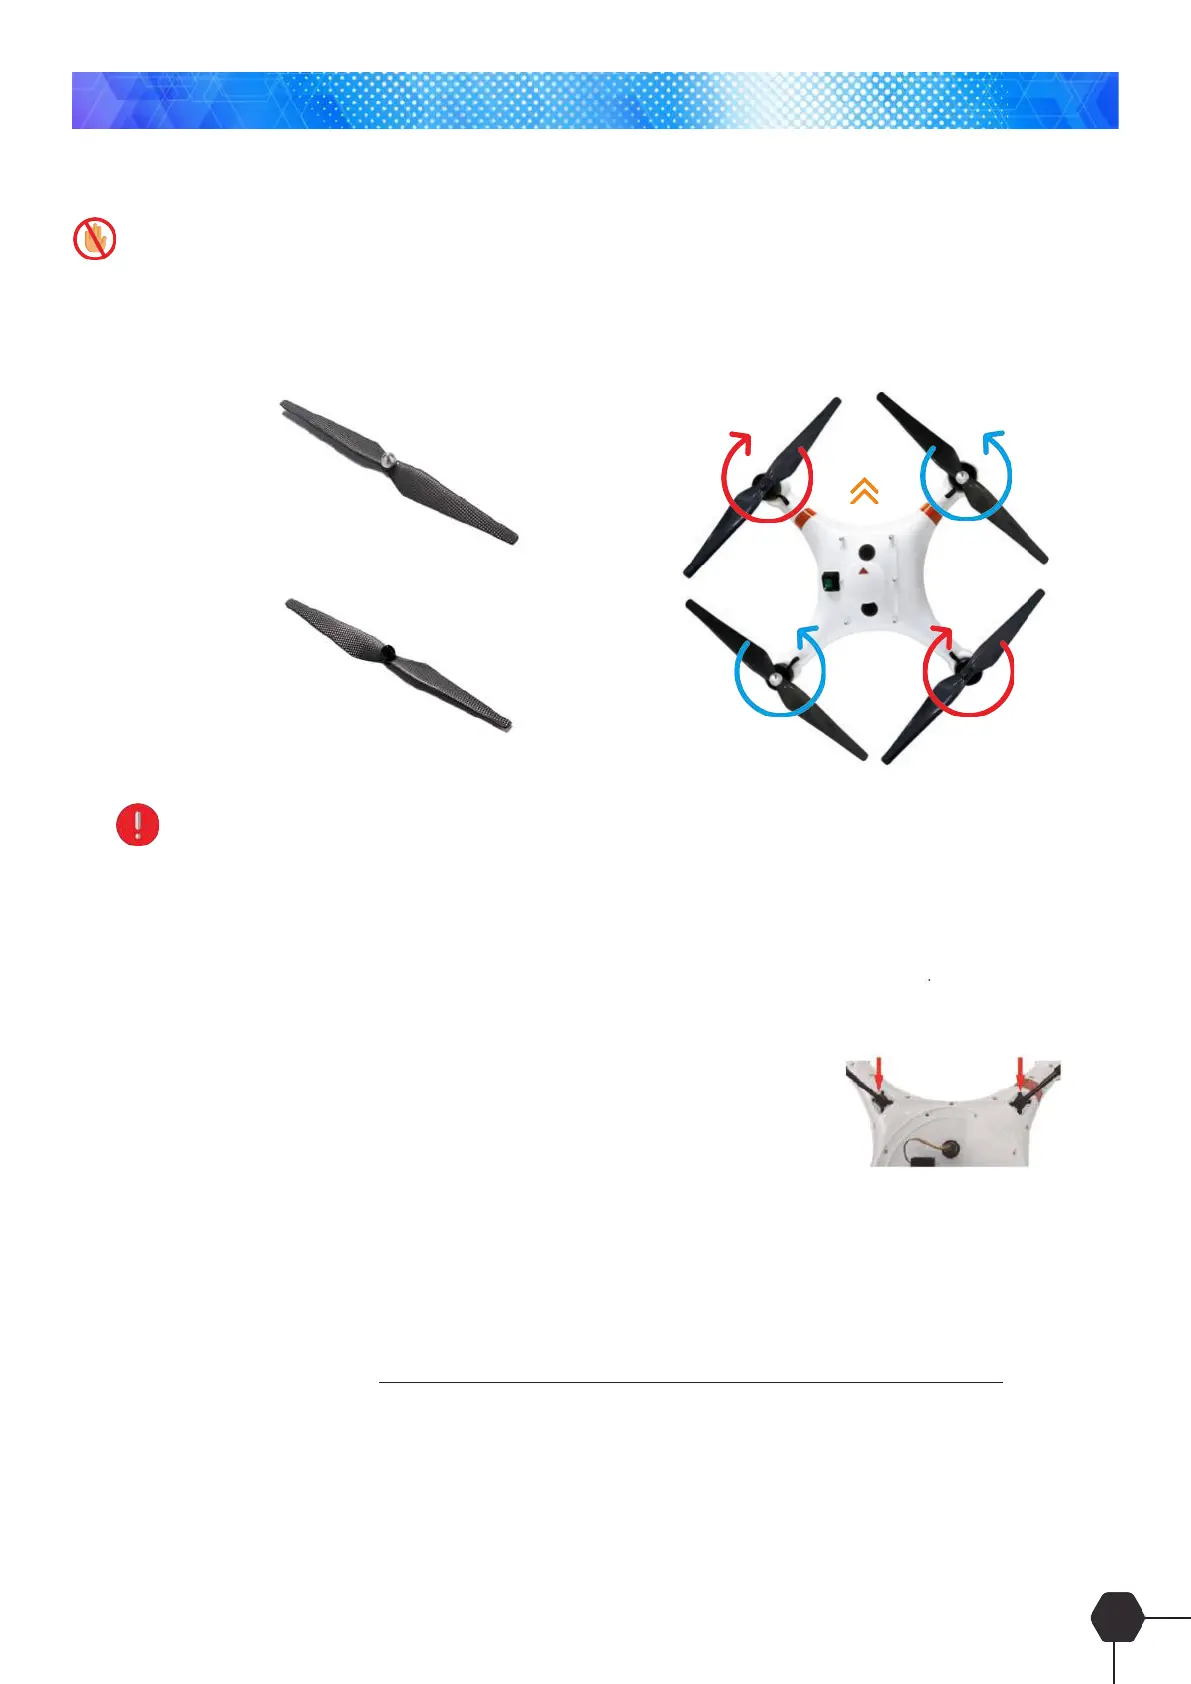
Propeller Installation
Make sure the remote controller and aircraft is turned off
Install the correct propeller onto the Poseidon-Pro aircraft as shown below;
Pay attention to distinguish the front and back of the drone by the red marks on the 2 arms of the quadcopter
representing the front.
Landing Gear Fitment
Locate the 4 mounting holes locate underneath the aircraft. Fitment is
easy, simply insert the carbon ber tubes into the holes and push in rmly.
Installation of Quadcopter Battery
1. Remove the lid simply by removing the 6 fastener bolts and lift the lid off and turn the remote controller on.
2. Ensure the rocker switch located on the top of the quadcopter is in the off position ‘O’
3. Plug the battery into the plug located inside the quadcopter and insert the battery into the aircraft
4. Replace the lid making sure the arrow on top of the lid is pointing to the front of the quadcopter and x in
place with the 6 fastener bolts.
5. Turn the rocker switch to the on position ‘-‘, At this stage the remote controller should sync with the
quadcopter and display on the LCD. The Drone battery Level indicator is displayed on the App not the
remote Controller.
FRONT
Assembly
Propeller with silver cap
installed in position of 1 & 3
Propeller with black cap
installed in position of 2 & 4