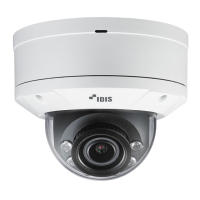
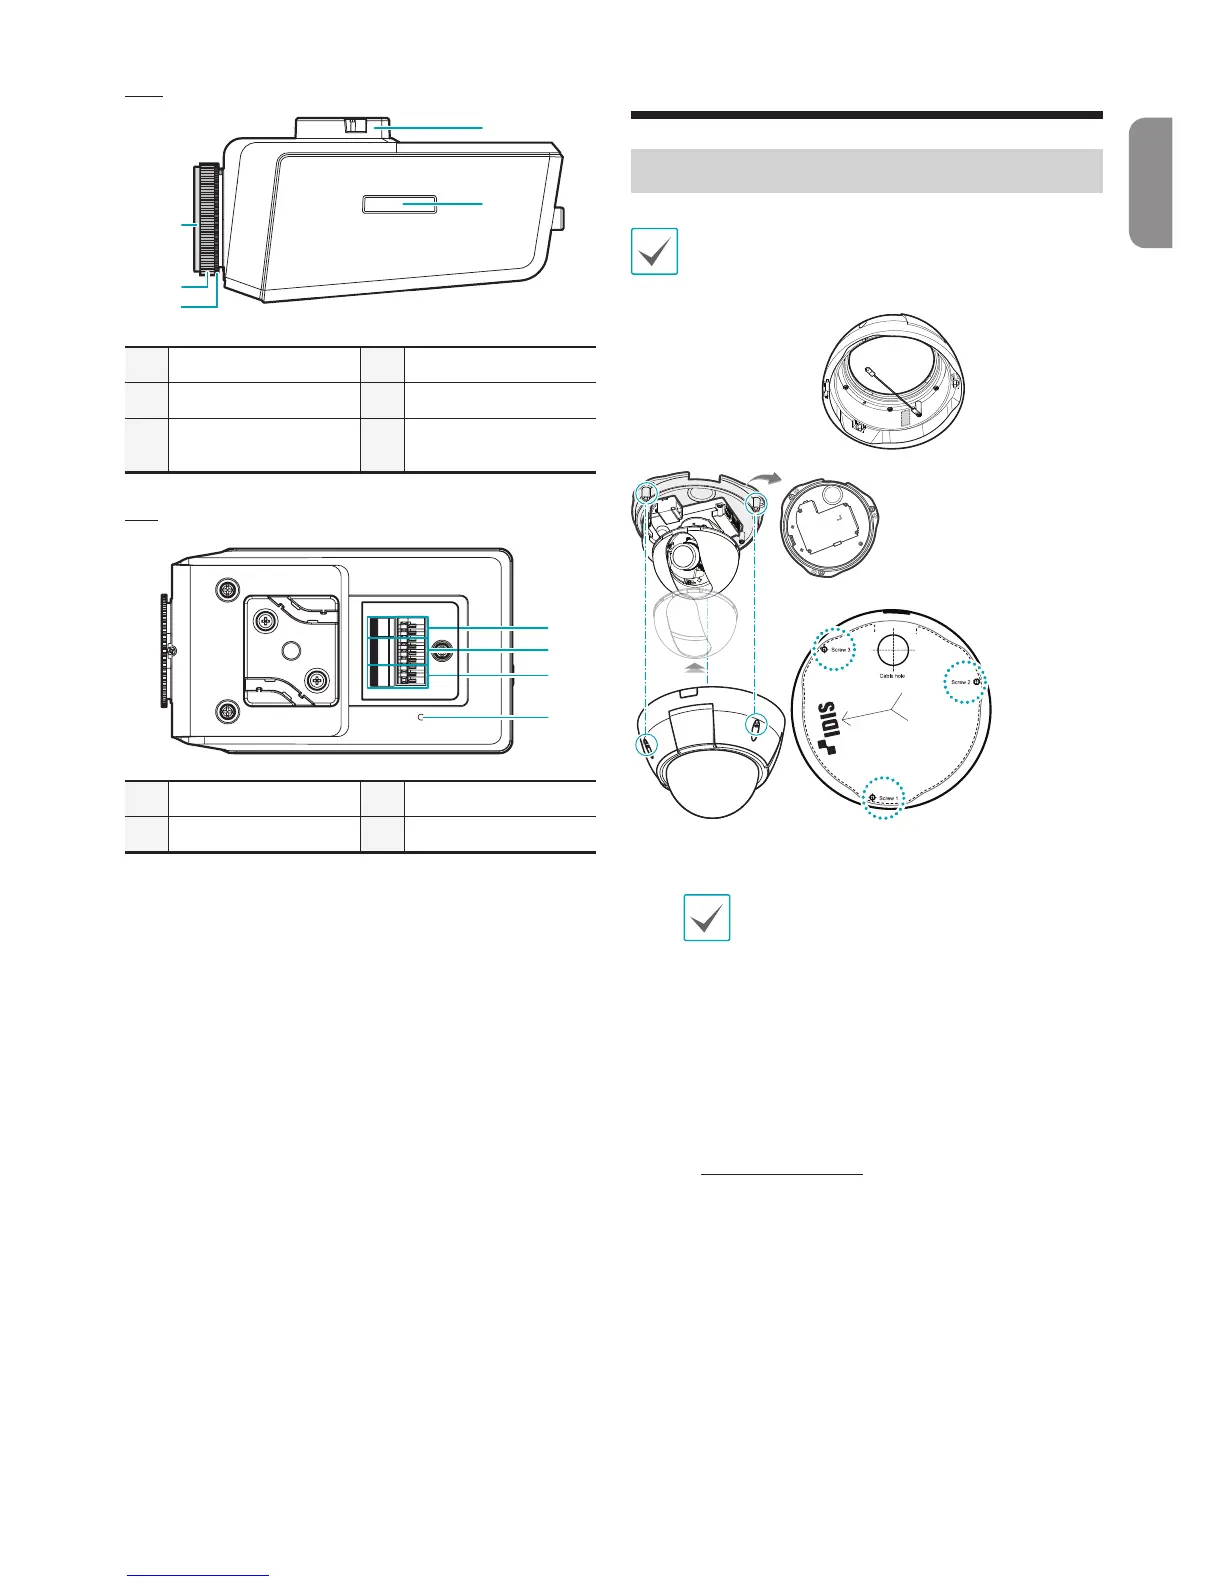
1
RS485 Port
3
Alarm I/O
2
Audio I/O
4
Factory Reset Switch
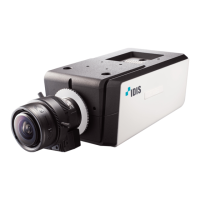
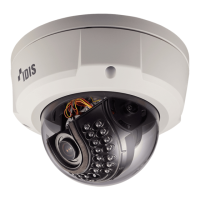
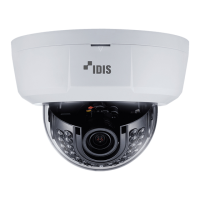
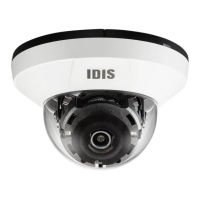
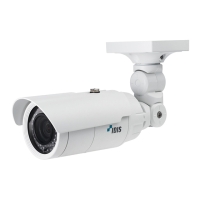
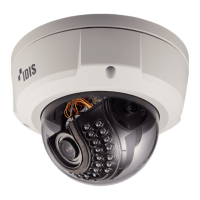
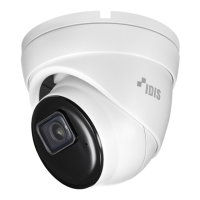
Camera Installation
DC-D1223WX Model
Attach the enclosed desiccant beside the safety
wire screw inside the dome cover to prevent
moisture.
Guide Pattern
1
Use the screws provided with the camera to secure
the bottom cover on a wall or a ceiling.
Use the provided guide pattern to check
the distance between the screws.
2
Connect external devices, the network cable, and
the power adapter. Block the cable access hole
for waterproong by using the enclosed cable
access hole rubber when routing cables and wires.
Waterproong sealing is required by using silicone
etc. after blocking the cable access hole. Ask your
retailer for details.
3
Adjust the angle of the lens. For more details, refer
to Angle Adjustment.
4
Adjust the focus and zoom levers.
5
Attach the shield case to the vertical rotation
adjustment screw and secure it in place.
English
 Loading...