48 Core Implementation NEO2: Swift
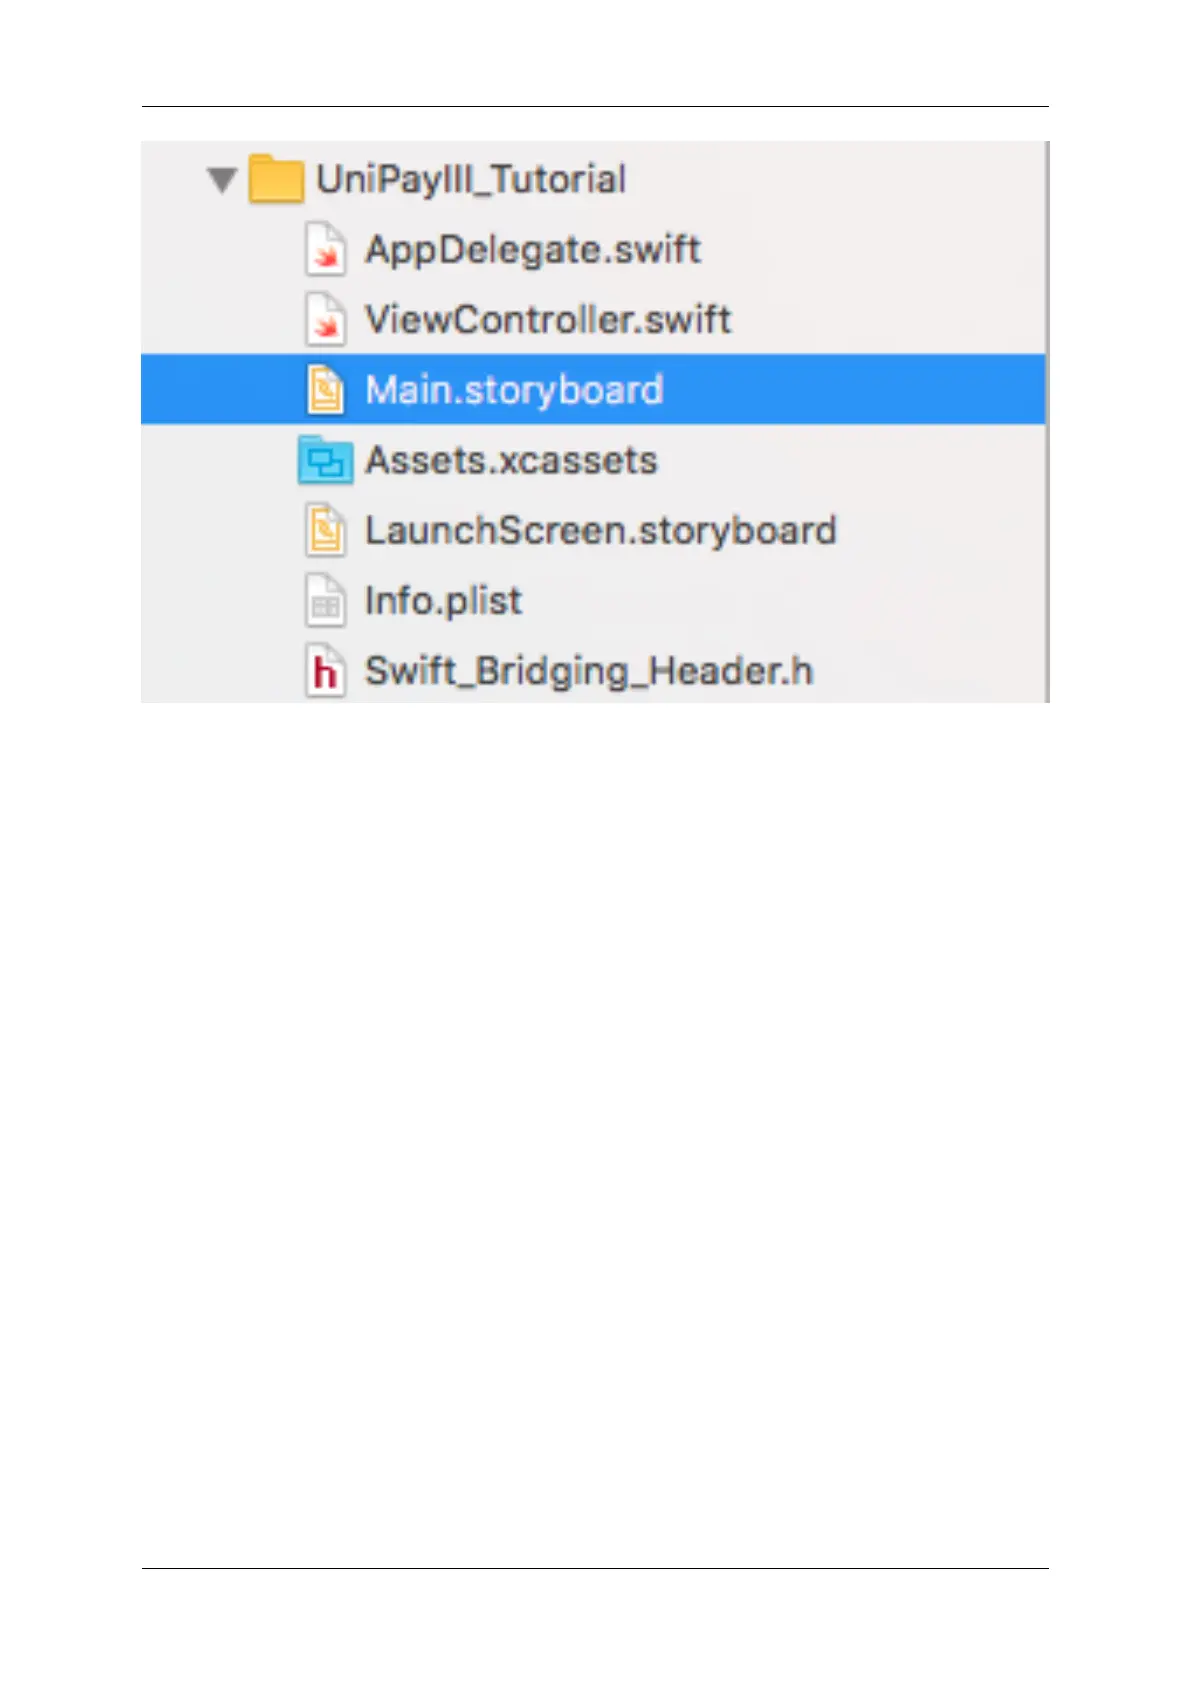
Open your storyboard and add items to so it contains the following buttons/fields:
• Add a navigation bar at the top to display the application's name
• Add a label to the top that will signify connection/disconnection status.
• Add text views to communicate data from the NEO2 and for EMV LCD display information. Remove the
Editable and Selectable behaviors if you don't want the keyboard to pop up if you accidentally select it.
• Add buttons to execute the following functions:
– Get Firmware
– Start MSR / CTLS
– Start ICC EMV
– Complete ICC EMV
– Cancel Transaction
(Add constraints accordingly so layout maps to intended screen size)
7.8.4 Step 4: Configure the Bridging Header and View Controller Files
Create the bridging header file by performing the following:
• Create a Bridging Header File
In the bridging header file, perform the following:
• Add Import Statement to the Bridging Header File
In the view controller file, perform the following:
#80152504-001 IDTech iOS SDK Guide for NEO2