
I
Isabel BrightJul 27, 2025
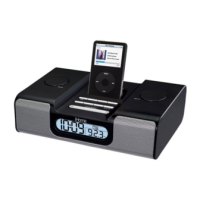
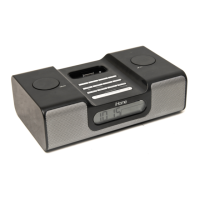
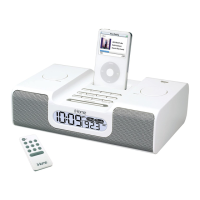
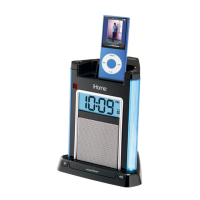
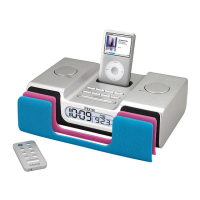
What to do if my iHome Docking Station iH9 doesn’t respond?
- Mmolly72Jul 28, 2025
If your plugged-in iHome Docking Station iH9 doesn't respond, try resetting it. First, remove your iPod from the dock. Then, unplug the unit from the power source and remove the back-up batteries. Wait one hour before resuming use. Also, remove your iPod from the dock and check for any obstructions on the connectors, both on the dock and your iPod. Reseat it in the dock after checking.