28
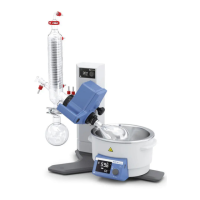
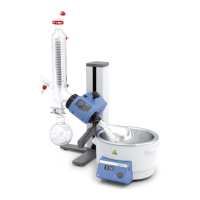
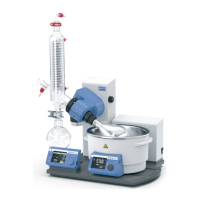
Glassware
NOTE: Please read the operating instructions of the glassware for
the safe handling of laboratory glassware !
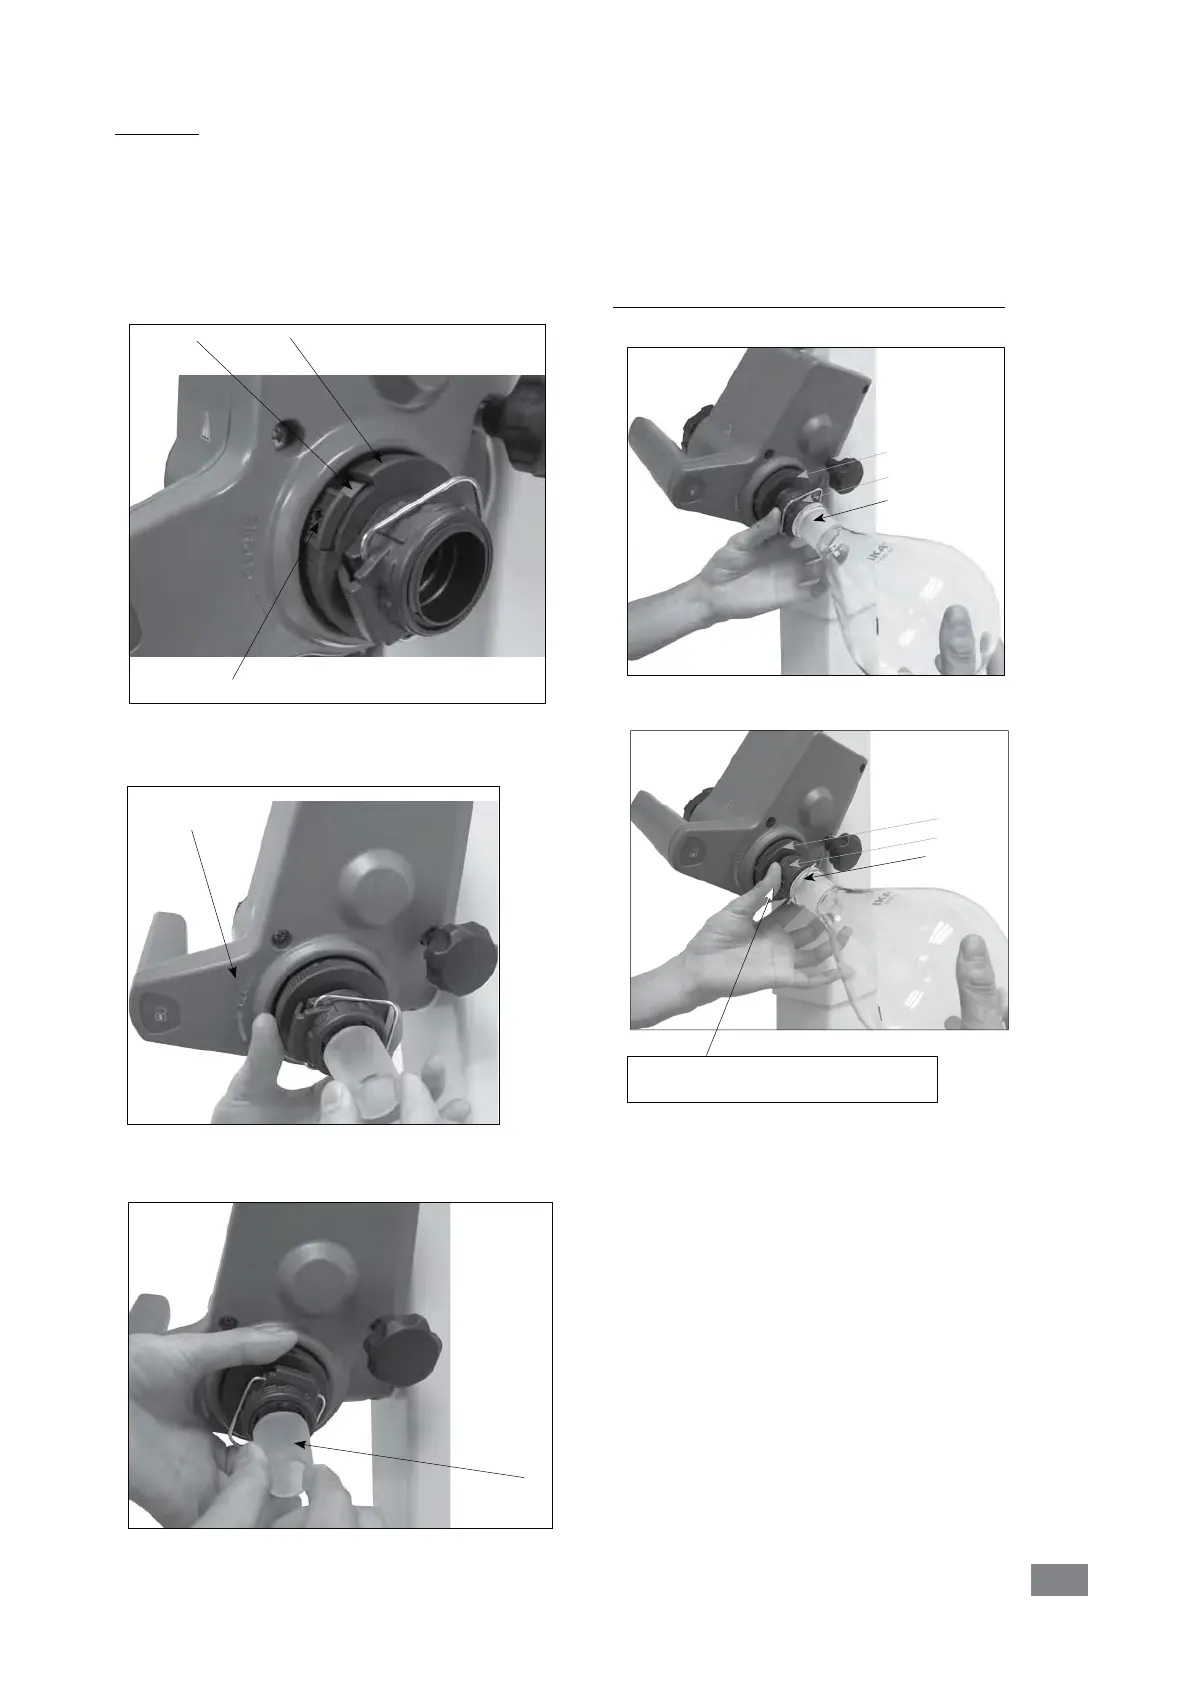
• There is a locking knob (P) for locking or unlocking the locking
device (O).
If a red mark (Q) is shown, the locking device is unlocked,
otherwise it is locked.
To lock or unlock the locking device (O), push the locking knob
(P) to the end position.
•
Open the locking device (O) on the drive head by turning it 60°
counterclockwise. Then you can see a red mark (Q) .
•
Feed the vapour tube (R) in until it stops.
•
Then, lock the locking device (O) by turning it clockwise by 60°.
Fig.14c
Mount the evaporation flask:
- Place the evaporation flask on the Vapour tube (R). (Fig.15a)
- Turn the plastic nut (S) with the clip (T) counterclockwise until
the clip can be put on the flange. (Fig. 15b)
- Now turn the plastic nut clockwise until the clamp is hard up
against the flange. When doing so, hold the locking device (O)
on the steam pipe.
Remove the evaporation flask:
- Hold the locking device (O) and loosen the plastic nut by turning
it counterclockwise. This releases a tightly clamped evaporating
flask.
- Hold the evaporating flask at the flange and open the jaws of
the clamp.
- Remove the evaporating flask.
- Check that the locking of vapour tube is still closed!
T
O
S
Fig.15b
Turn clockwise (
3
) for tight-fitting
Turn counterclockwise (
4
) for loosen tight-fitting
Fit & unfit the evaporation flask / push off mechanism
O
R
S
Fig.15a
Fig.14b
R
Fig.14a
Q
O
P
See indication:
“CLOSE“
• Pushing the lock knob (P) to the end position, the red mark (Q)
should be covered and invisible.
• The vapour tube is not allowed to be pulled out!
• Check the correct axial locking device on the vapour tube.
• Keep the red mark (Q) invisible.
 Loading...