imperialsystemsinc.com 11 Imperial Systems Inc.
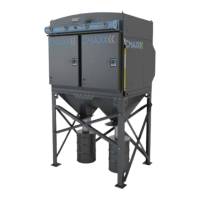
3. Bolt on the temporary lifting lugs to the hoppers to assist in lifting
the hoppers onto the structure. Lift hoppers onto support structure
and fasten to the structure using the supplied hardware. Use
alignment pins as necessary to align holes. Leave all hardware loose
at this time.
4. Remove the temporary lifting lugs from the hoppers, and apply 2
rows of sealant on the hopper flange surface. (See following graphic.)
5. Properly rig the body of the CMAXX and lift into place over the
hoppers using alignment pin bars to align the hopper flange holes to
the holes in the base of the CMAXX body. The arrows on the alignment
stickers should be aligned to each other.
6. Once all of the hardware is installed in the base flange of the
CMAXX and properly tightened, proceed with tightening all of the
support structure hardware.
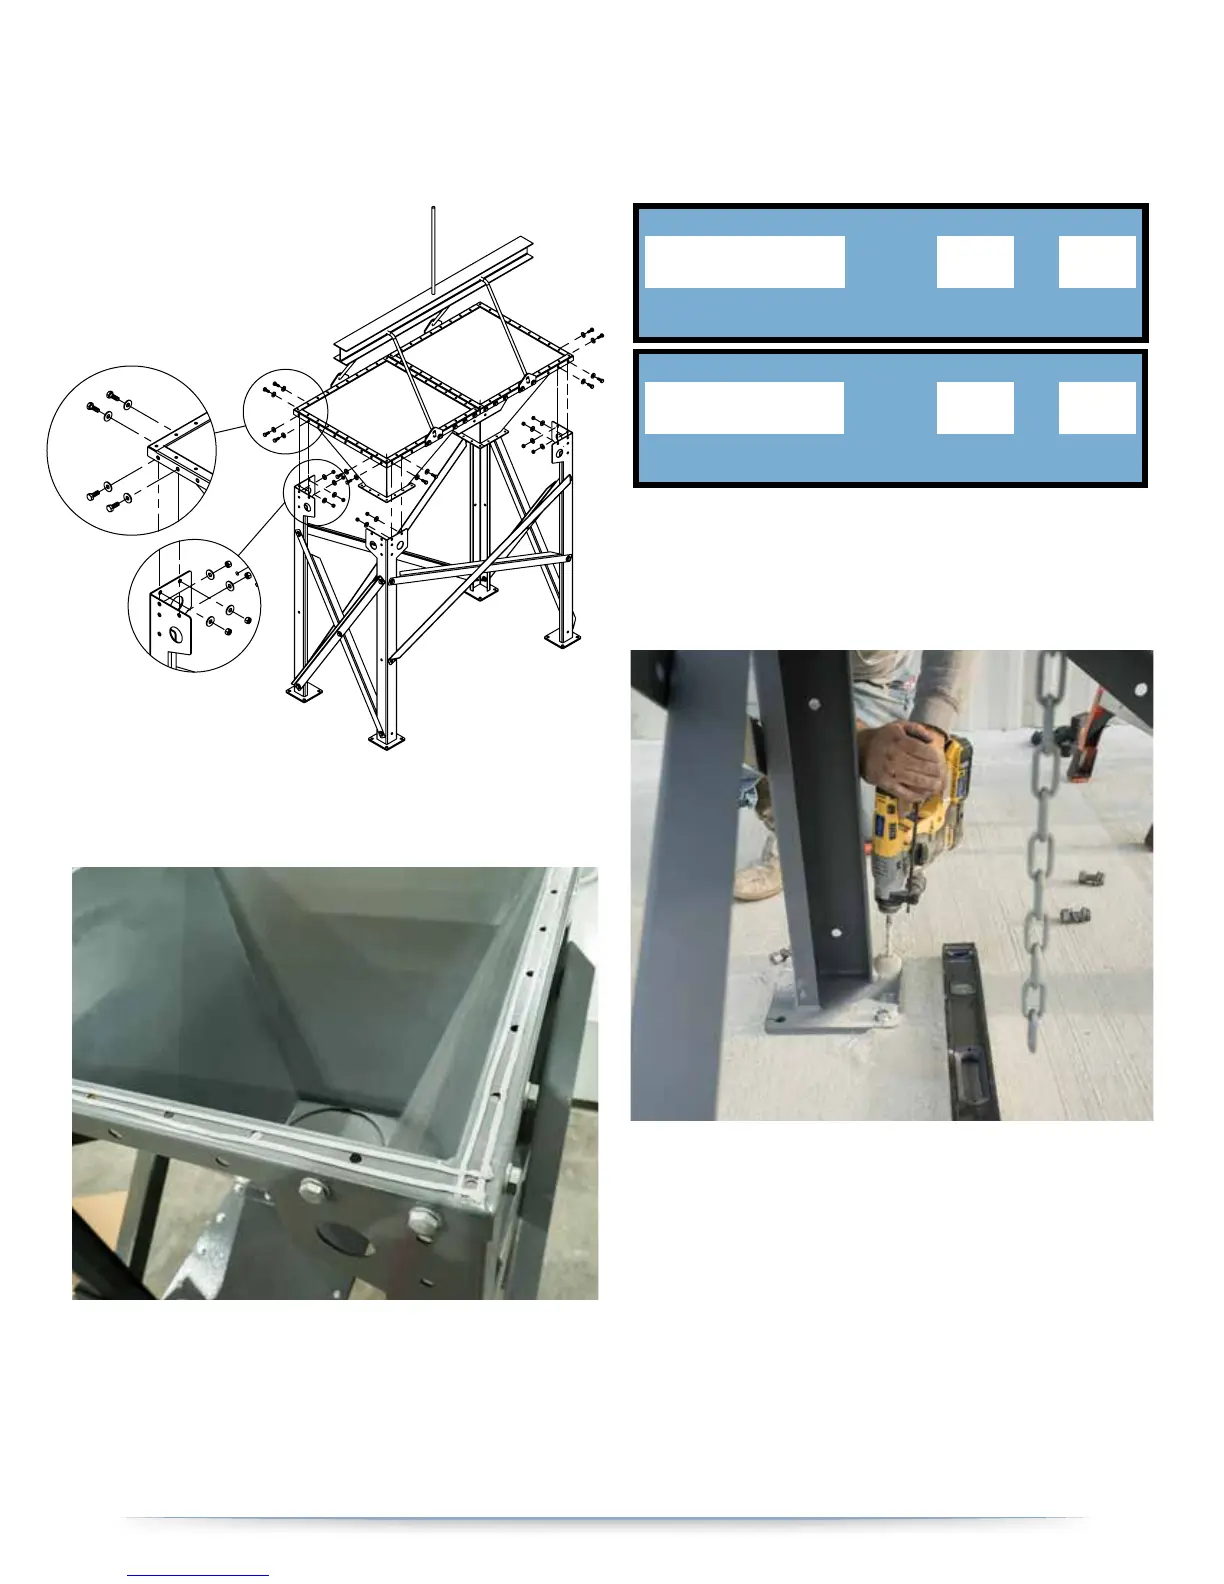
7. Securely anchor the CMAXX structure to the foundation using the
holes in the foot pads.
5.2 COMPRESSED AIR INSTALLATION
• Remove the pipe plug from the end of the air header tank and
connect the compressed air supply line. Supply line must be
minimum 1 in. diameter. Use pipe sealant or thread sealing tape on
all compressed air connections.
• Install a customer supplied regulator with gauge, filter, and
automatic condensate valve in the compressed air supply line.
SERIAL NO:
OF
ALL HOPPERS HAVE BEEN FACTORY
FIT TO THE BODY OF THE COLLECTOR
MATCH THE NUMBER OF
THE CORRESPONDING BODY
TO THE HOPPER NUMBER
SERIAL NO:
OF
ALL HOPPERS HAVE BEEN FACTORY
FIT TO THE BODY OF THE COLLECTOR
MATCH THE NUMBER OF THE
CORRESPONDING HOPPER
TO THE BODY NUMBER