7
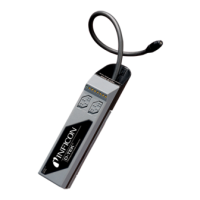
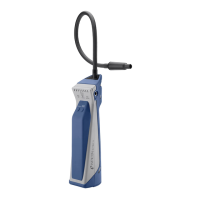
Locating Leaks
NOTE: Bumping the accessory probe or nose piece into objects while seeking
leaks will cause false alarms. Leaks will be indicated by a beeping alarm
and flashing indicators. Disregard occasional short alarms.
Always keep clear of hot and/or moving engine and machinery
parts. Damage or injury could result.
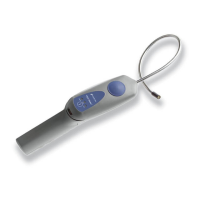
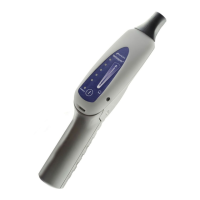
1. Long press the power button to turn Whisper On/Off. The Battery indicator will
illuminate while Whisper is On.
NOTE: If the Battery indicator flashes, the batteries are low and should be
replaced.
2. Press the power button briefly to enable/disable the laser pointer feature (if
equipped). This feature allows for easier and more accurate location of a leak
site. See “Laser Pointer Feature” for more information.
3. Point Whisper in the direction of the suspected leak and scan the area by
making a slow “X” (a vertical and horizontal type sweeping motion) while
keeping the nose piece (or rubber extension probe) pointed in the general
direction of the suspected leak.
4. If you are using Whisper without headphones, it will beep when an ultrasonic
disturbance is detected. If you are using headphones, Whisper will make a
variety of different noises due to its heterodyne feature. (See "Heterodyne
Feature" for more information.) To isolate the ultrasonic disturbance, gradually
decrease sensitivity by slowly dragging your finger down the touch pad until the
beeping stops. The sensitivity level will be indicated briefly by the number of
illuminated indicators next to the touch pad.
5. Move closer to the suspected leak, continuing the sweeping pattern and
narrowing the range of the sweep by making smaller patterns until beeping
resumes. This will lead to the location of the disturbance. To narrow the scan
area, attach the flexible rubber extension to the probe and repeat step 3.
6. Repair all leaks as located and repeat scan.
 Loading...