36
13. Replace fill plug.
14. Start unit and check for leaks.
Do not add coolant through the intake of the compres-
sor as this can result in overfilling, saturation of the
separator filter element and coolant carry-over down-
stream.
5.13 COOLANT HOSES
The flexible hoses that carry coolant through the cool-
ing system may become brittle with age and will
require replacement. Have your local Ingersoll-Rand
Distributor or Air Center check them every year and
replace them as needed or every 2 years.
Before beginning any work on the compressor,
open, lock and tag the main electrical disconnect
and close the isolation valve on the compressor
discharge. Wait 2 minutes after stopping to allow
internal pressure to dissipate. Vent residual pres-
sure from the unit by slowly unscrewing the
coolant fill plug one turn. Unscrewing the fill plug
opens a vent hole, drilled in the plug, allowing the
pressure to release to atmosphere (See Figure 5.3-
1). A slight mist or oil droplets may be visible dur-
ing venting. Do not remove fill plug until all pres-
sure has vented from the unit. Also vent piping by
slightly opening the drip leg valve. When opening
the drain valve or removing the coolant fill plug,
stand clear of the valve discharge, wear work
gloves and appropriate eye protection.
Removal
Drain coolant into a clean container. Cover the con-
tainer to prevent contamination. If the coolant is conta-
minated, a new charge of coolant must be used.
Remove the hose.
Installation
Install the new hose. Refill the unit with coolant. Start
the compressor and check for leaks. Stop unit and
check coolant level in the coolant sight tube on the
separator tank.
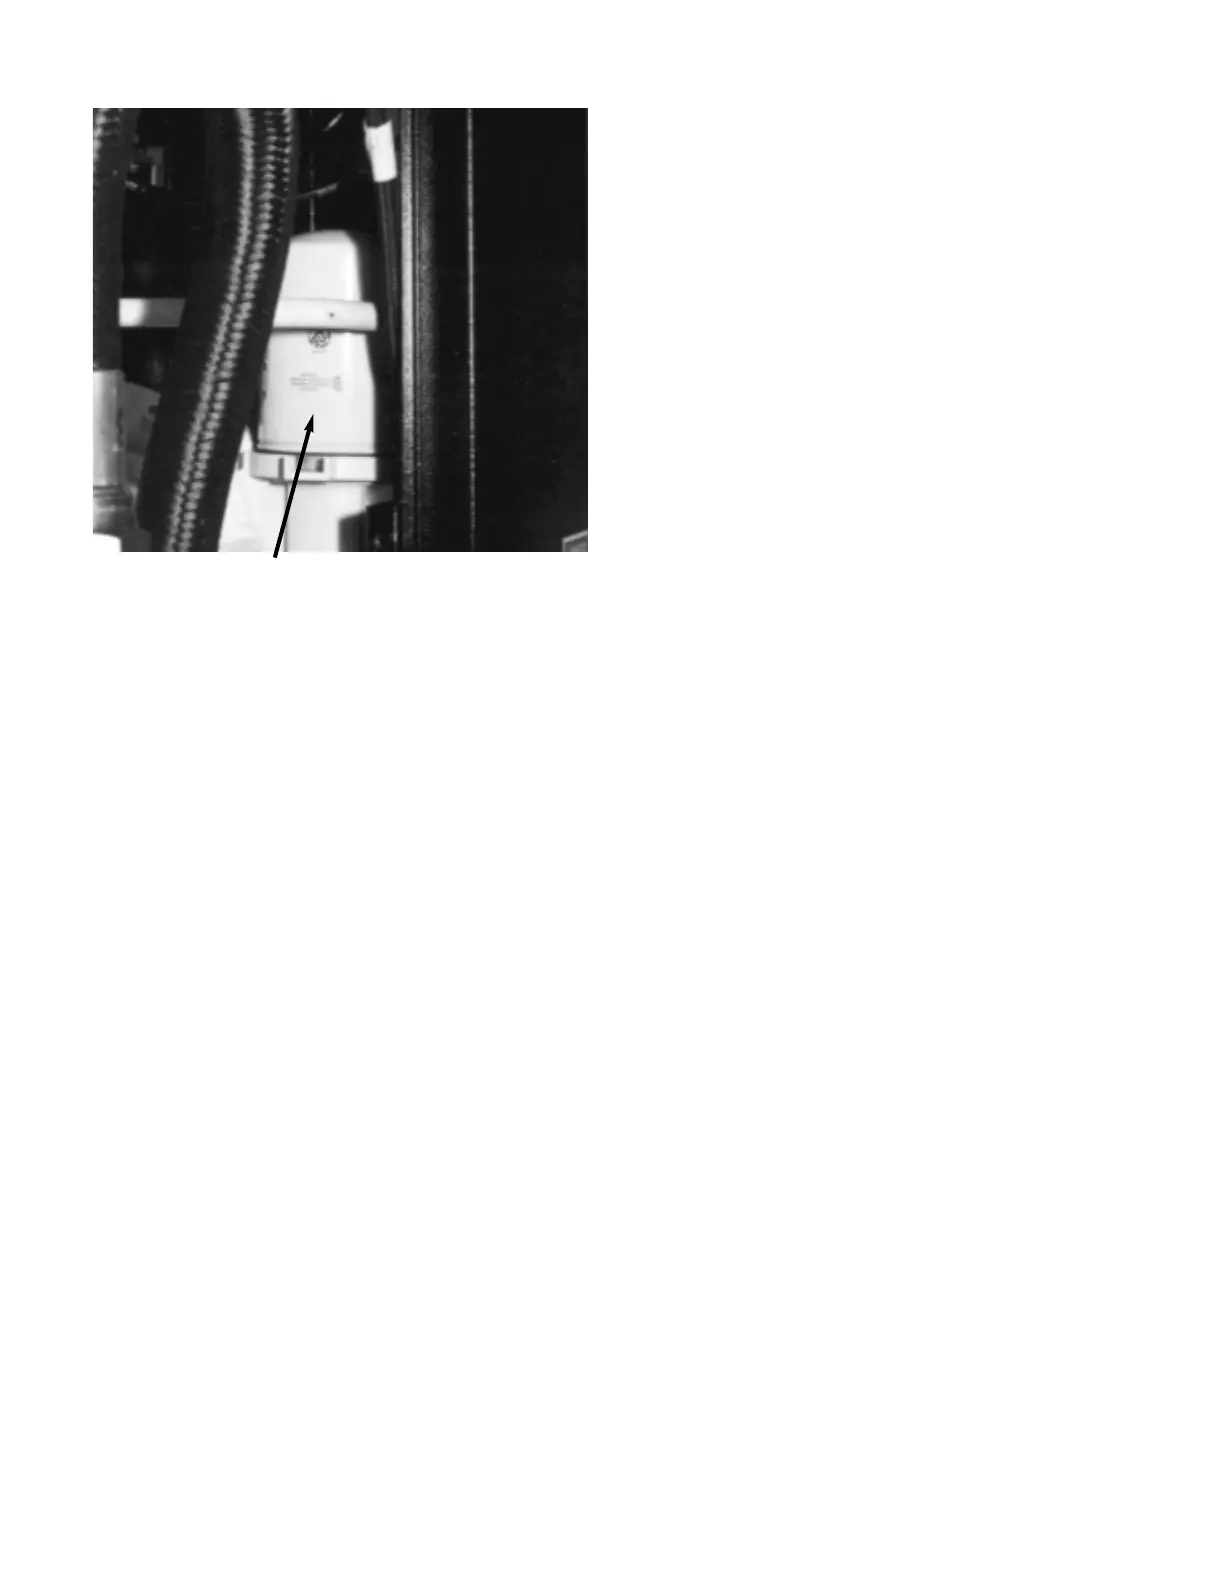
FIGURE 5.12-2 COOLANT FILTER
4. Using a filter wrench, remove the coolant filter.
Remember that the coolant filter may be hot (See
Figure 5.12-2).
5. Discard the old filter.
6. Wipe the sealing surface of the filter head with a
clean lint-free rag to prevent entry of dirt into the sys-
tem.
7. Remove the replacement filter from its protective
package.
8. Apply a small amount of clean coolant on the rubber
seal of the filter.
9. Screw element on until the seal makes contact with
the seat on the filter header. Tighten approximately one
half to three quarters turns additional.
10. Remove drain fitting and replace drain valve cap.
11. Remove coolant fill plug (See Figure 5.11-1).
12. Fill unit with new coolant as follows:
a. Fill tank to the threads of the coolant
fill port.
b. Run machine 15-20 seconds and relieve
pressure.
c. Add more coolant up to the threads of the
coolant fill port.
d. Restart machine and verify that coolant
level is in the middle (green) range of the
sight tube when the unit is running loaded.
COLLANT FILTER
 Loading...