www.insigniaproducts.com
2
Contents
BEFORE YOU BEGIN . . . . . . . . . . . . . . . . . . . . . . . . . . . . . . . . . . . . . . . . . . . . . . . . . . . . . . . . . . . . . . . . . . . . . . . . . . . . . . . . . . . . . . . . . . . . . . . 2
FOR YOUR SAFETY: . . . . . . . . . . . . . . . . . . . . . . . . . . . . . . . . . . . . . . . . . . . . . . . . . . . . . . . . . . . . . . . . . . . . . . . . . . . . . . . . . . . . . . . . . . . . . . . .2
1 – REMOVE PACKAGING MATERIALS. . . . . . . . . . . . . . . . . . . . . . . . . . . . . . . . . . . . . . . . . . . . . . . . . . . . . . . . . . . . . . . . . . . . . . . . . . . . . . . 3
2 – PREPARE THE OPENING (FOR INDOOR USE ONLY) . . . . . . . . . . . . . . . . . . . . . . . . . . . . . . . . . . . . . . . . . . . . . . . . . . . . . . . . . . . . . . .3
3 – ANTI-TIP DEVICE INSTALLATION . . . . . . . . . . . . . . . . . . . . . . . . . . . . . . . . . . . . . . . . . . . . . . . . . . . . . . . . . . . . . . . . . . . . . . . . . . . . . . . .5
Step 1 — Locate the bracket . . . . . . . . . . . . . . . . . . . . . . . . . . . . . . . . . . . . . . . . . . . . . . . . . . . . . . . . . . . . . . . . . . . . . . . . . . . . . . . . . . . 5
Step 2 — Secure the bracket . . . . . . . . . . . . . . . . . . . . . . . . . . . . . . . . . . . . . . . . . . . . . . . . . . . . . . . . . . . . . . . . . . . . . . . . . . . . . . . . . . . 6
Step 3 — Check the bracket . . . . . . . . . . . . . . . . . . . . . . . . . . . . . . . . . . . . . . . . . . . . . . . . . . . . . . . . . . . . . . . . . . . . . . . . . . . . . . . . . . . . 6
4 – LEVEL THE RANGE . . . . . . . . . . . . . . . . . . . . . . . . . . . . . . . . . . . . . . . . . . . . . . . . . . . . . . . . . . . . . . . . . . . . . . . . . . . . . . . . . . . . . . . . . . . . . 6
5 – FINAL INSTALLATION CHECKLIST . . . . . . . . . . . . . . . . . . . . . . . . . . . . . . . . . . . . . . . . . . . . . . . . . . . . . . . . . . . . . . . . . . . . . . . . . . . . . . .7
6 – MODEL AND SERIAL NUMBER LOCATION . . . . . . . . . . . . . . . . . . . . . . . . . . . . . . . . . . . . . . . . . . . . . . . . . . . . . . . . . . . . . . . . . . . . . . .7
Questions? Call 1-877-467-4289 or Visit our Website at: Insigniaproducts.com
BEFORE YOU BEGIN
Read these instructions completely and carefully.
• IMPORTANT—Save these instructions for local inspector’s use.
• IMPORTANT—Observe all governing codes and ordinances.
• Note to Installer – Be sure to leave these instructions with Consumer.
• Note to Consumer – Keep these instructions for future reference.
• Skill level – Installation of this appliance requires a qualified installer or electrician.
• Proper installation is the responsibility of the installer.
• Product failure due to improper installation is not covered under warranty.
WARNING—This appliance must be properly connected by means of the supplied cord and plug. If your
kitchen does not have a receptacle, you must have one installed by a licensed electrician.
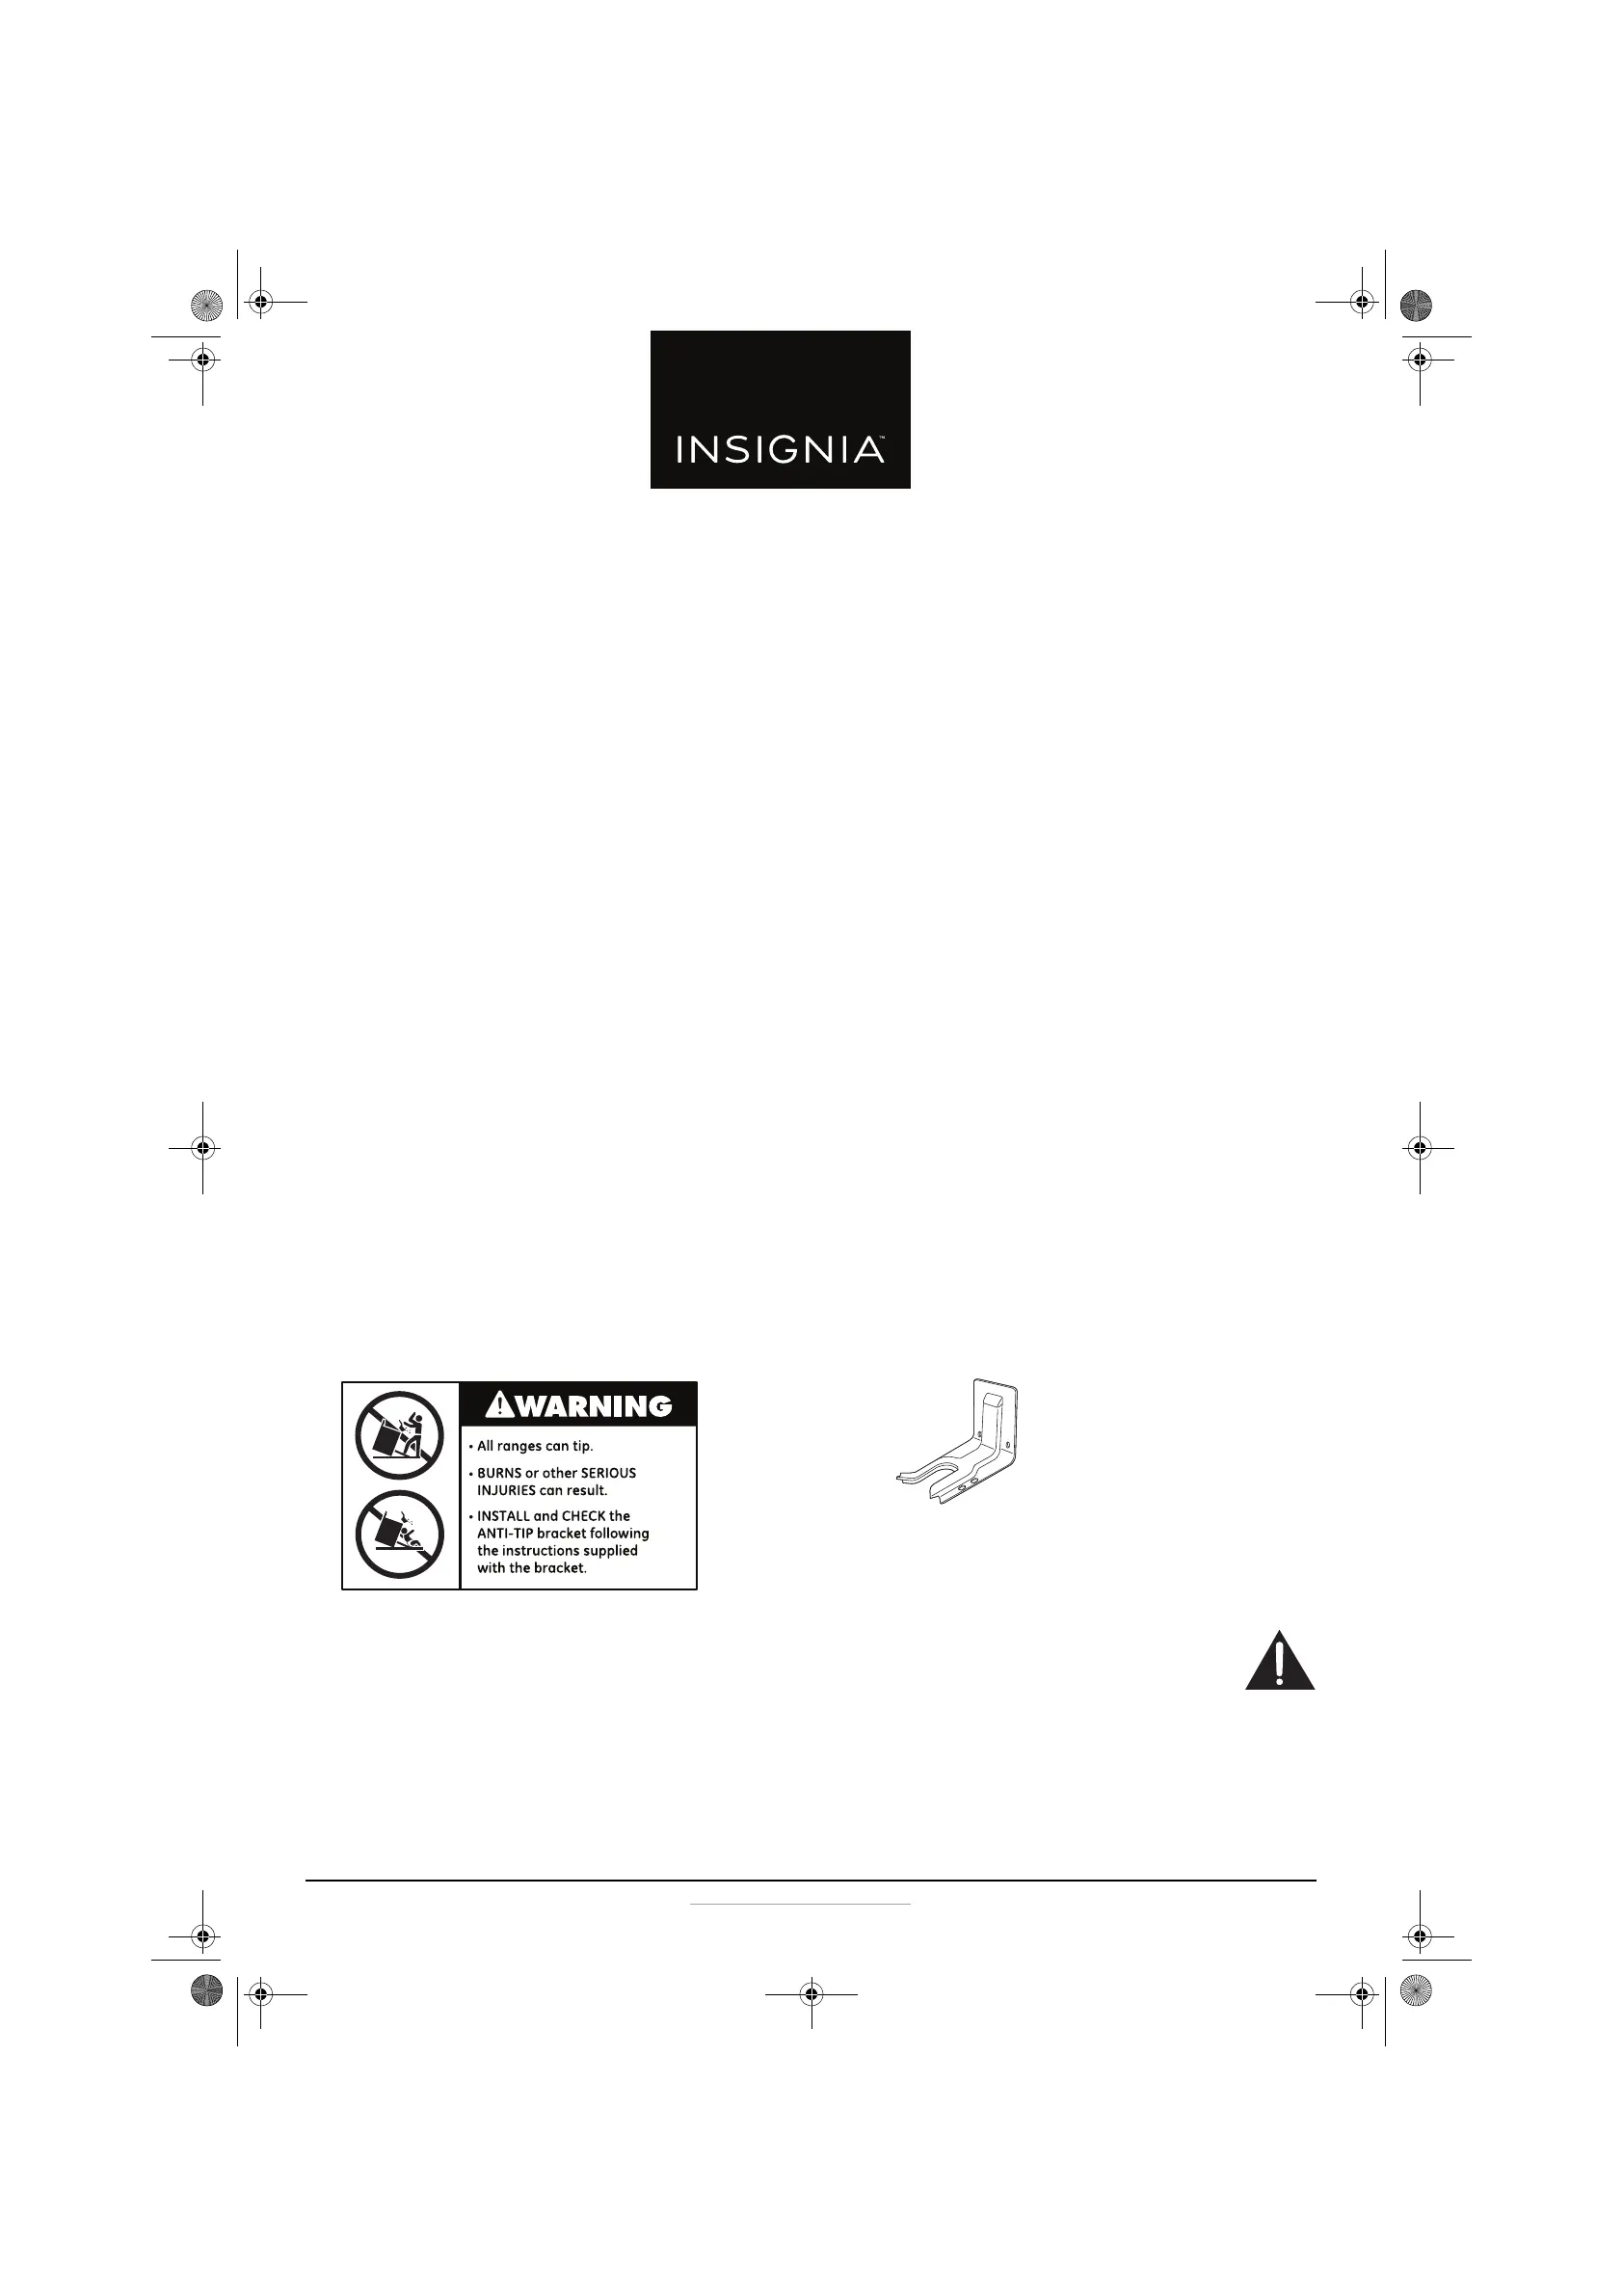
FOR YOUR SAFETY:
If you did not receive an
anti-tip bracket with your
purchase, call
1-877-467-4289. For
installation instructions of
the bracket, visit
Insigniaproducts.com
WARNING—Before beginning the installation, switch power off at service panel and lock the
service disconnecting means to prevent power from being switched on accidentally. When the service
disconnecting means cannot be locked, securely fasten a prominent warning device, such as a tag, to the
service panel.
Tools you will need:
• Drill with 1/8” Bit
• Safety Glasses
• Adjustable Wrench
• Tape Measure
Anti-Tip Bracket
Kit Included
NS-RNE4BWH8-C_NS-RNE4BMSS9-C_NS-RNEC4BSS9-C_18-0194_Install MAN_V1_EN.fm Page 2 Wednesday, March 28, 2018 2:26 PM

 Loading...